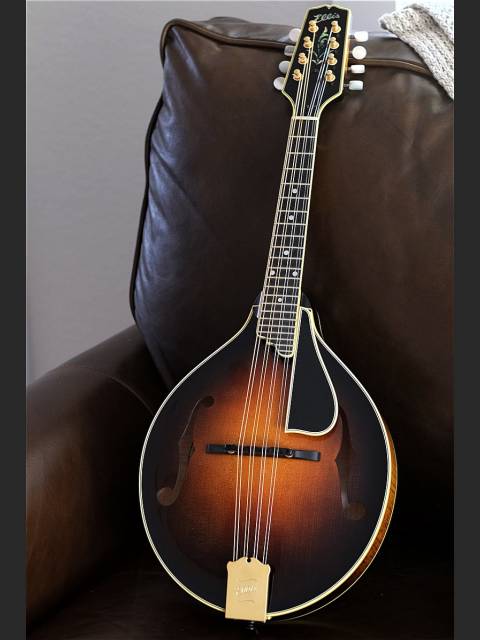
All of the details that make an Ellis an Ellis happen on Tom's bench. Once the top and back plates are rough carved, they head to his bench where he begins his process of sanding and graduating the top and back for #464.
As we continue the build of #464, Tom takes the top and back plates to the sanding station to start working on shaping and graduating.
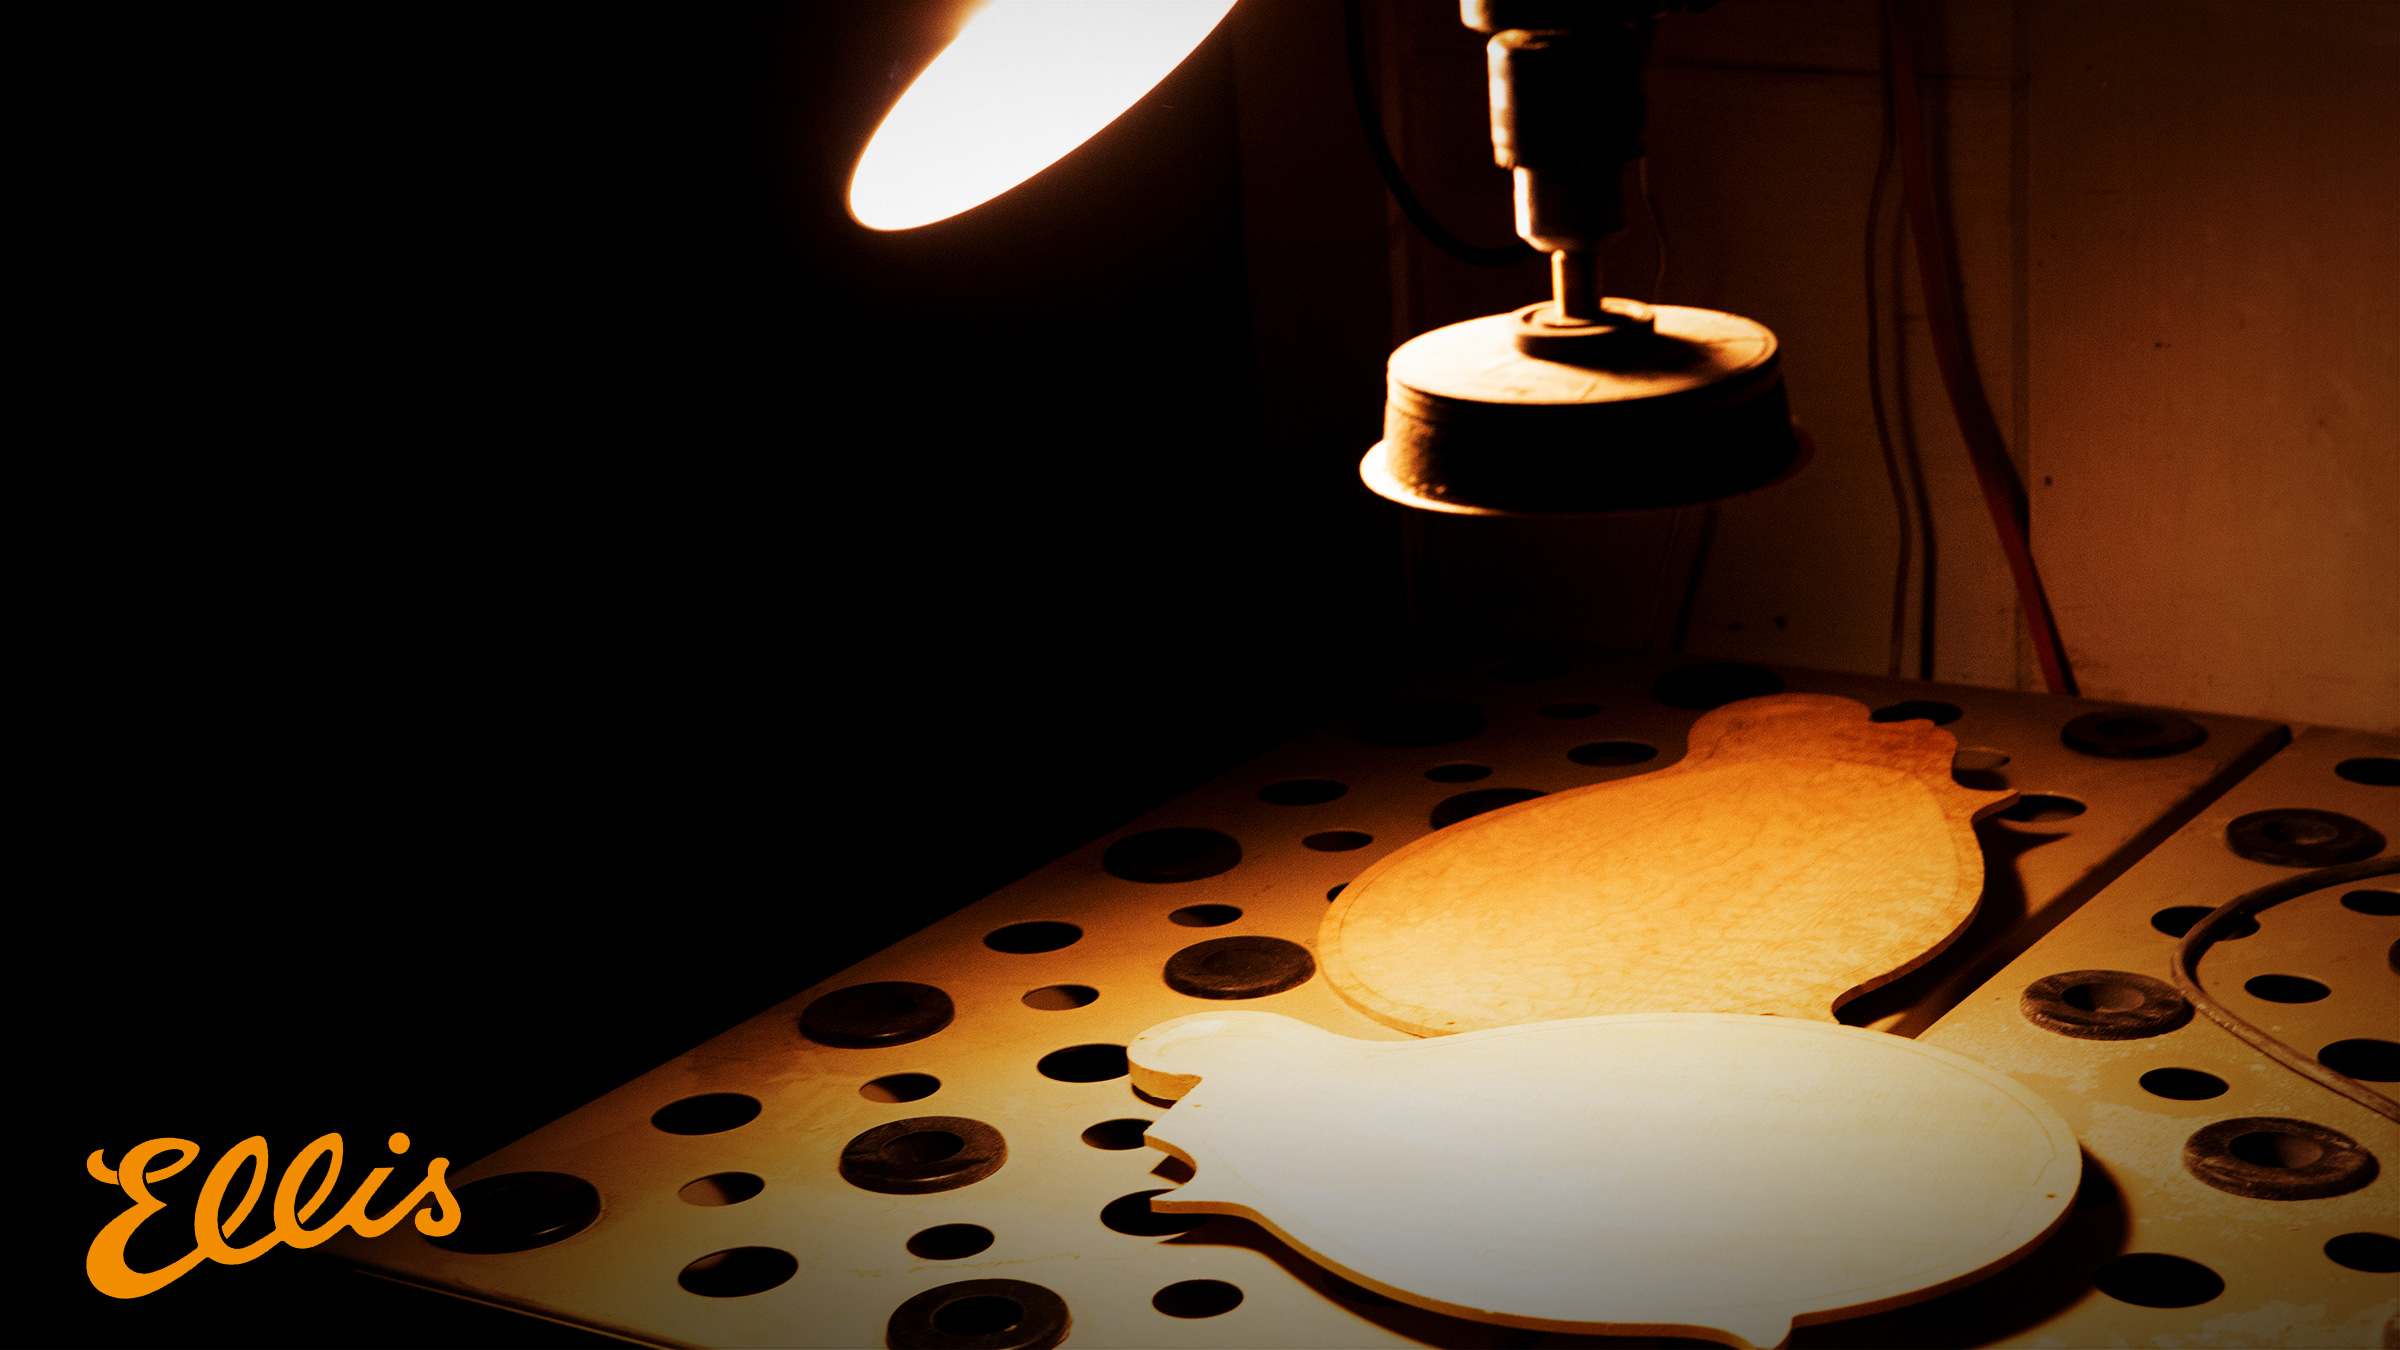
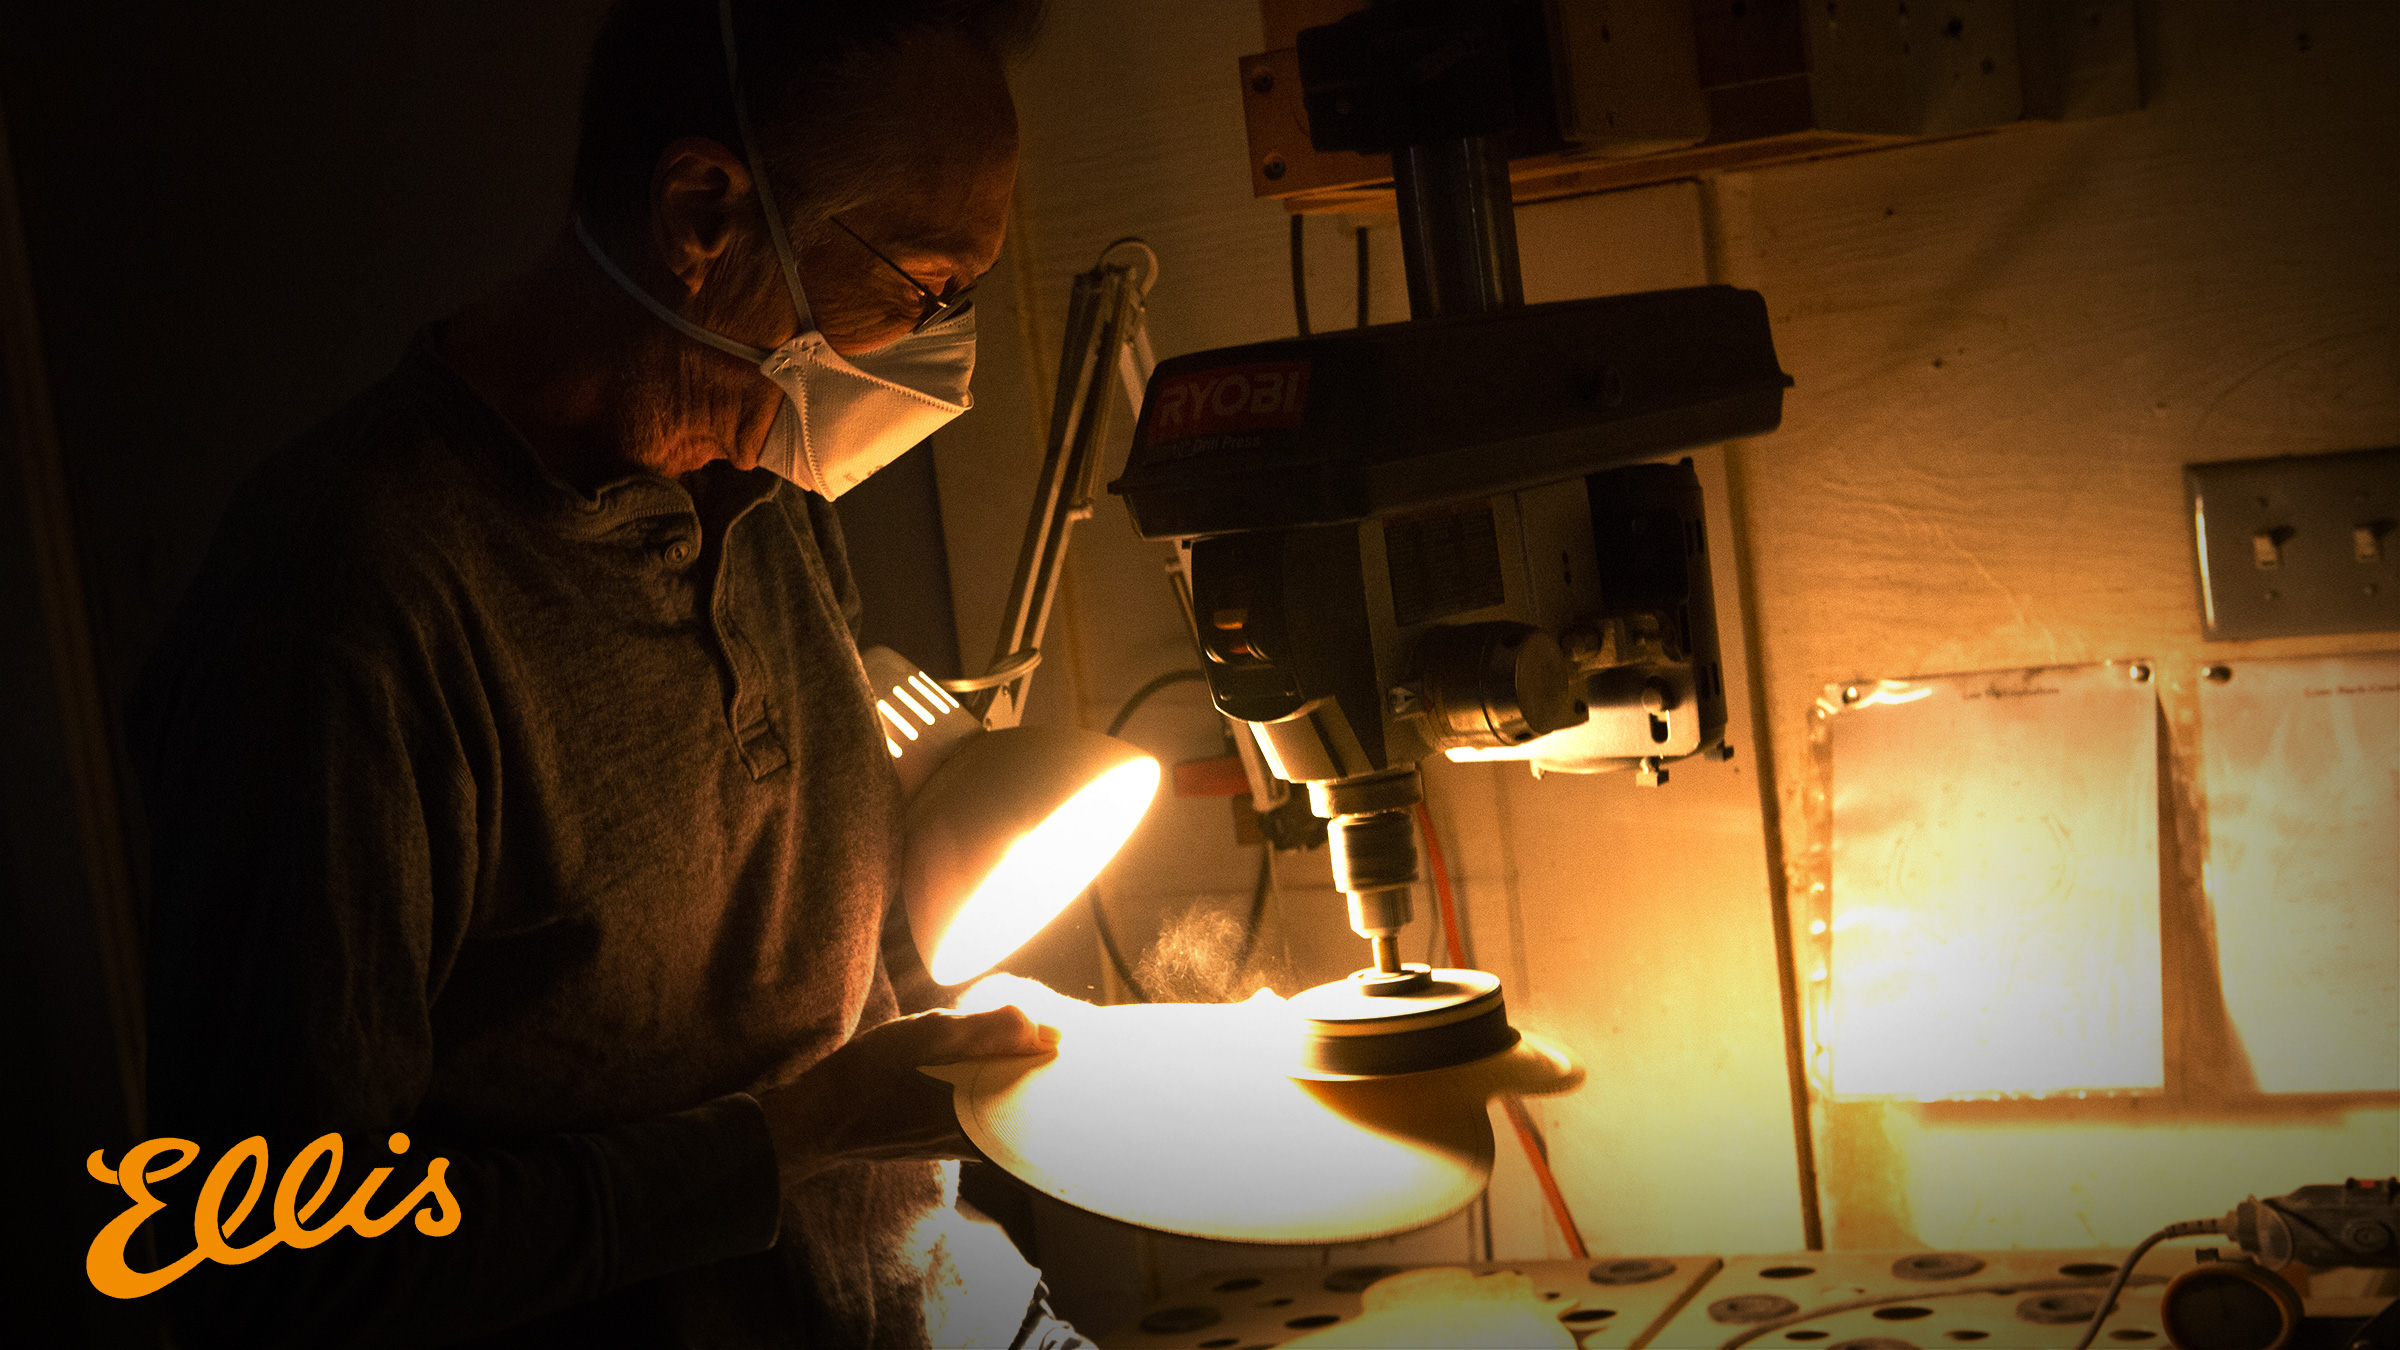
Tom uses a side light when graduating tops and backs to help him see the contours of each area of the top. The flexible orbital sanding pads help him graduate the plates to his exacting specifications.
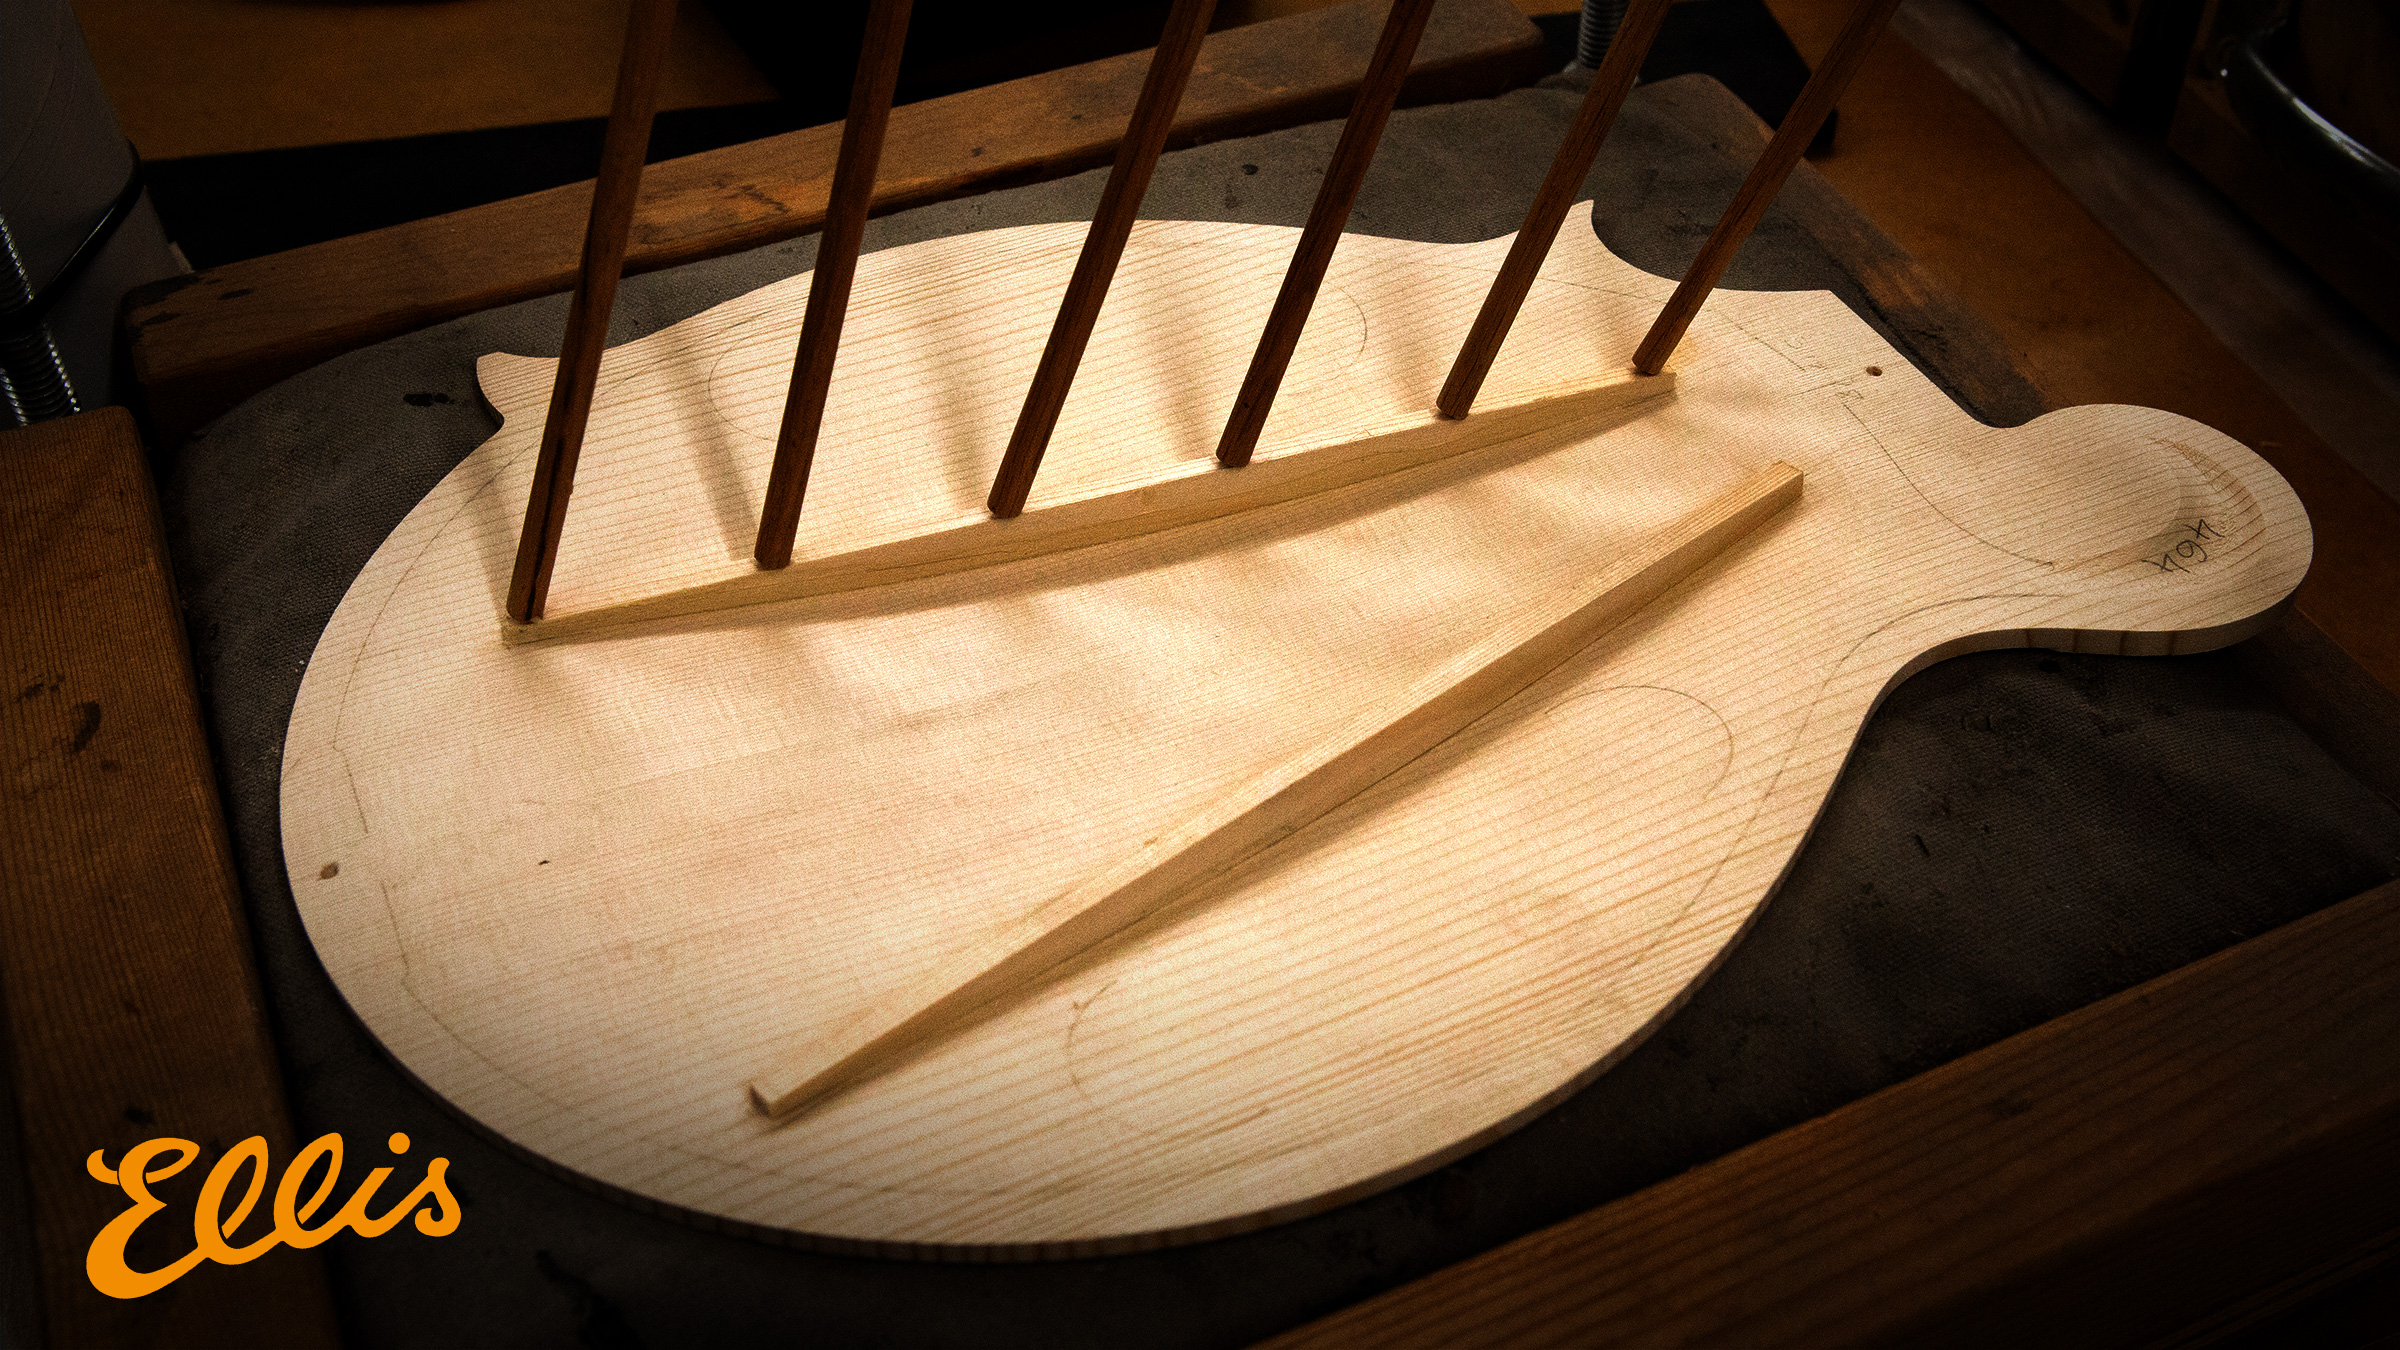
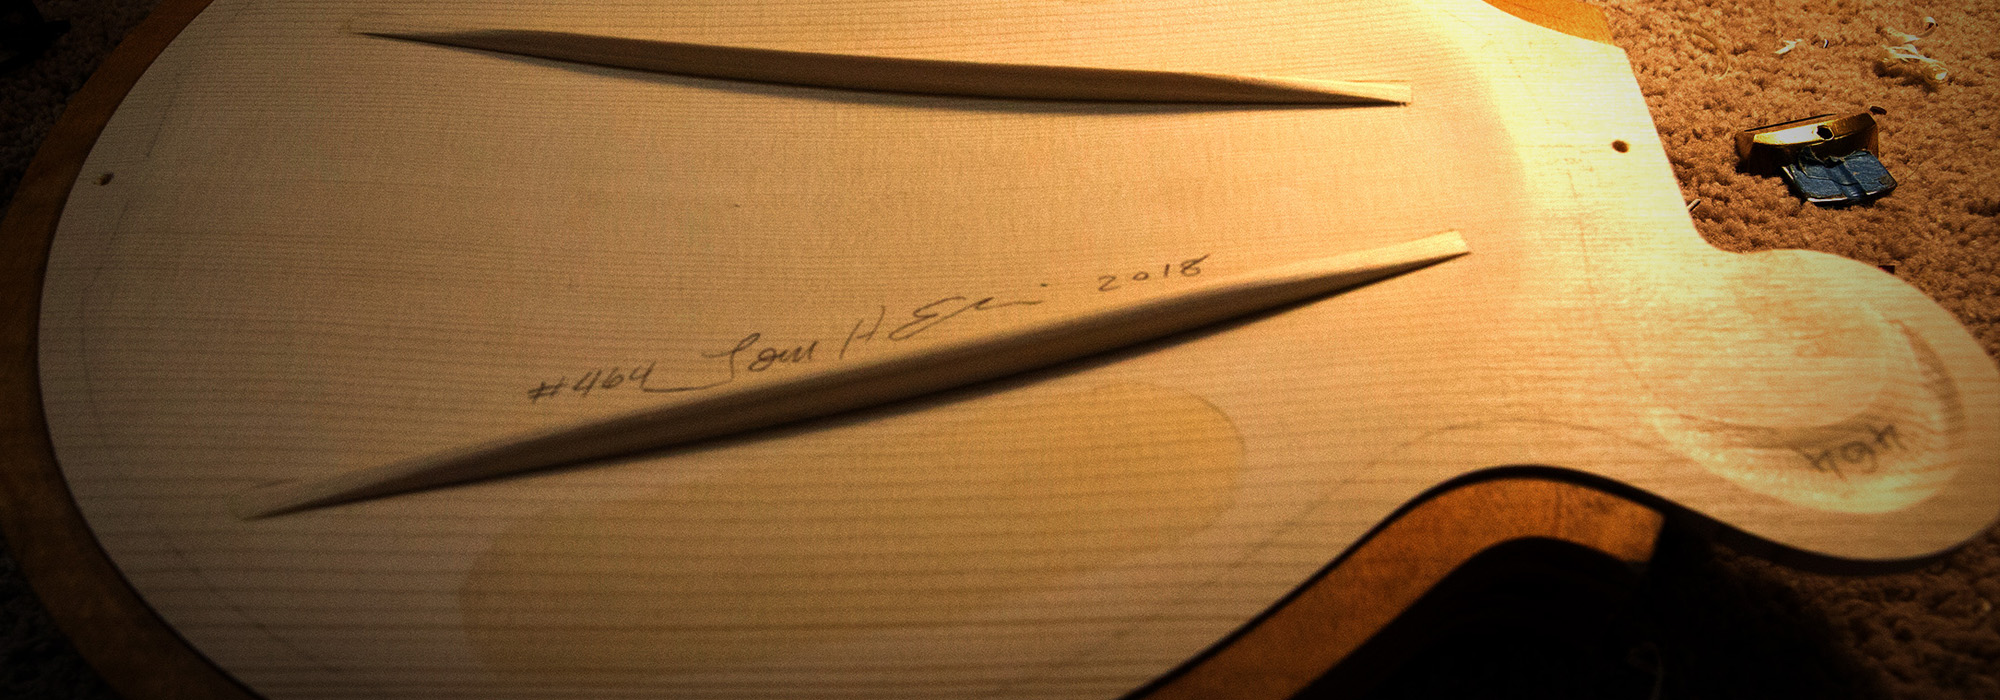
Tom contours the tone bars to match the graduations of the top, and leaves the final shaping and carving for after the glue cures.
The go bar deck Tom uses lets him get the exact pressure he wants along the entire lenth of the tone bars, without having to worry about cracking or installing with too much tension.
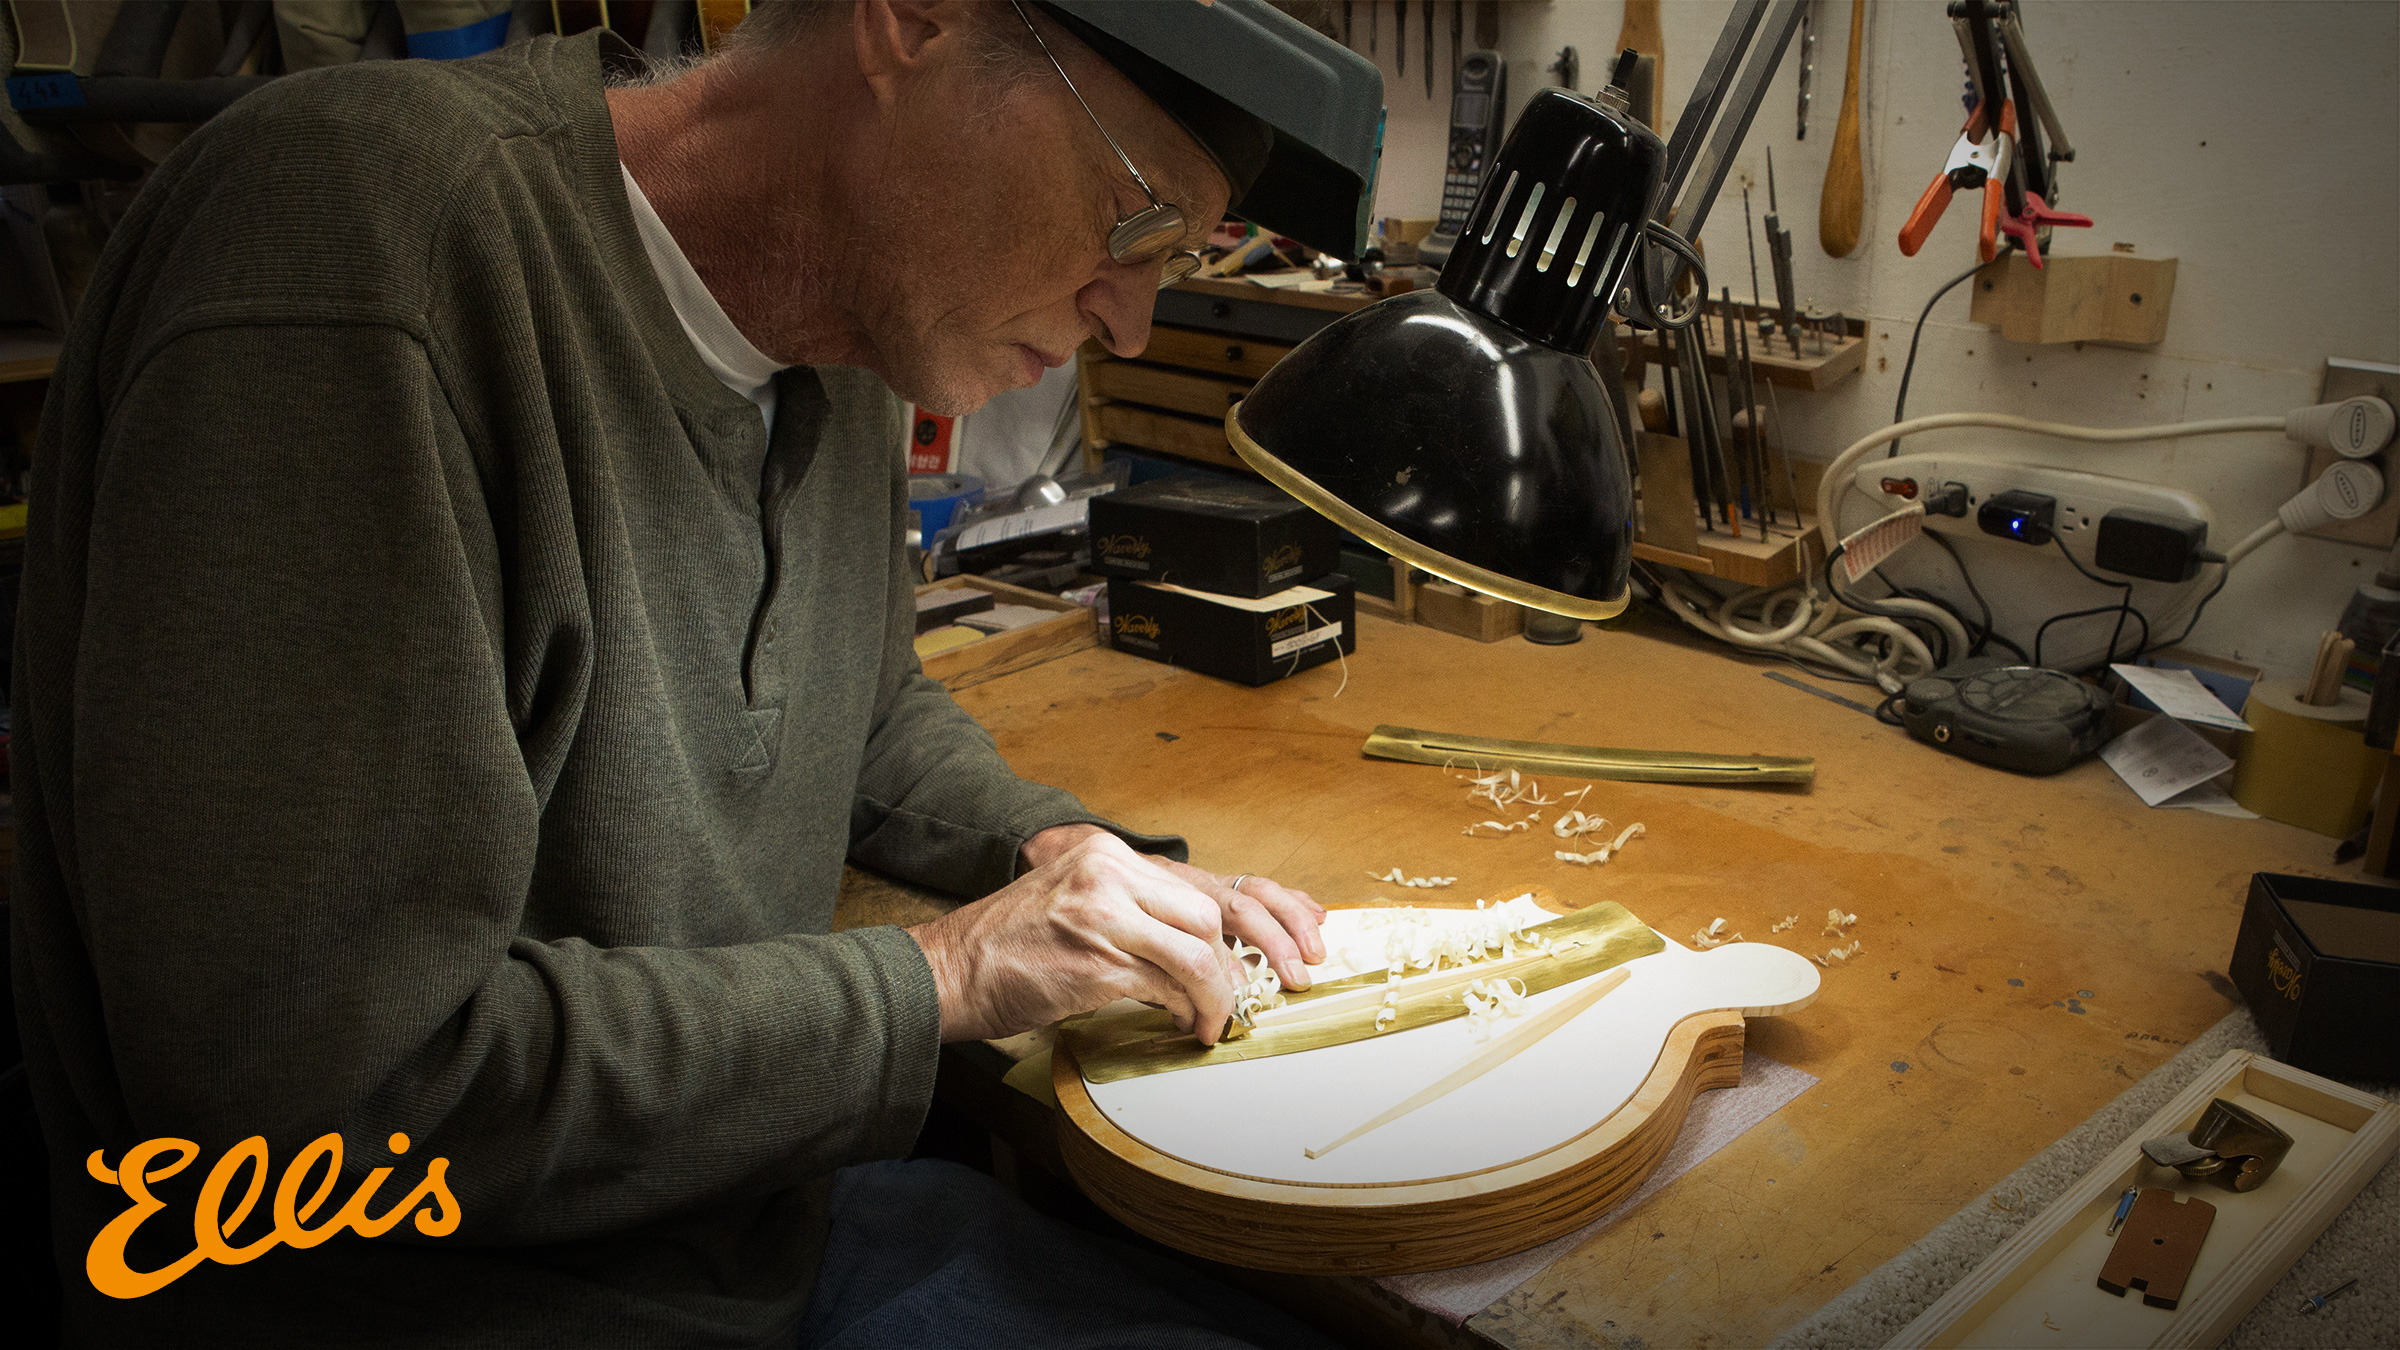
After glueup, Tom shaves the tone bars into their final shapes. The master of jigs, Tom has a handy brass template for his tone bars that lets him work quickly without having to worry too much about contact with the top plate during carving.
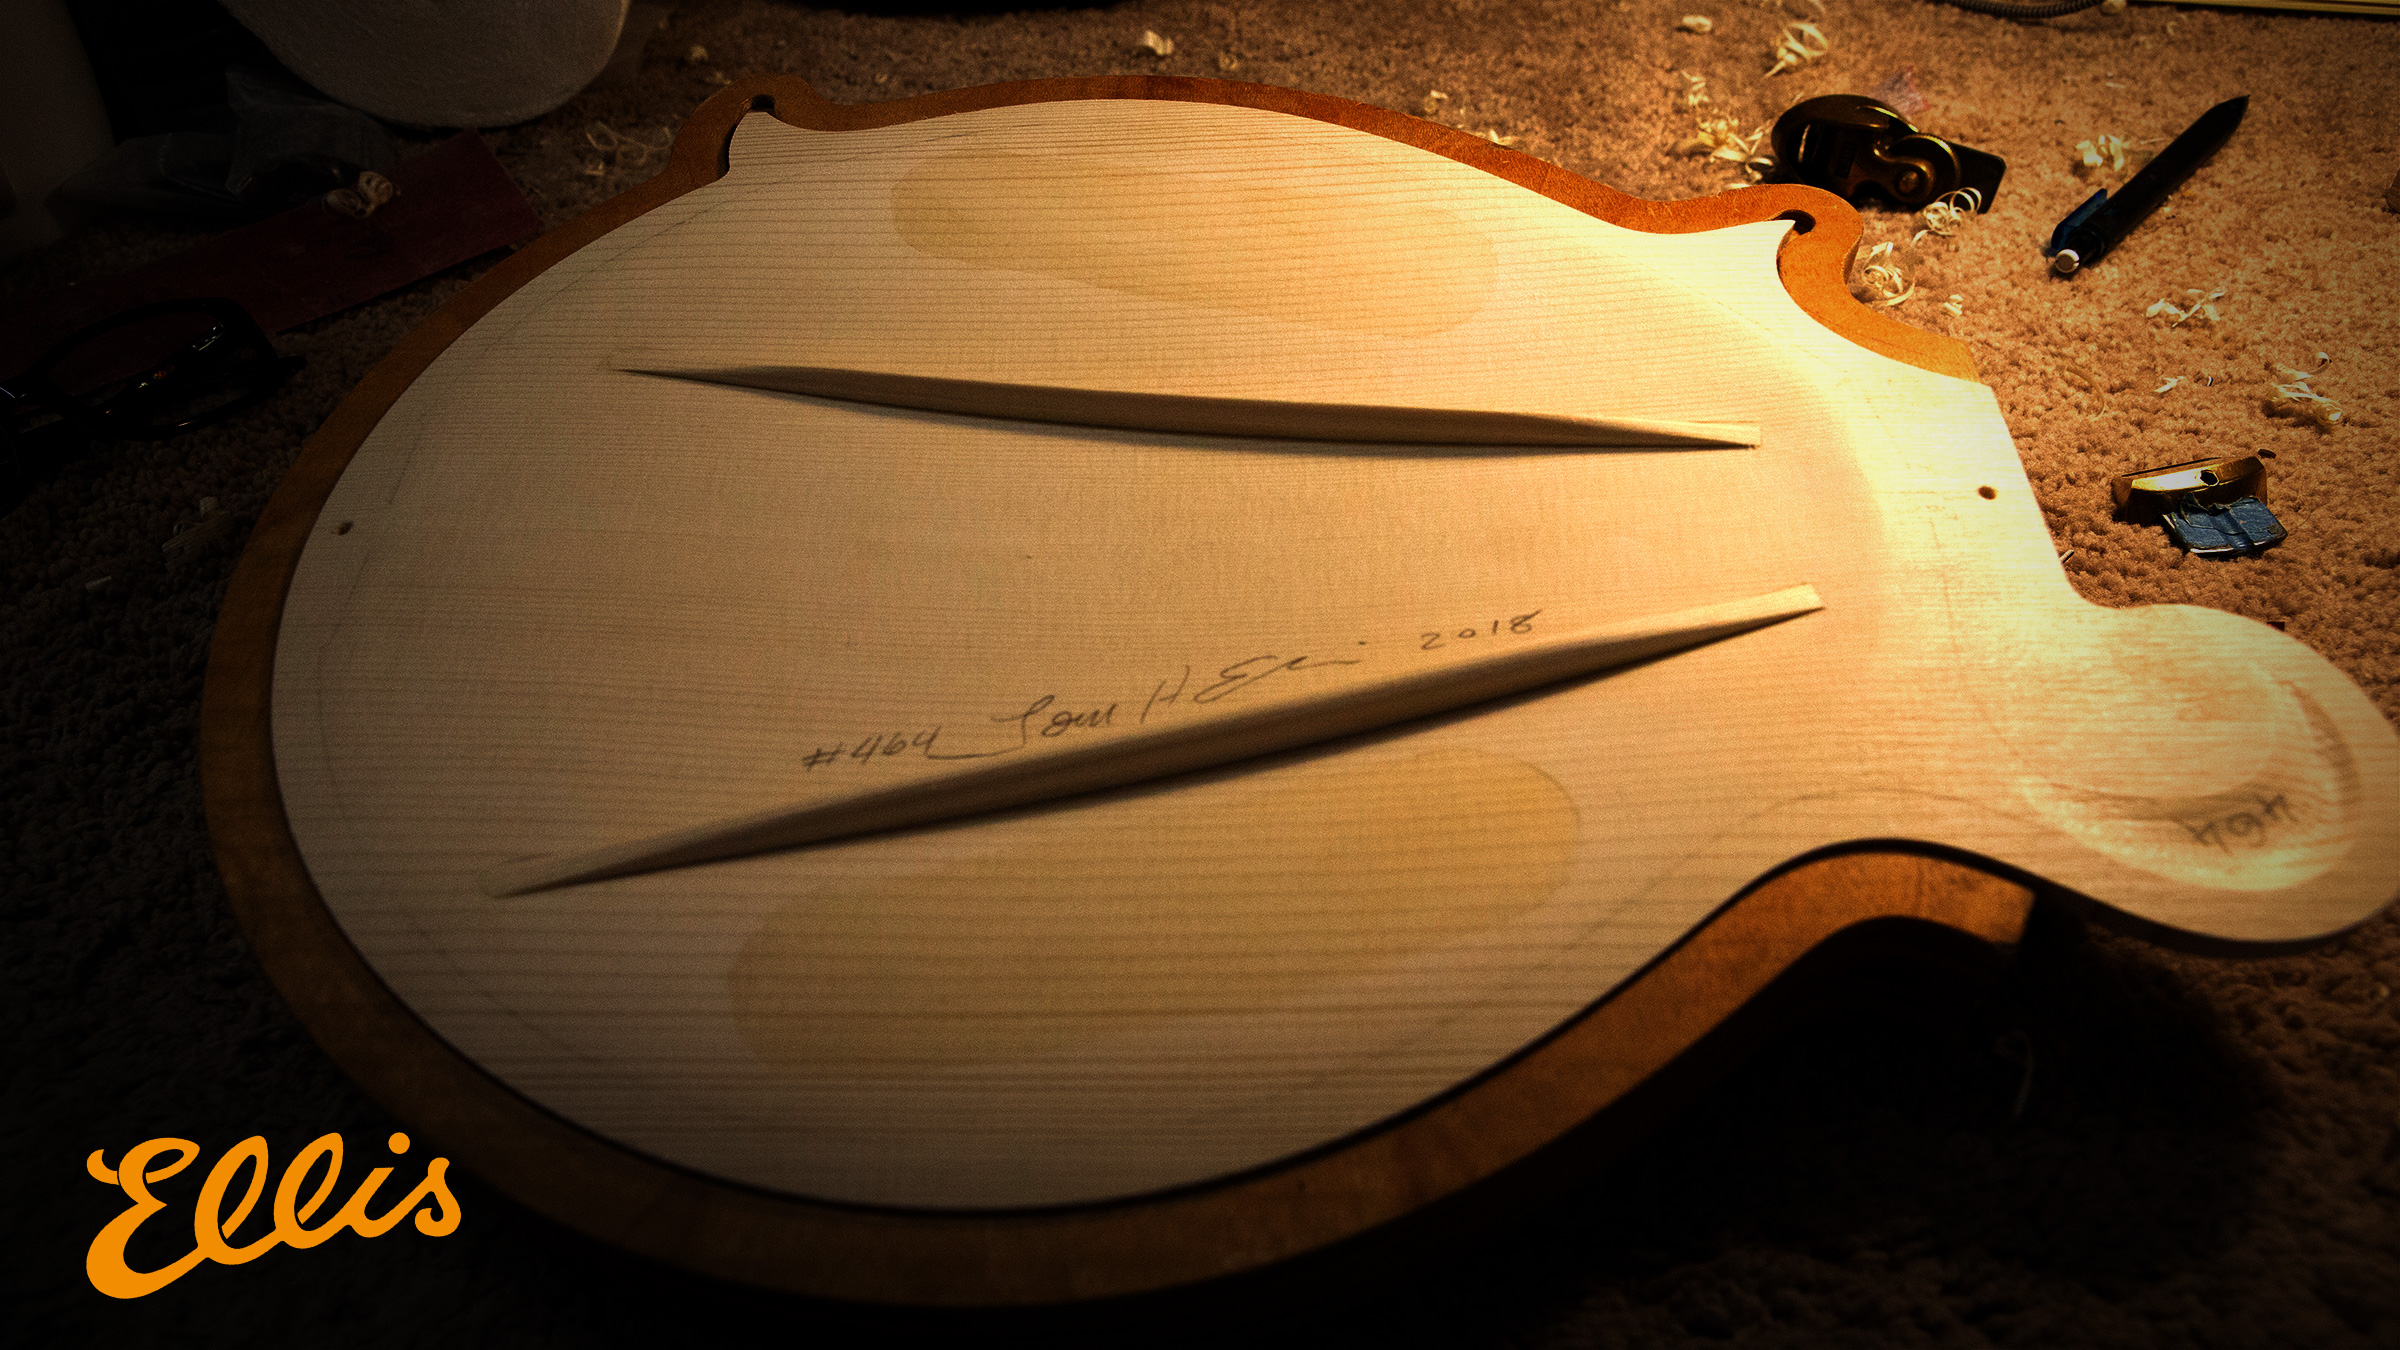
As each top is finished, Tom leaves his mark in a place that very few will ever see without the aid of a mirror. Hidden behind the bass side tone bar, is Tom's signature along with the build # and the year the top was carved.
RuttList is visitor supported, when you buy through links on our site we may earn an Amazon affiliate commission.