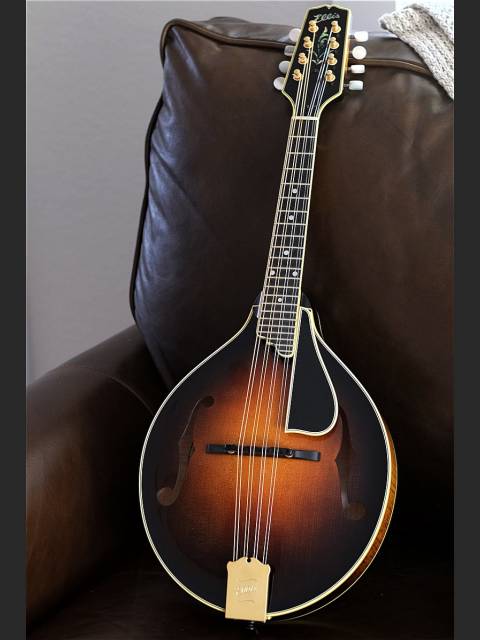
After assembly, #464 heads back to Tom's bench for final neck shaping and detail work before finishing.

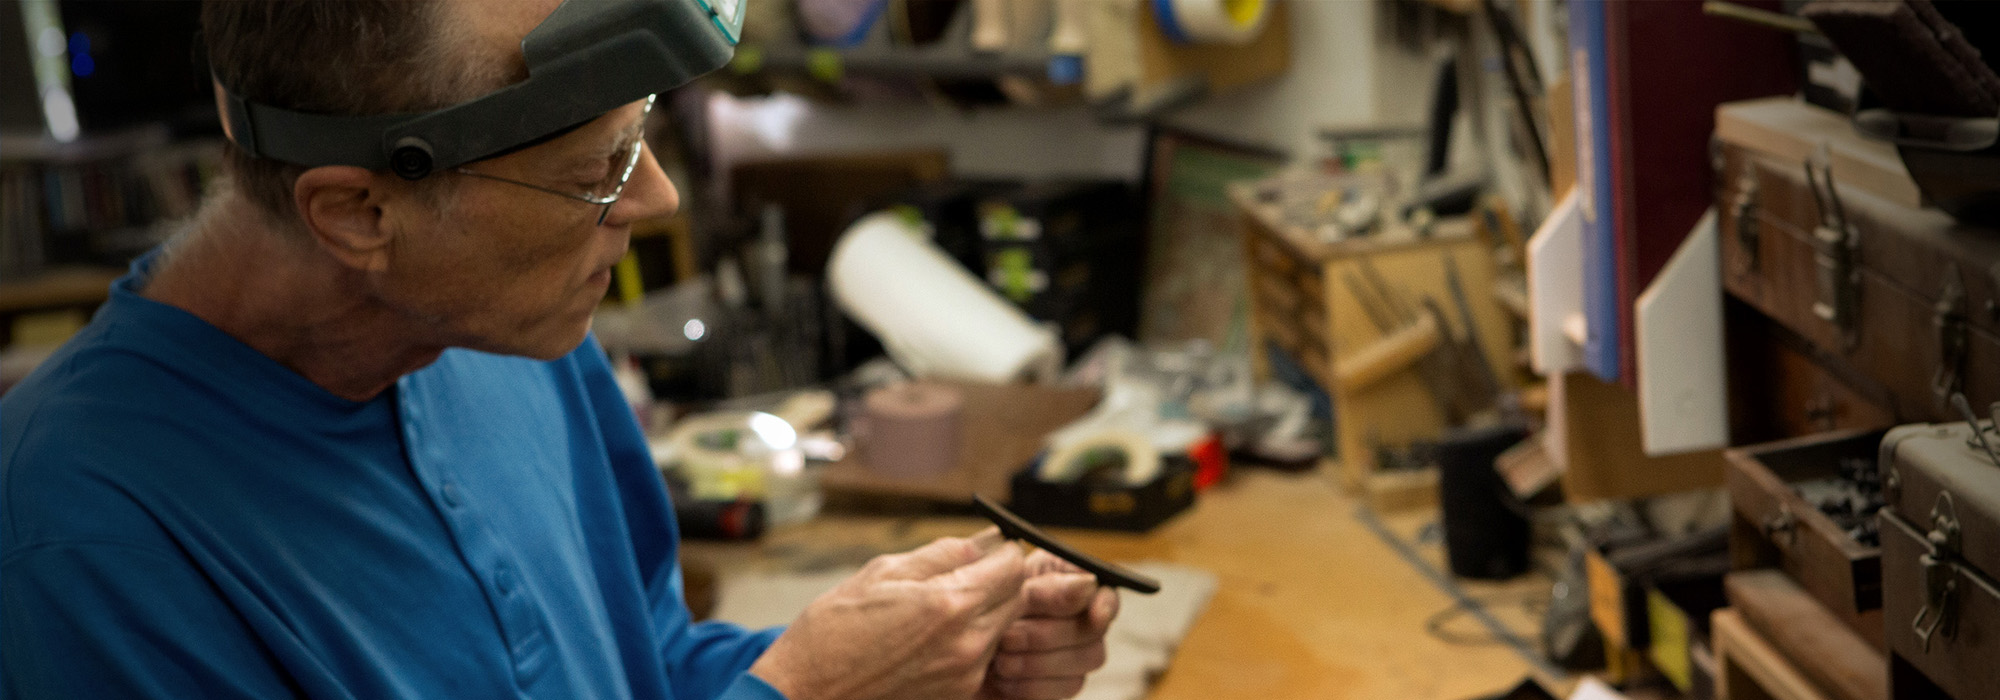
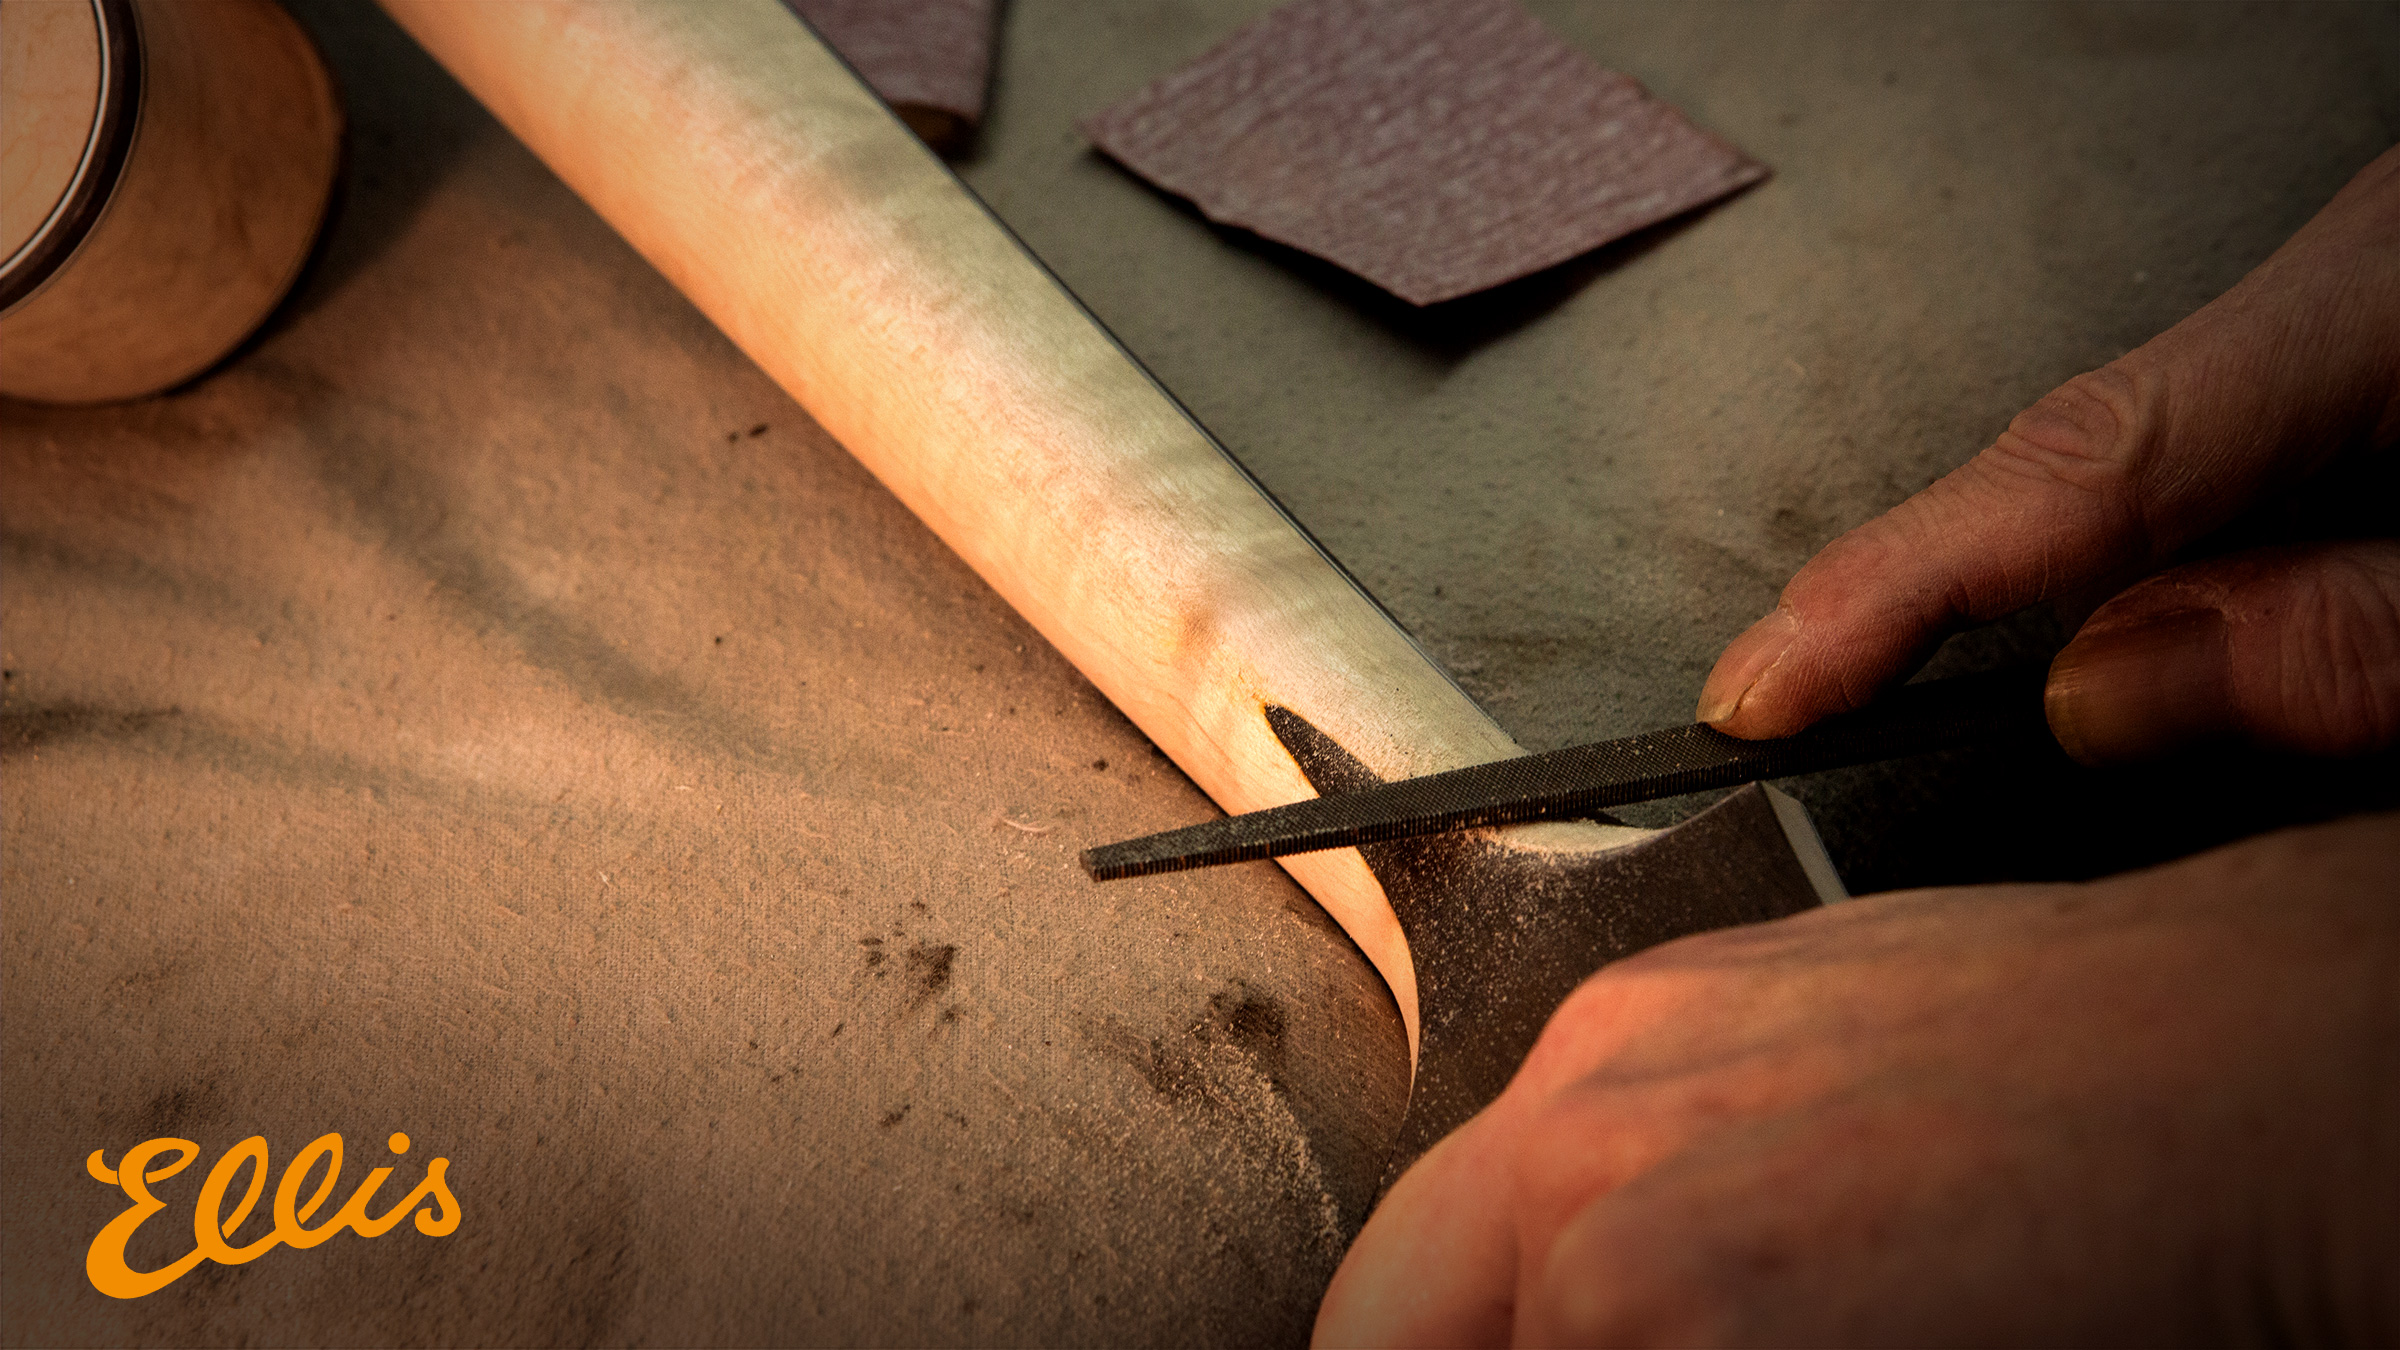
Tom goes over every inch of #464 doing all the finish sanding and final detailing. Here he is using a file to sharpen the edges of the bass side F-Hole.
Tom shapes the neck of each and every Ellis mandolin. His unfinished speed necks have a profile that is dialed in for speed and comfort while playing.
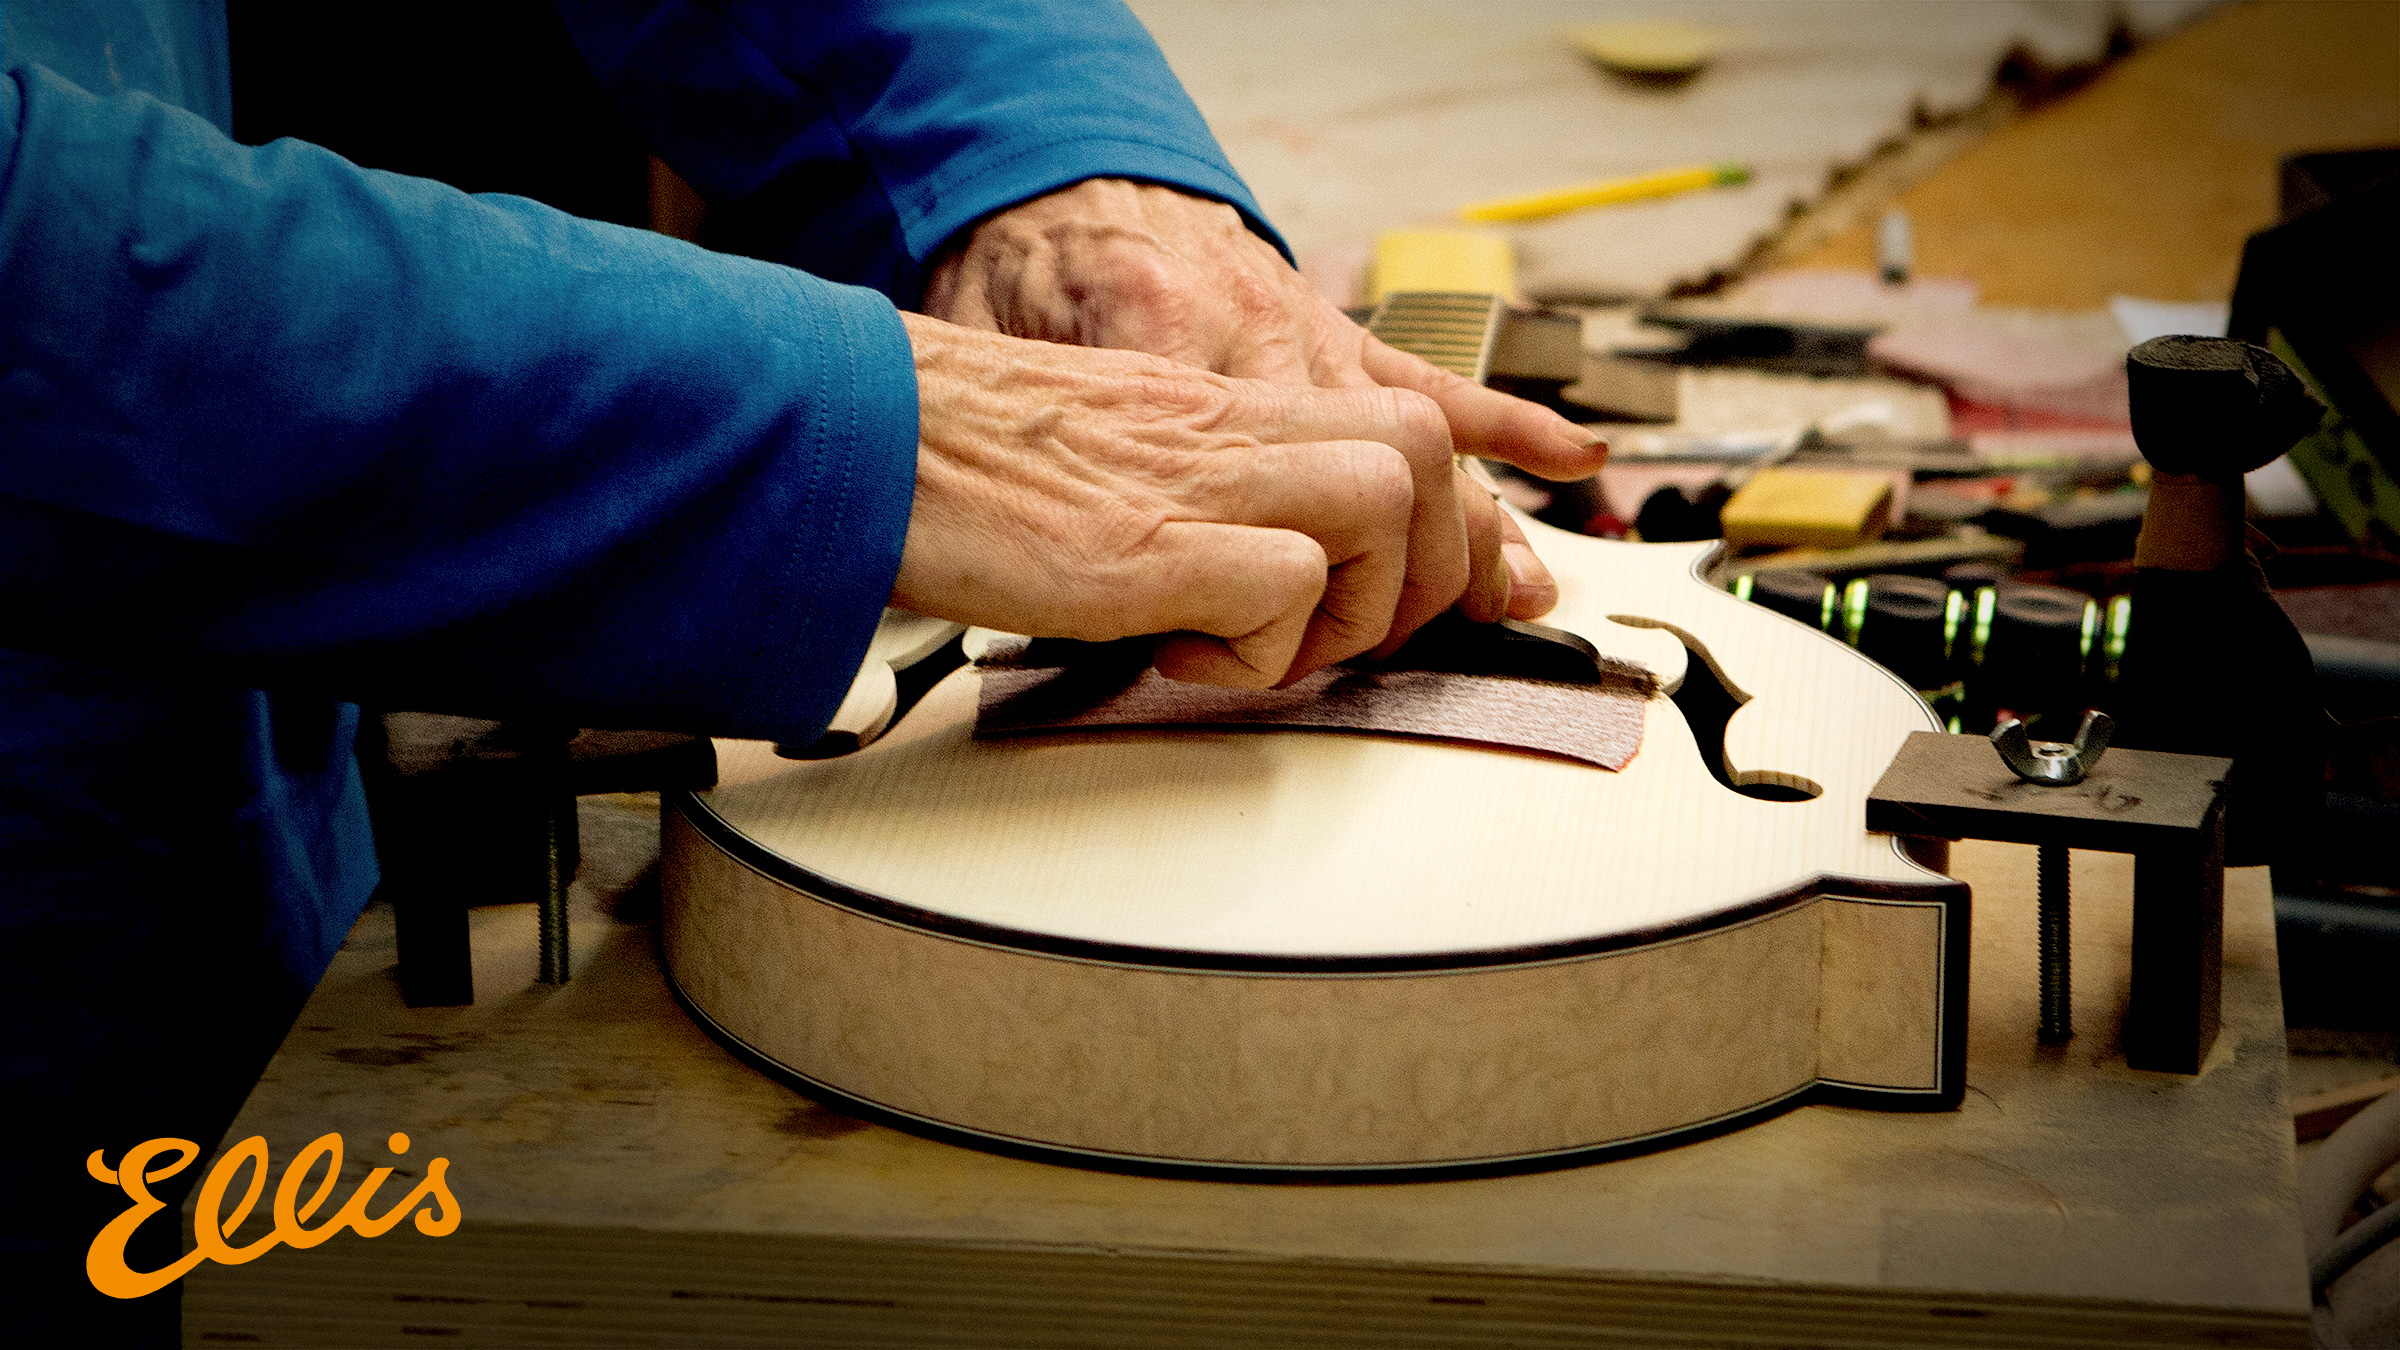
Tom fits every bridge by hand, using an adhesive sandpaper attached to the top of the mandolin. His leather lined jig clamps help him hold the instrument in position while he does his work without risk of it slipping.

Tom relies on his eyes and decades of experience to get the fit just right. One or two more adjustments and it will be ready for final setup and instullation after the finish cures.
RuttList is visitor supported, when you buy through links on our site we may earn an Amazon affiliate commission.