Pava takes care of building the rim sets for Ellis Mandolins. Her attention to detail is unparalleled, and each rim set goes together smoothly thanks to the bending and gluing jigs employed by the Ellis team.
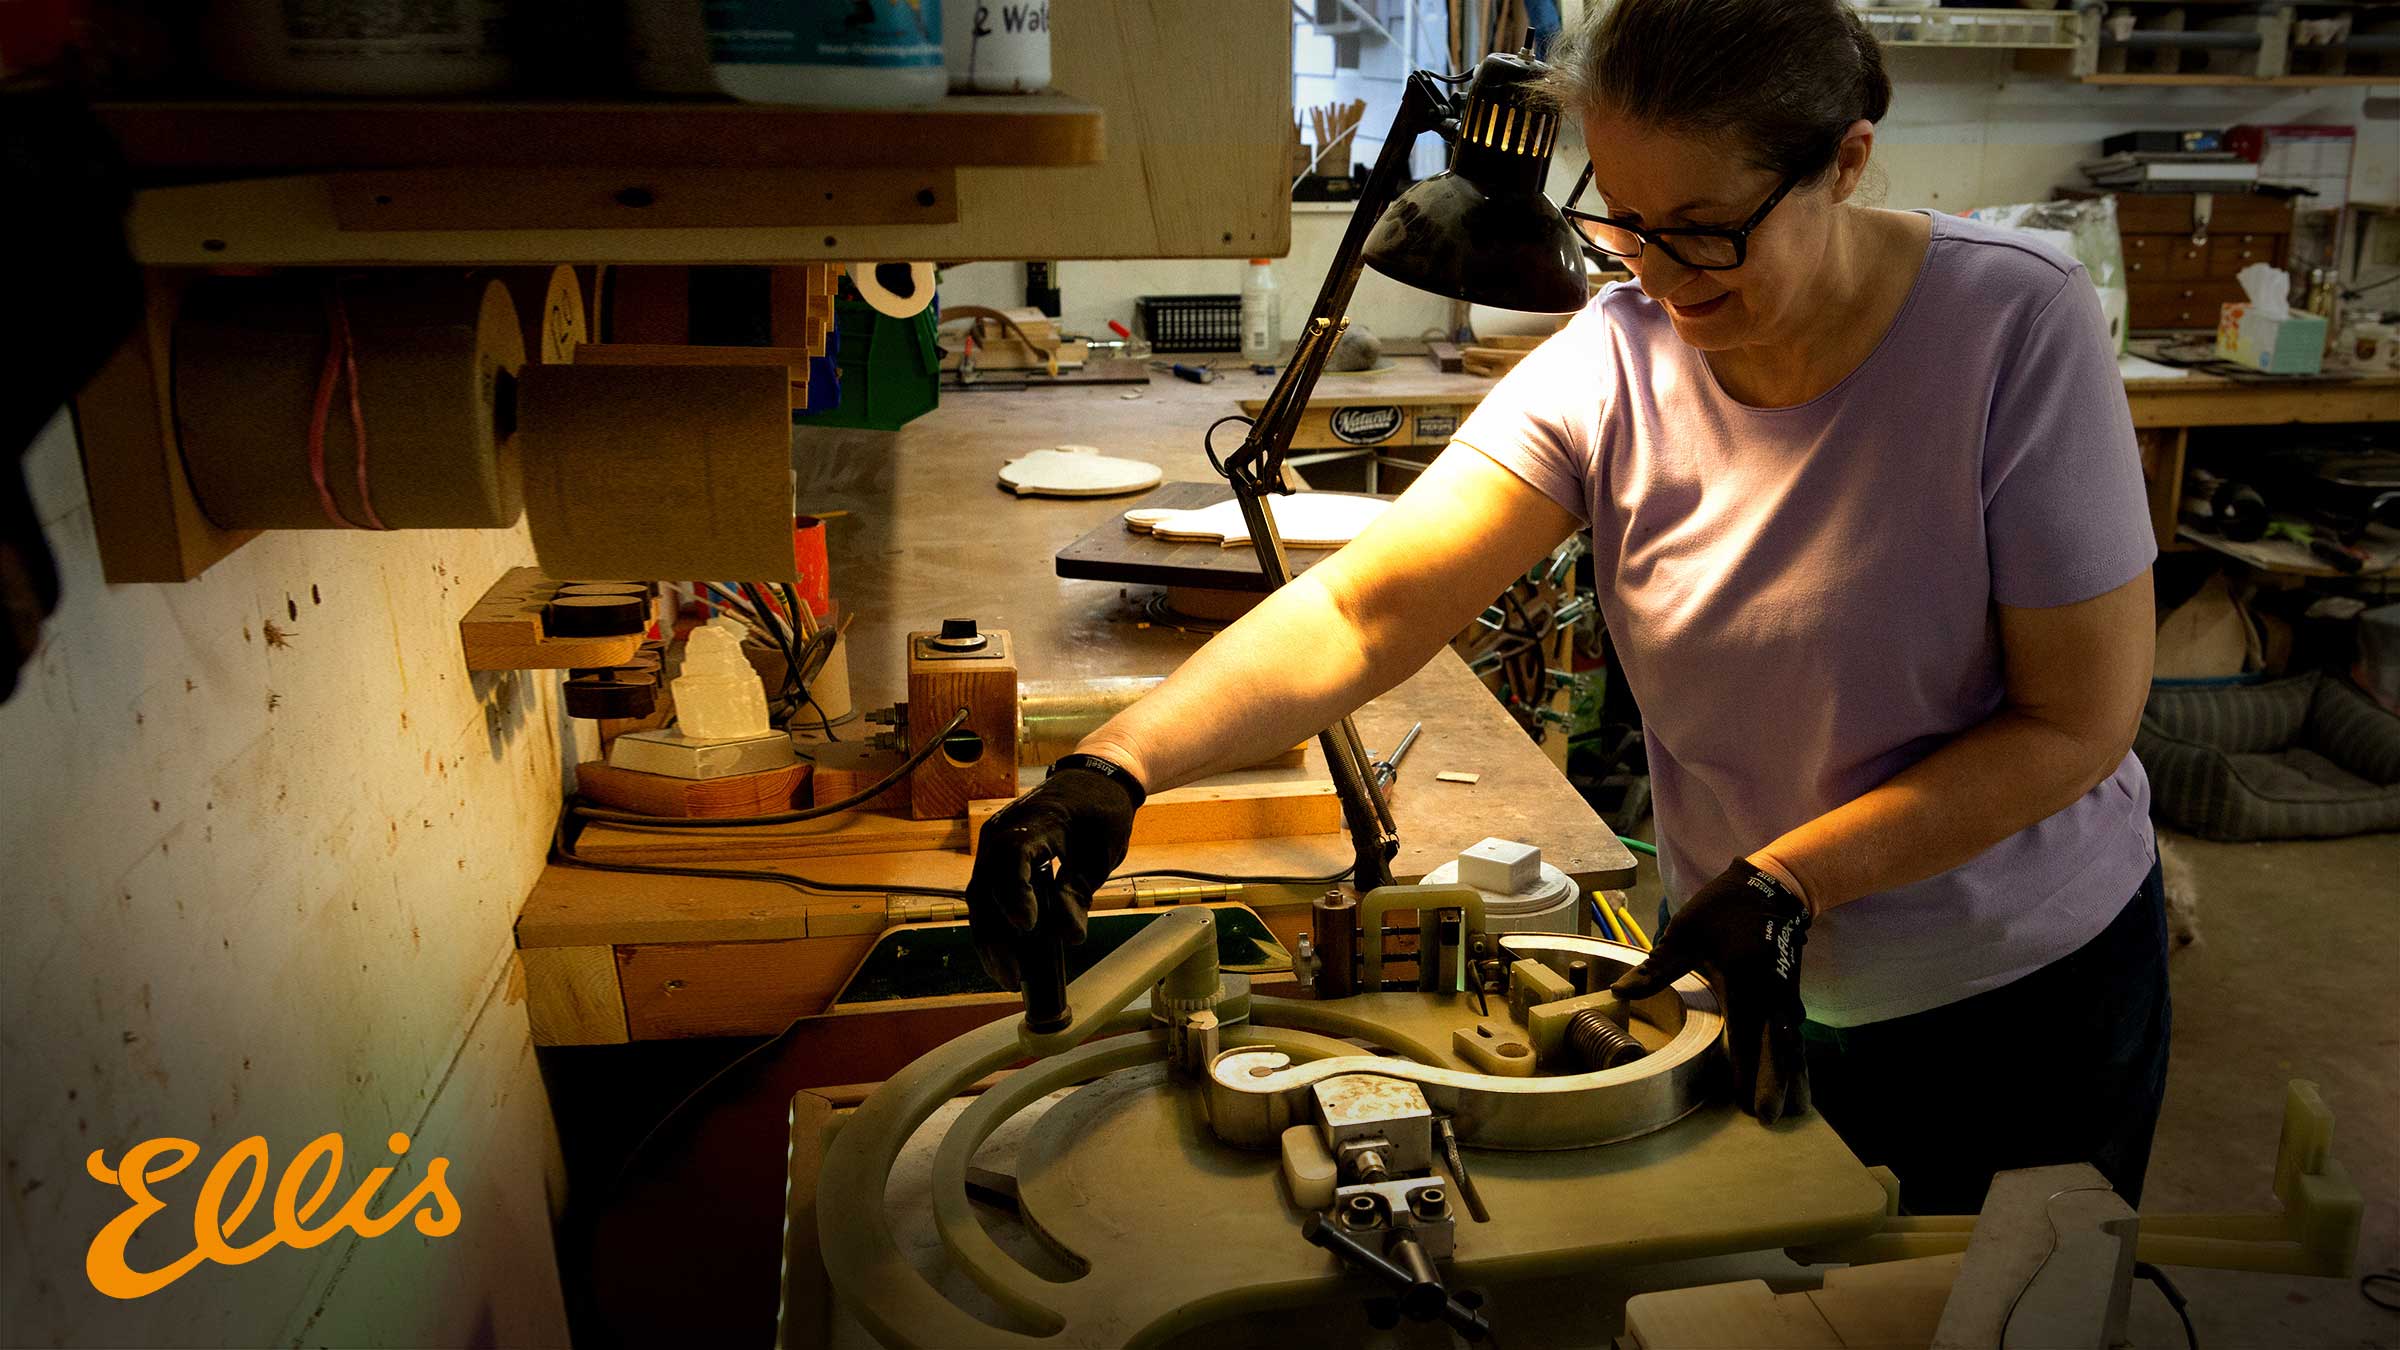
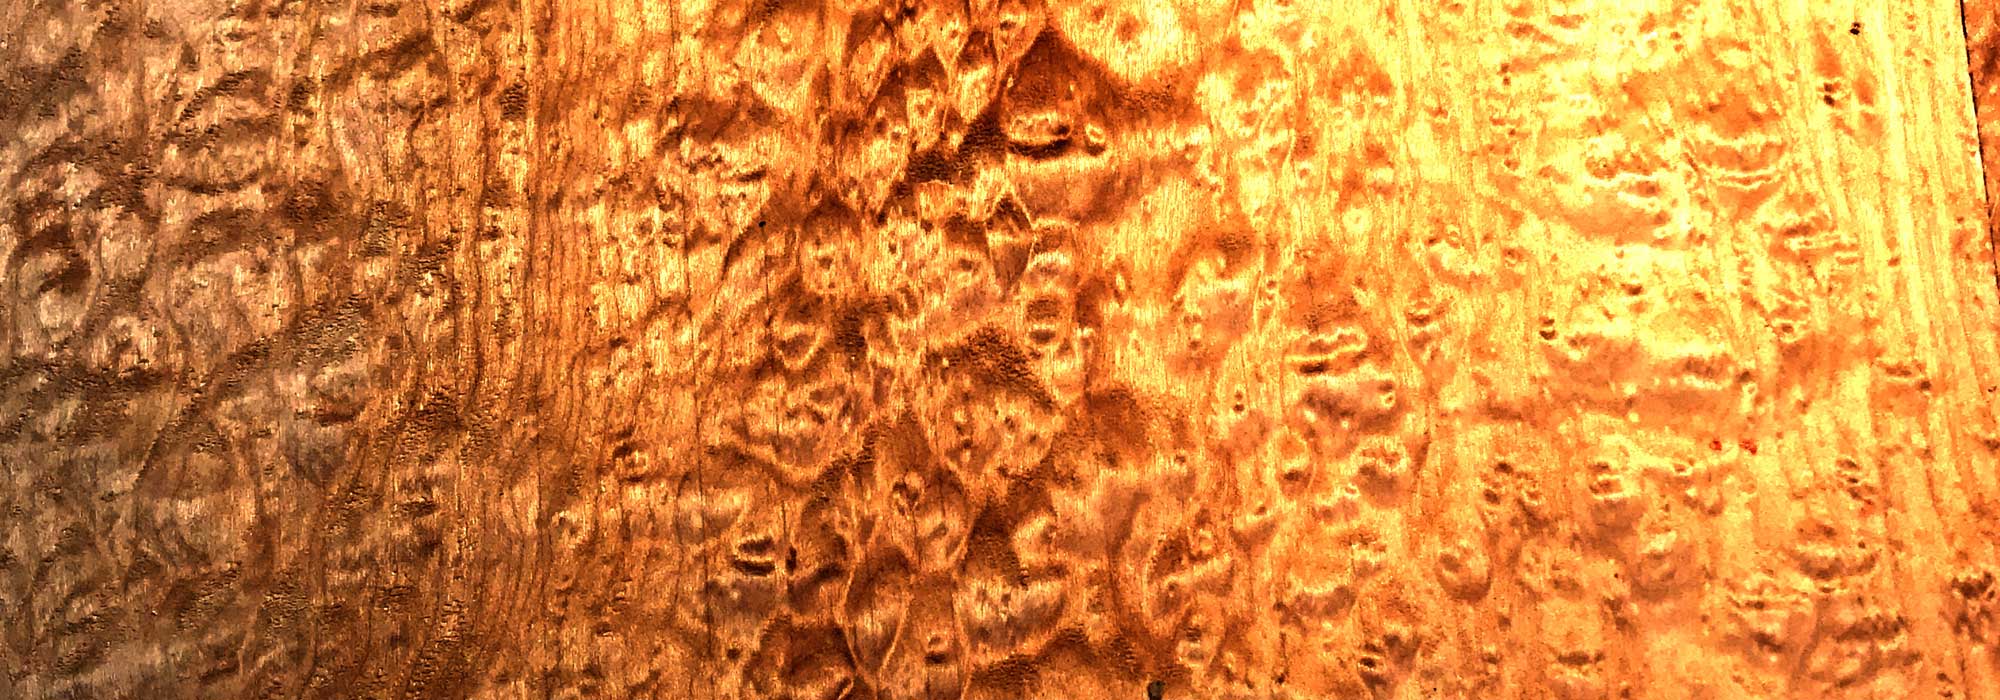
Here Pava is working her magic with our F-Scroll bending jig, slowly working the Big Leaf Maple sides into form.
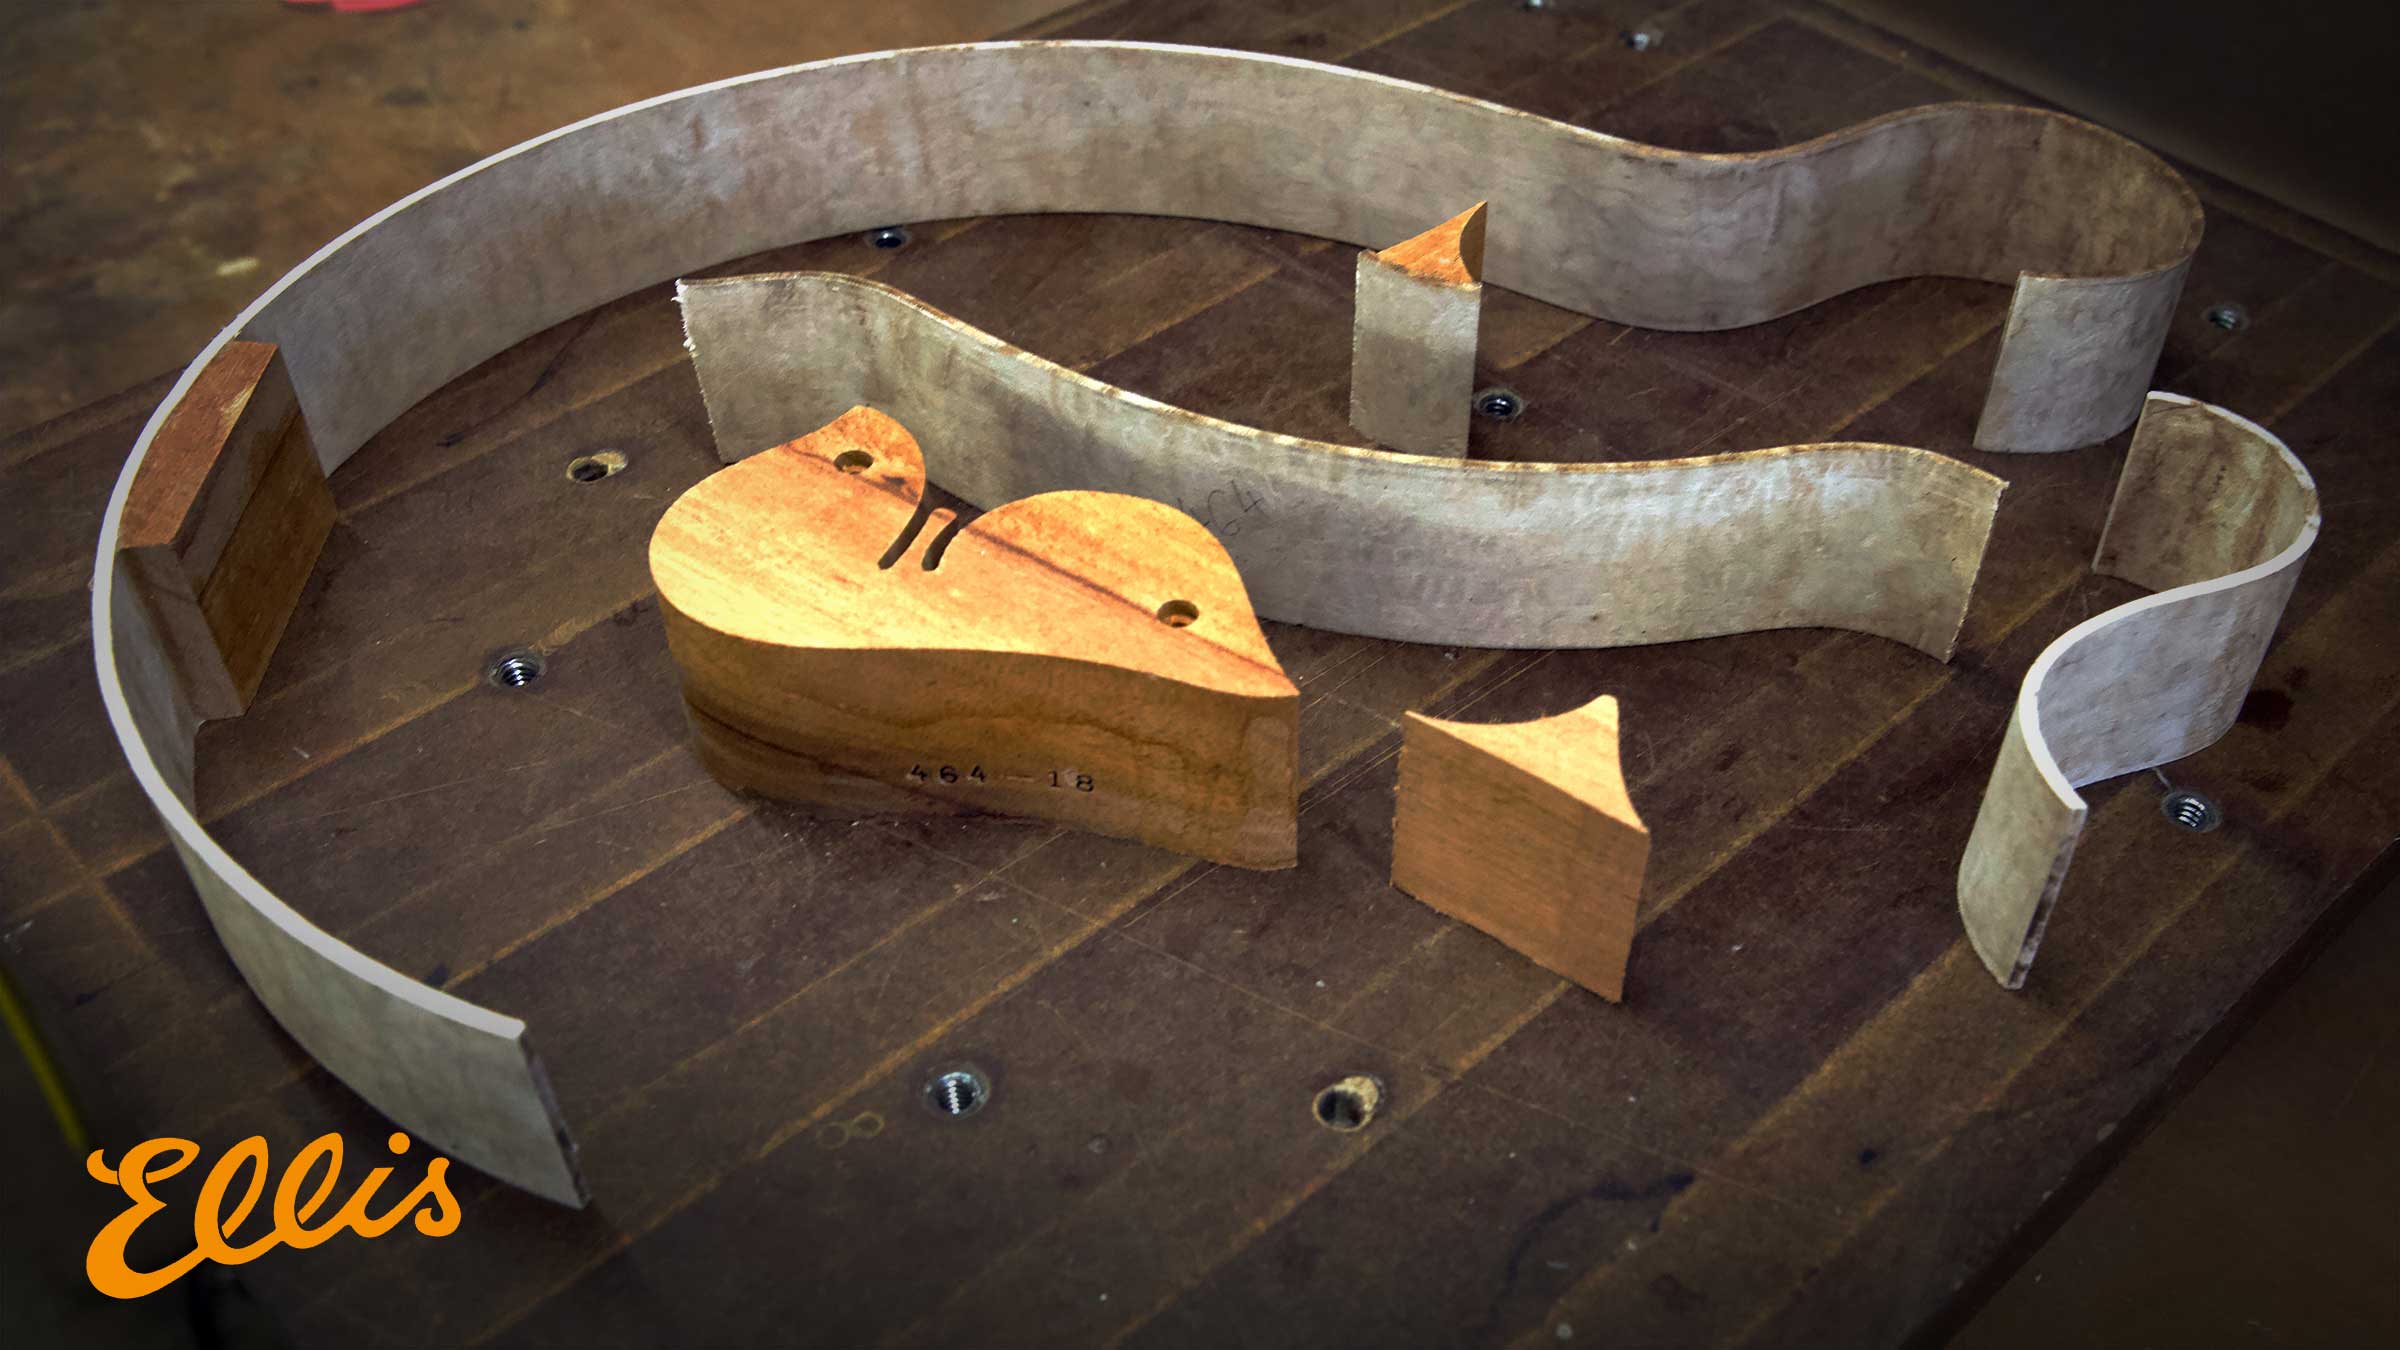
There are four block pieces and 4 side pieces that need to be cut and shaped to build an Ellis rim set. The mahogany head and tail block, and two corner points, as well as 4 individual maple pieces that make up the sides. Lots of precision hand work, but it is all worth it.
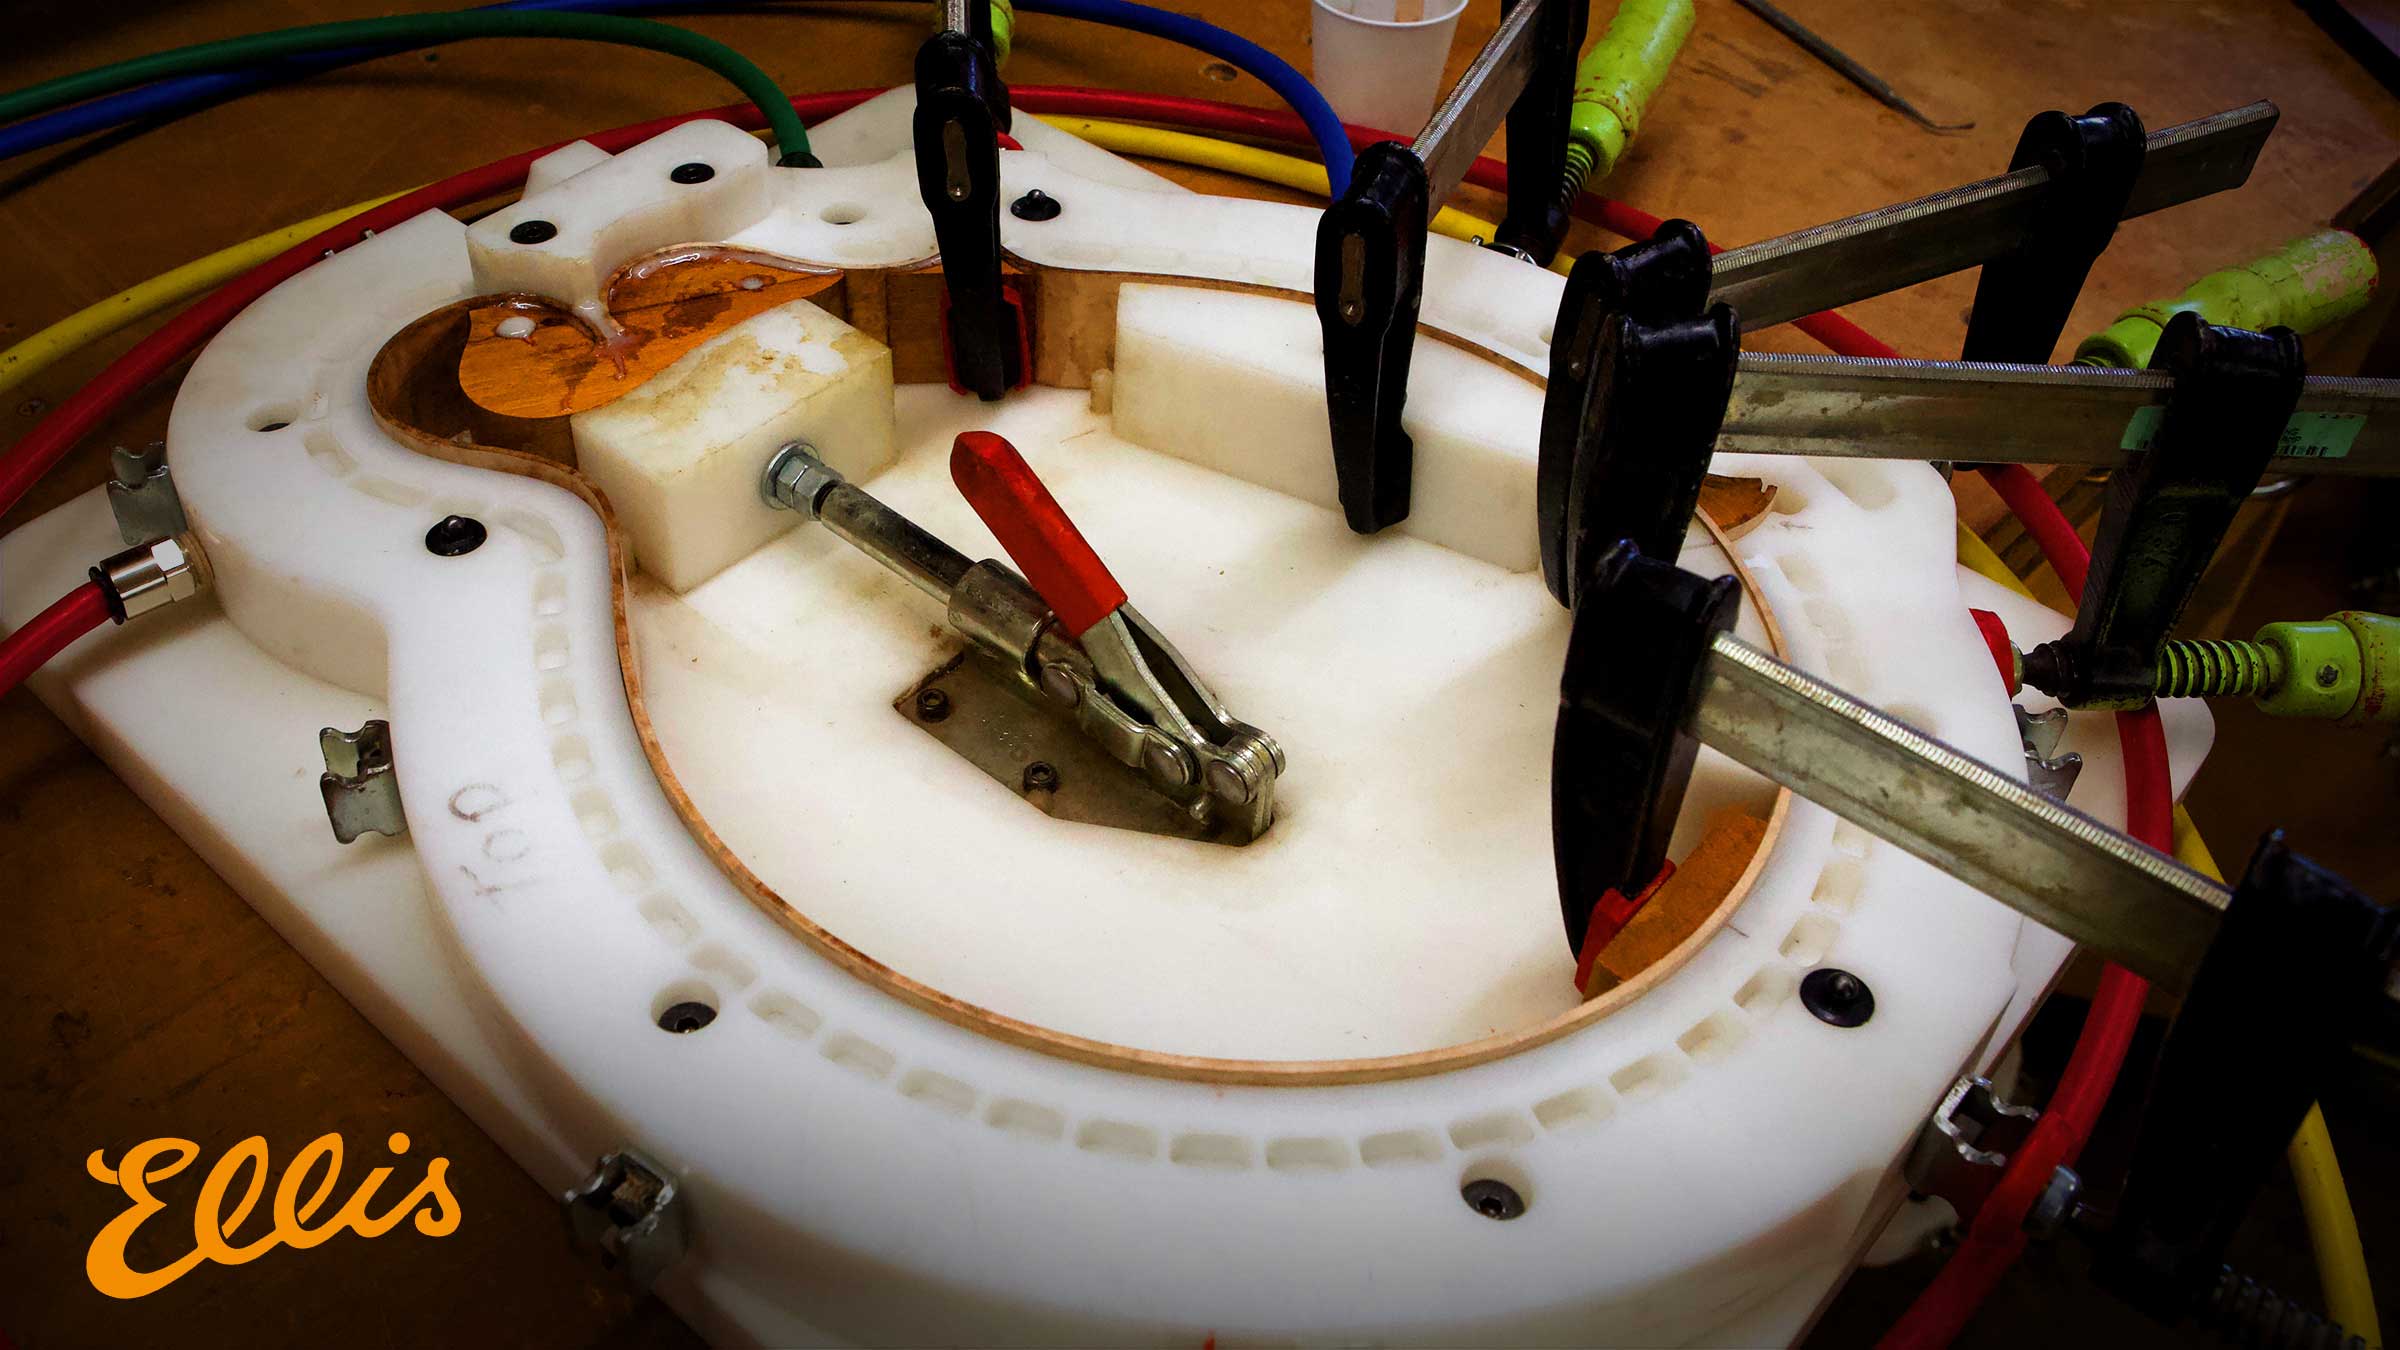
Now that all of the rim components have been bent, it is time to put them all together in the rim assembly jig.
Clamps hold down all of the blocks and points while vaccum lines lend a hand to hold all of the parts of the rim in place.
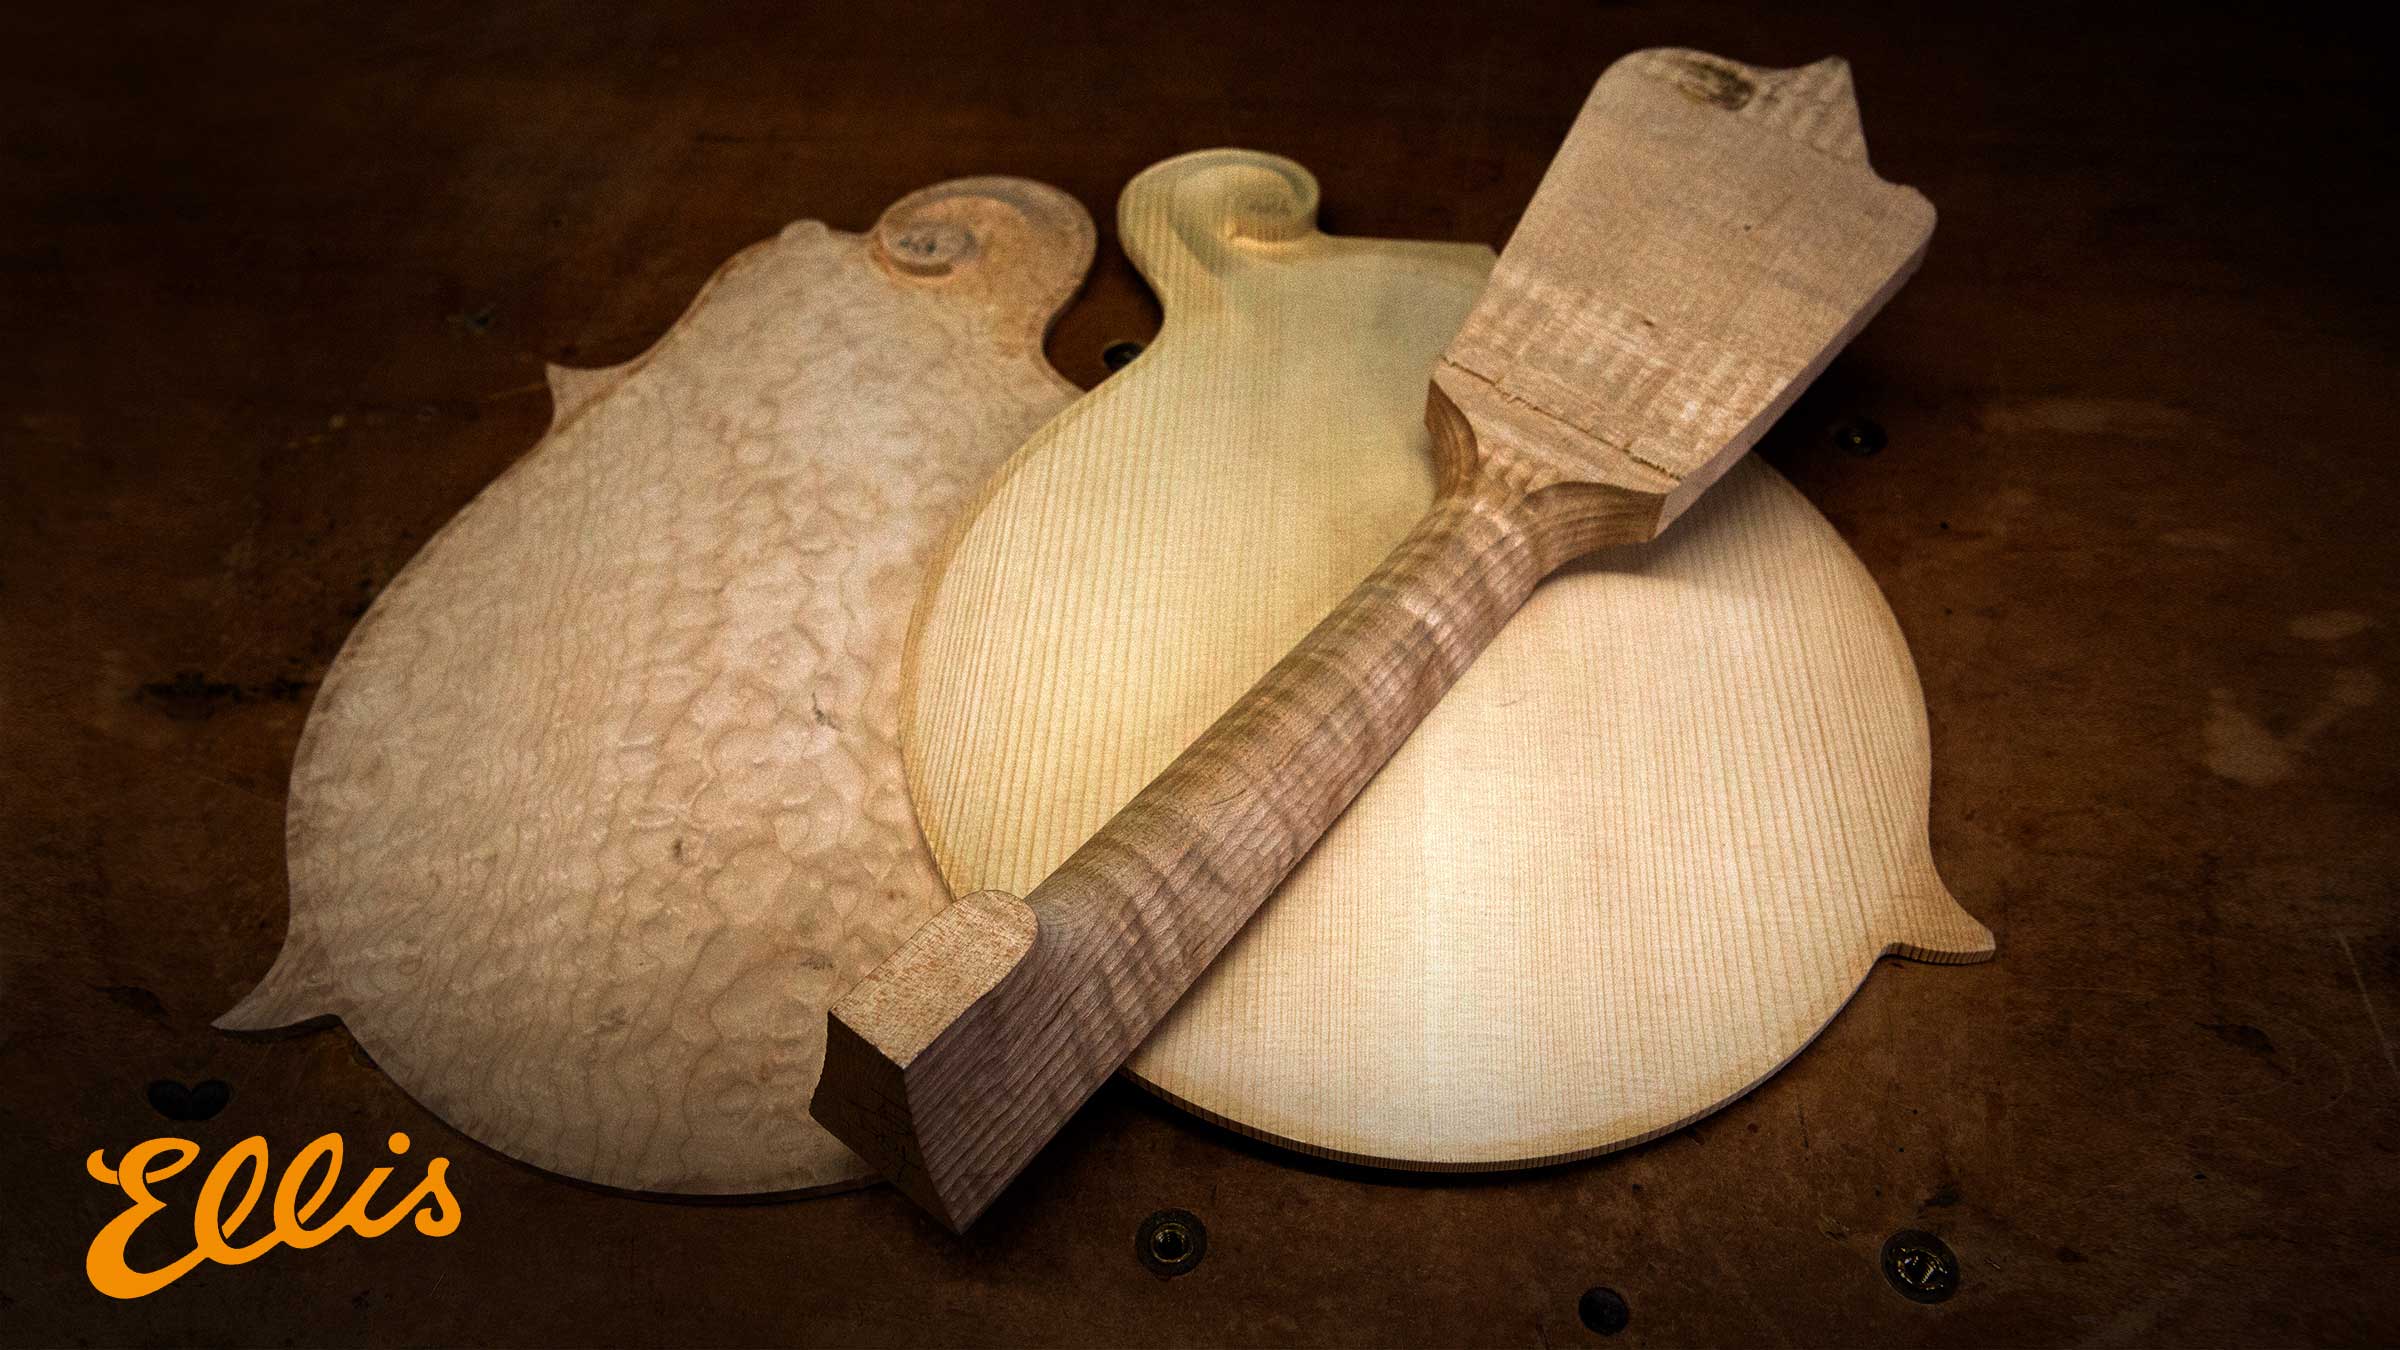
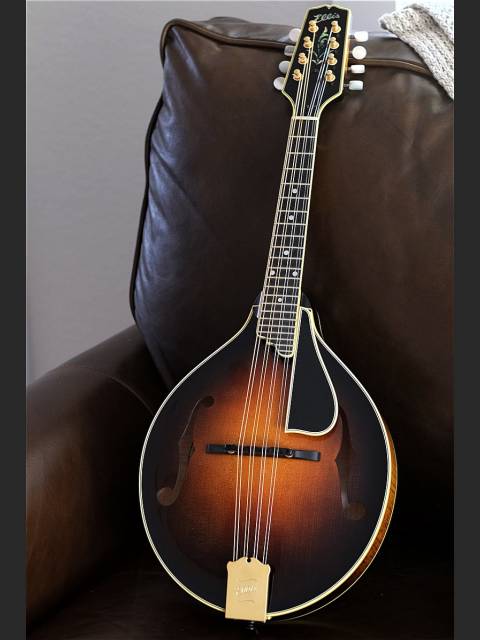
While the rim was being built, the top back and neck were roughed out in a separate process. Here they are, ready for Tom to begin working on final shaping and graduations. This is going to be one beautiful mandolin.
Part 3: Tom graduates and completes the top and back plates. →
RuttList is visitor supported, when you buy through links on our site we may earn an Amazon affiliate commission.