After Tom completes graduation of the top and back plates, Pava begins work on assembling the body of #464 and getting everything glued together.
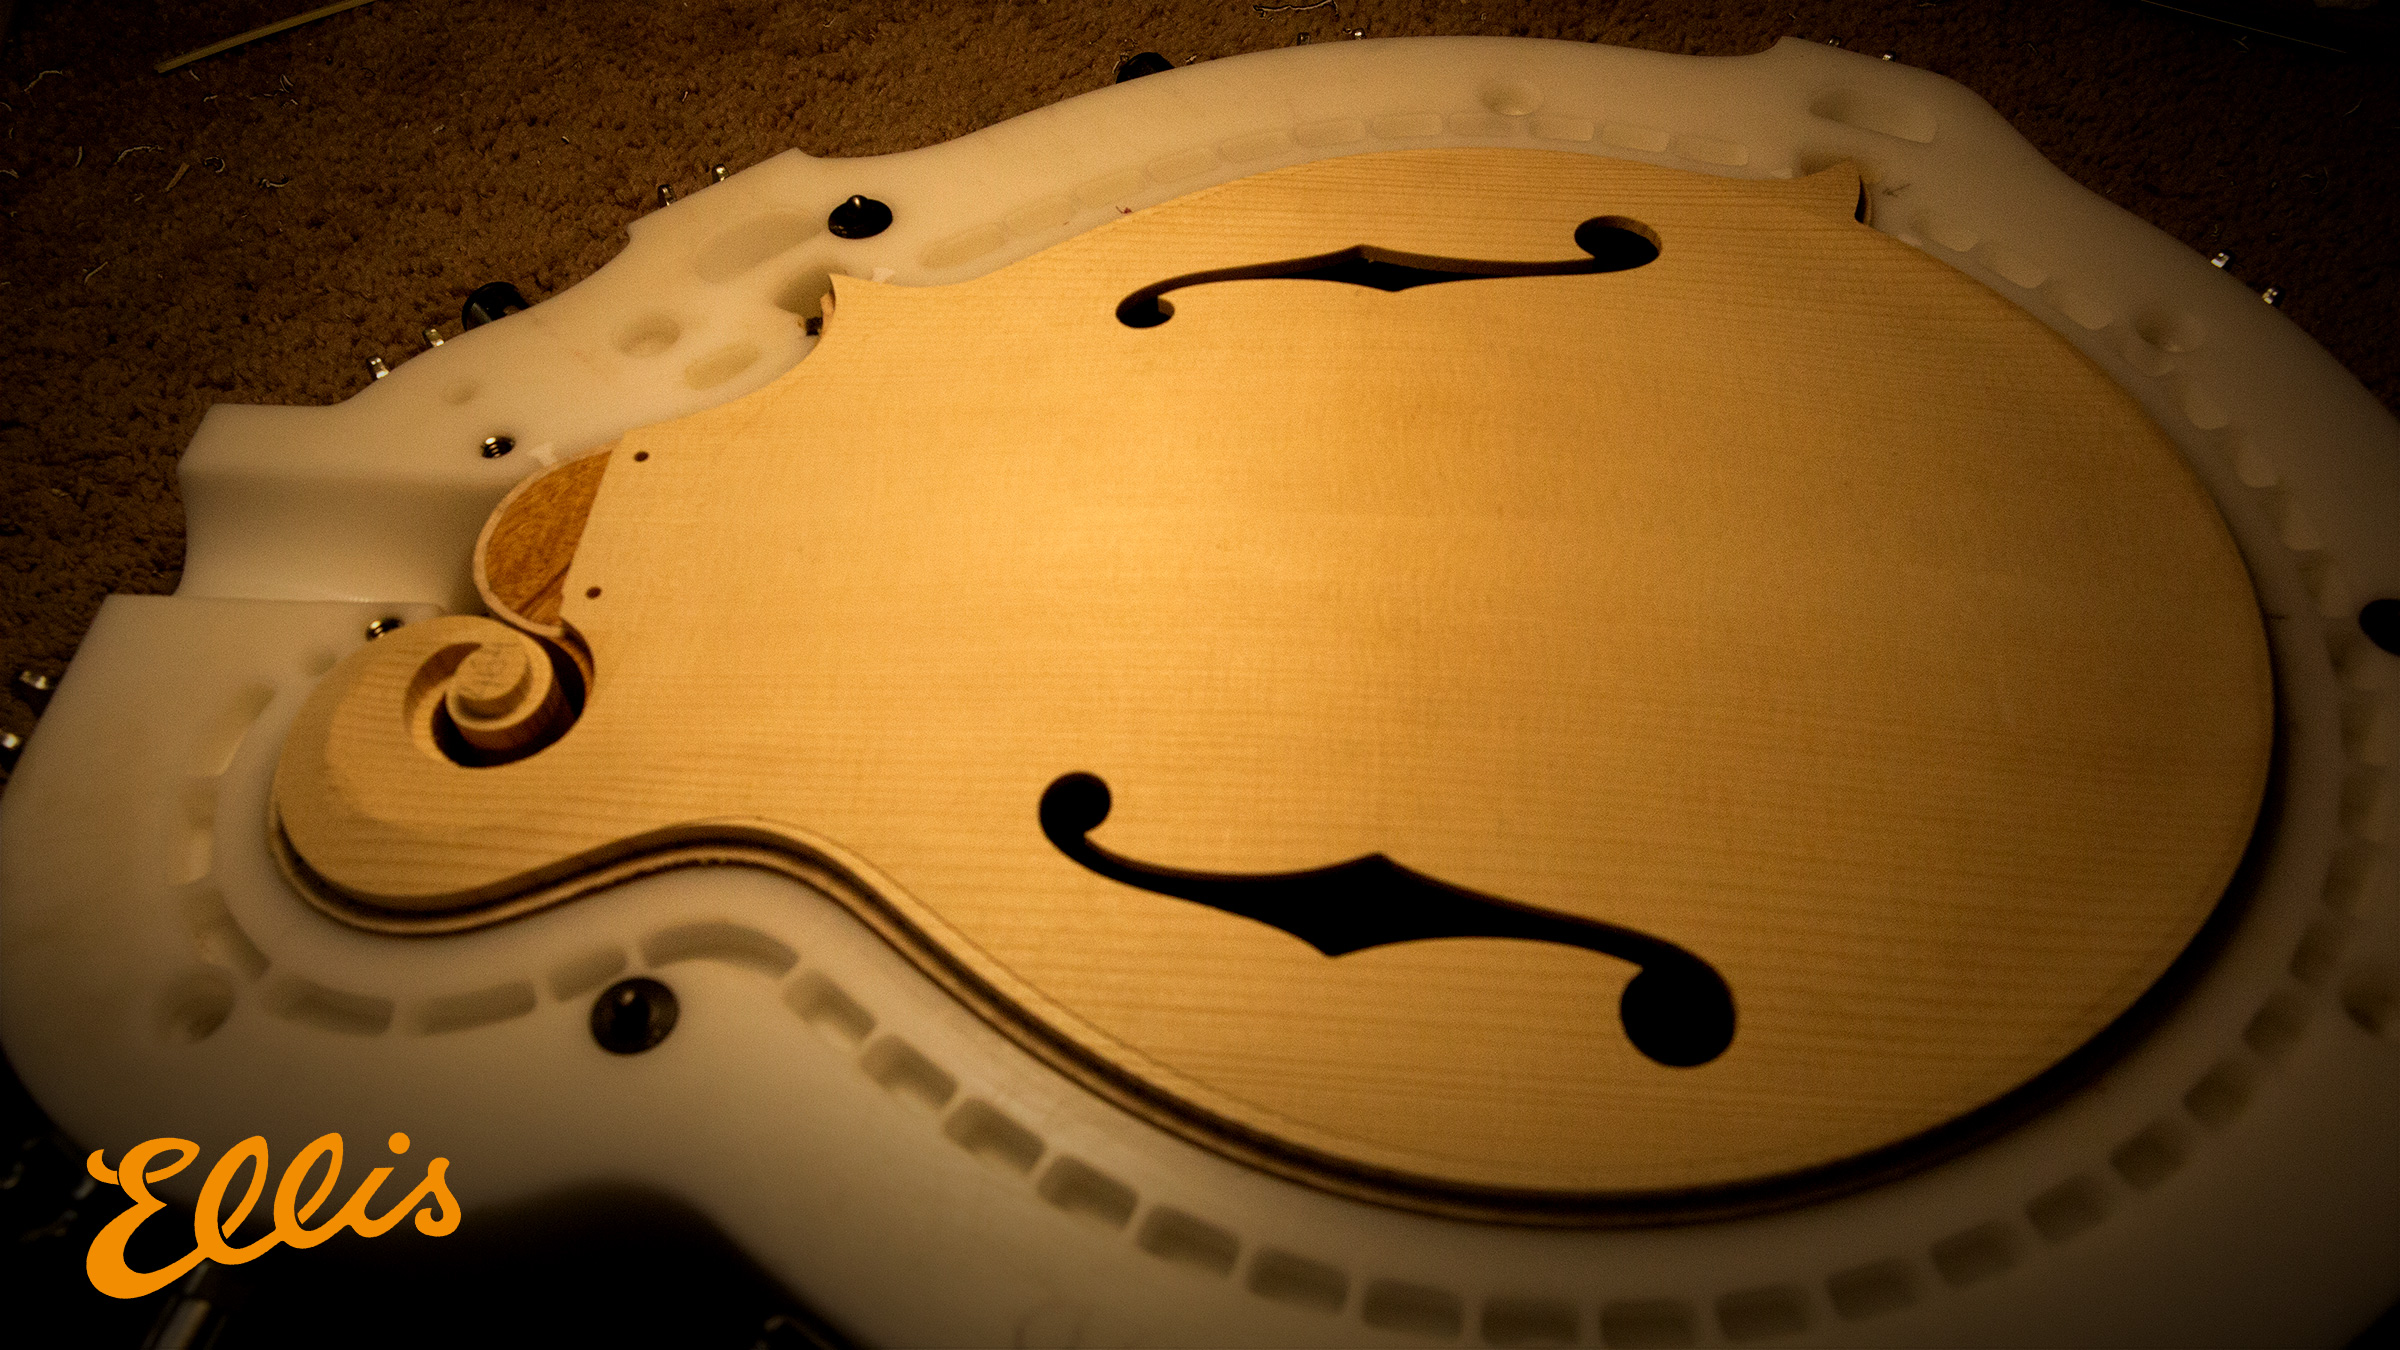
The first step in the assembly of the body, is getting the top plate aligned and glued into position. Here is what the top of #464 looks as it comes out of the clamping jig.
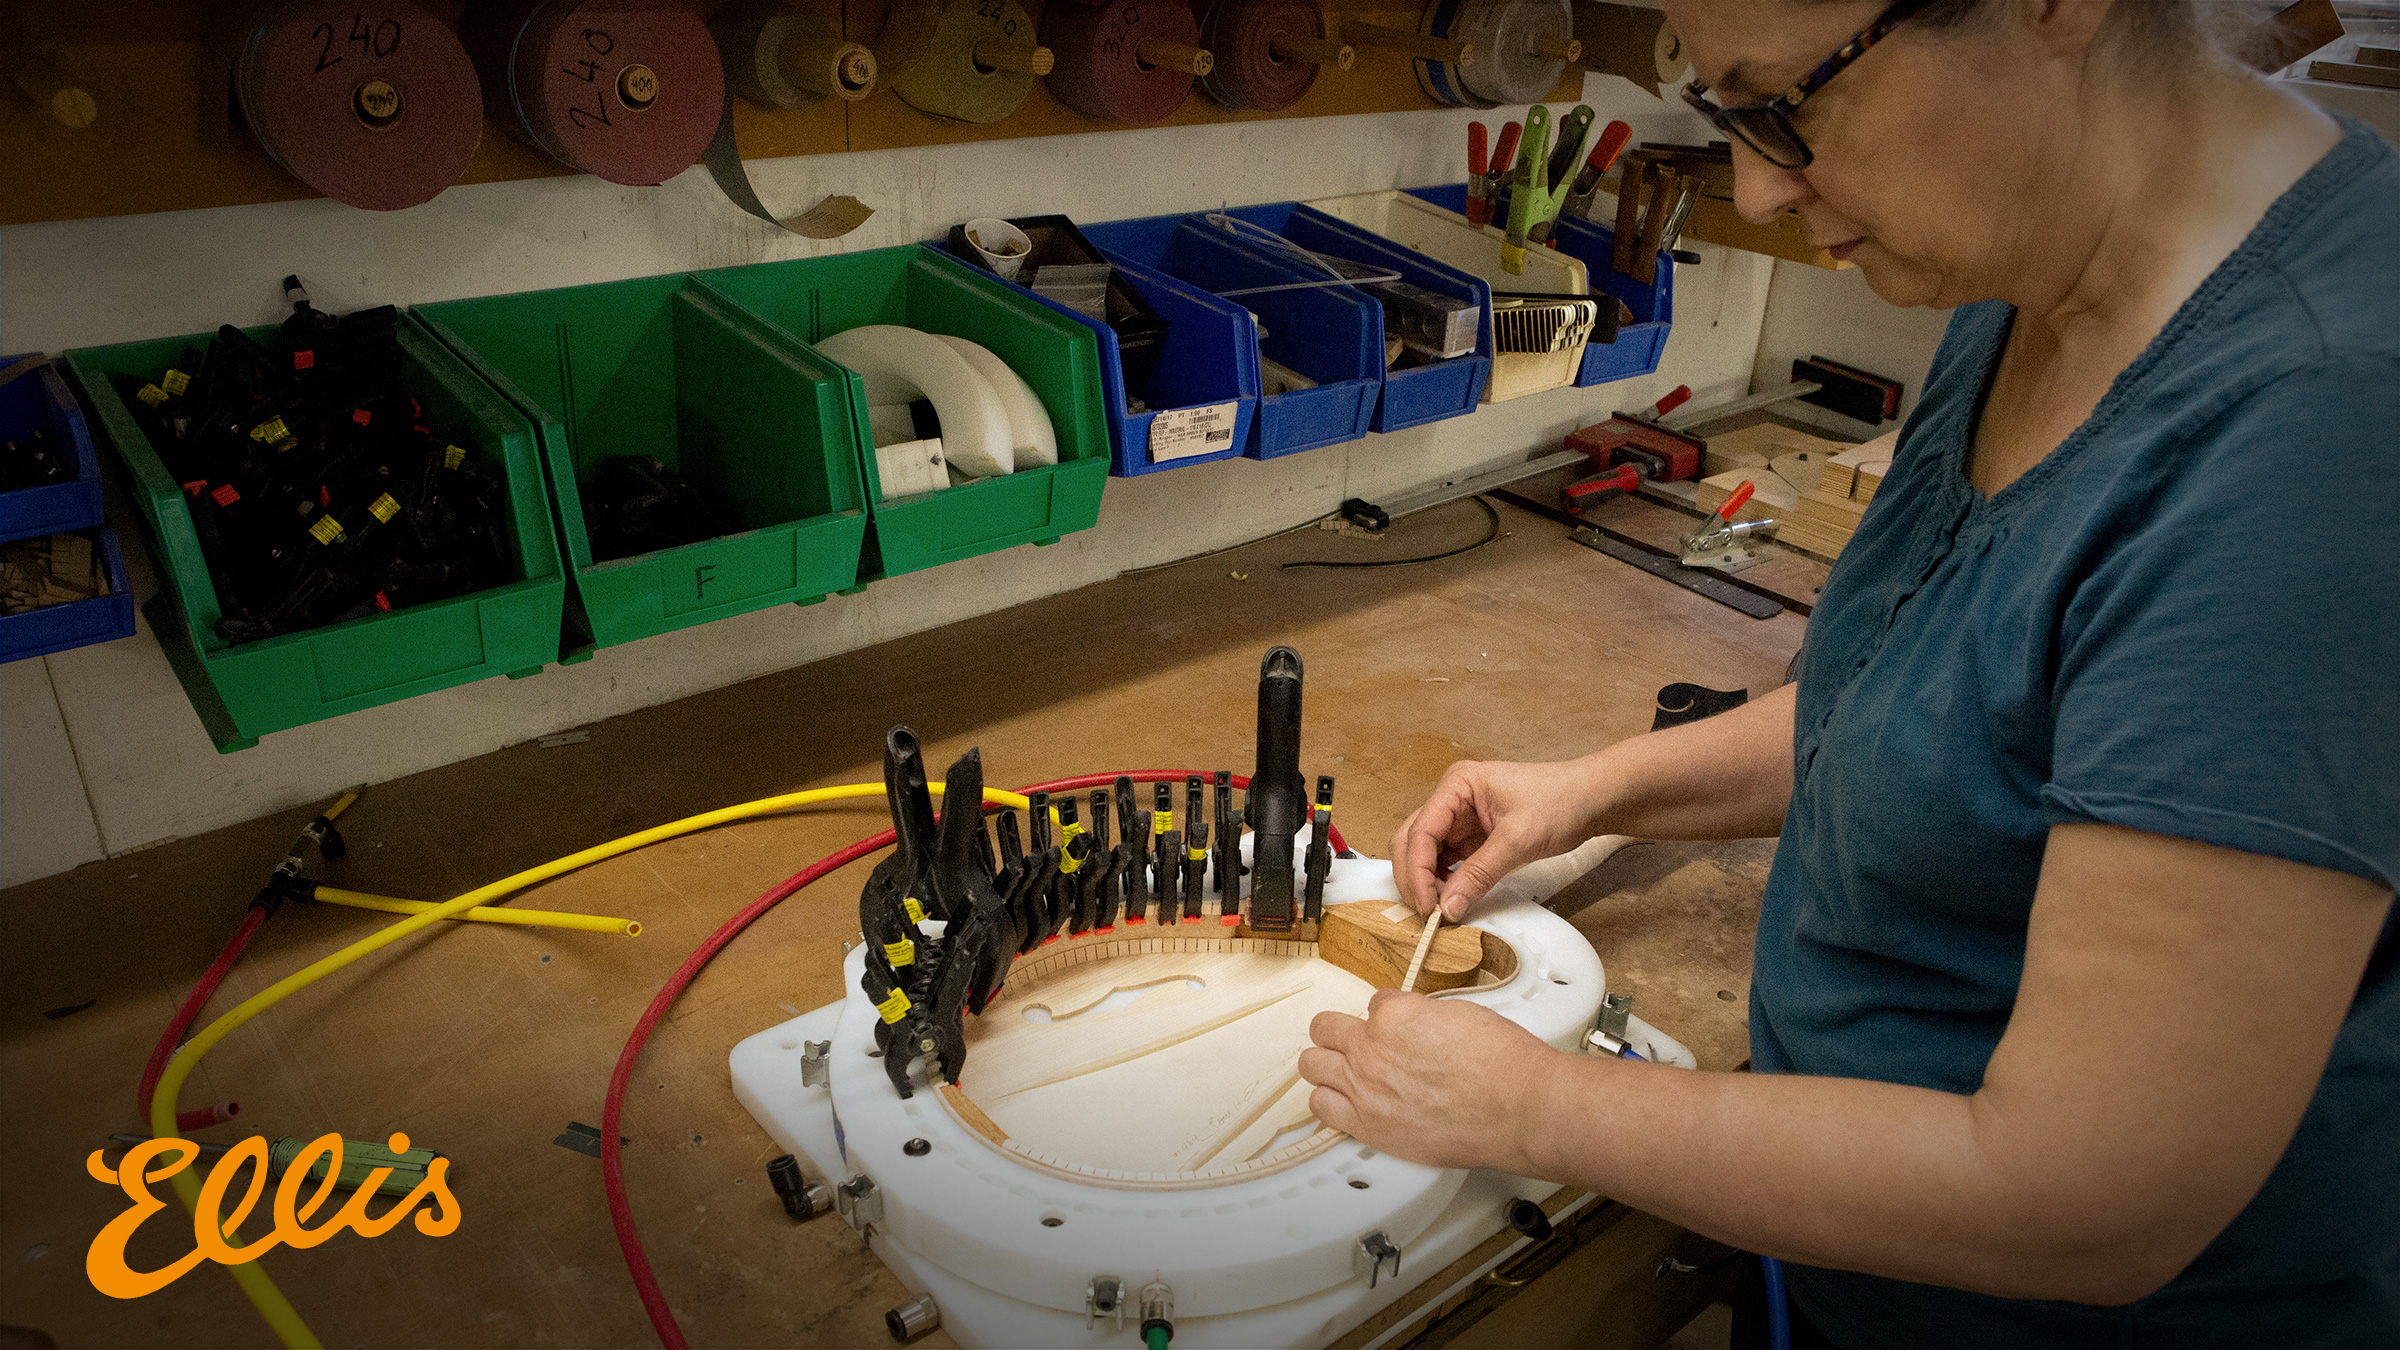
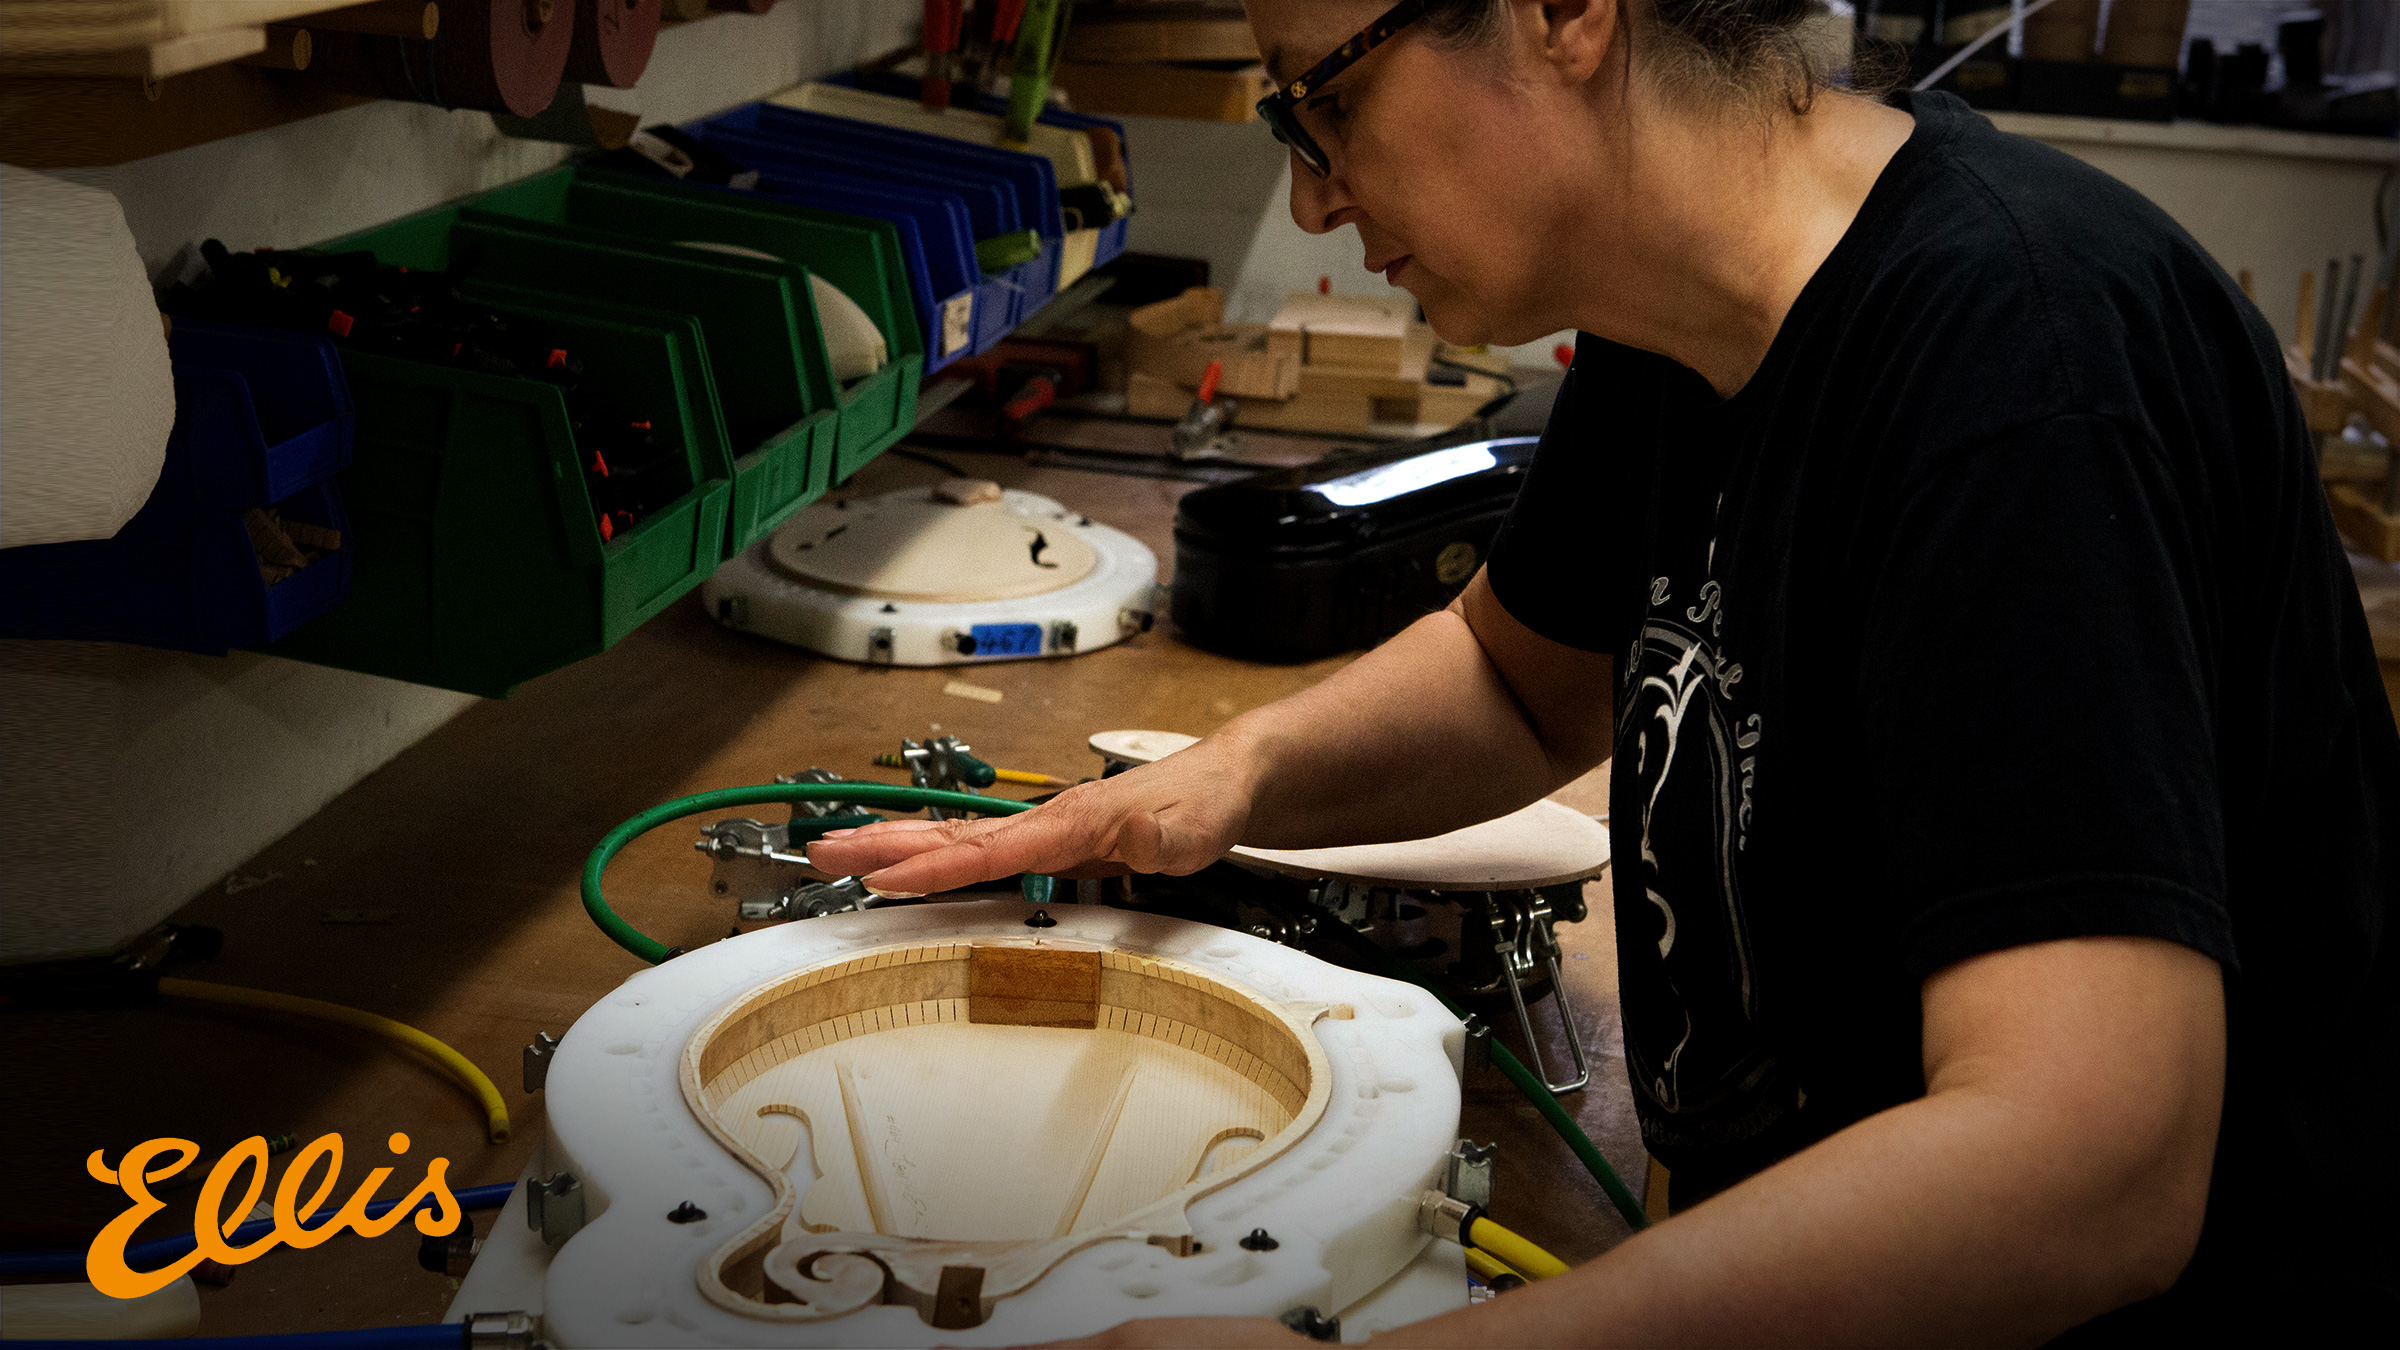
Pava then installs the kerfing for the back plate, with the help of the clamping cutouts in the body assembly jig.
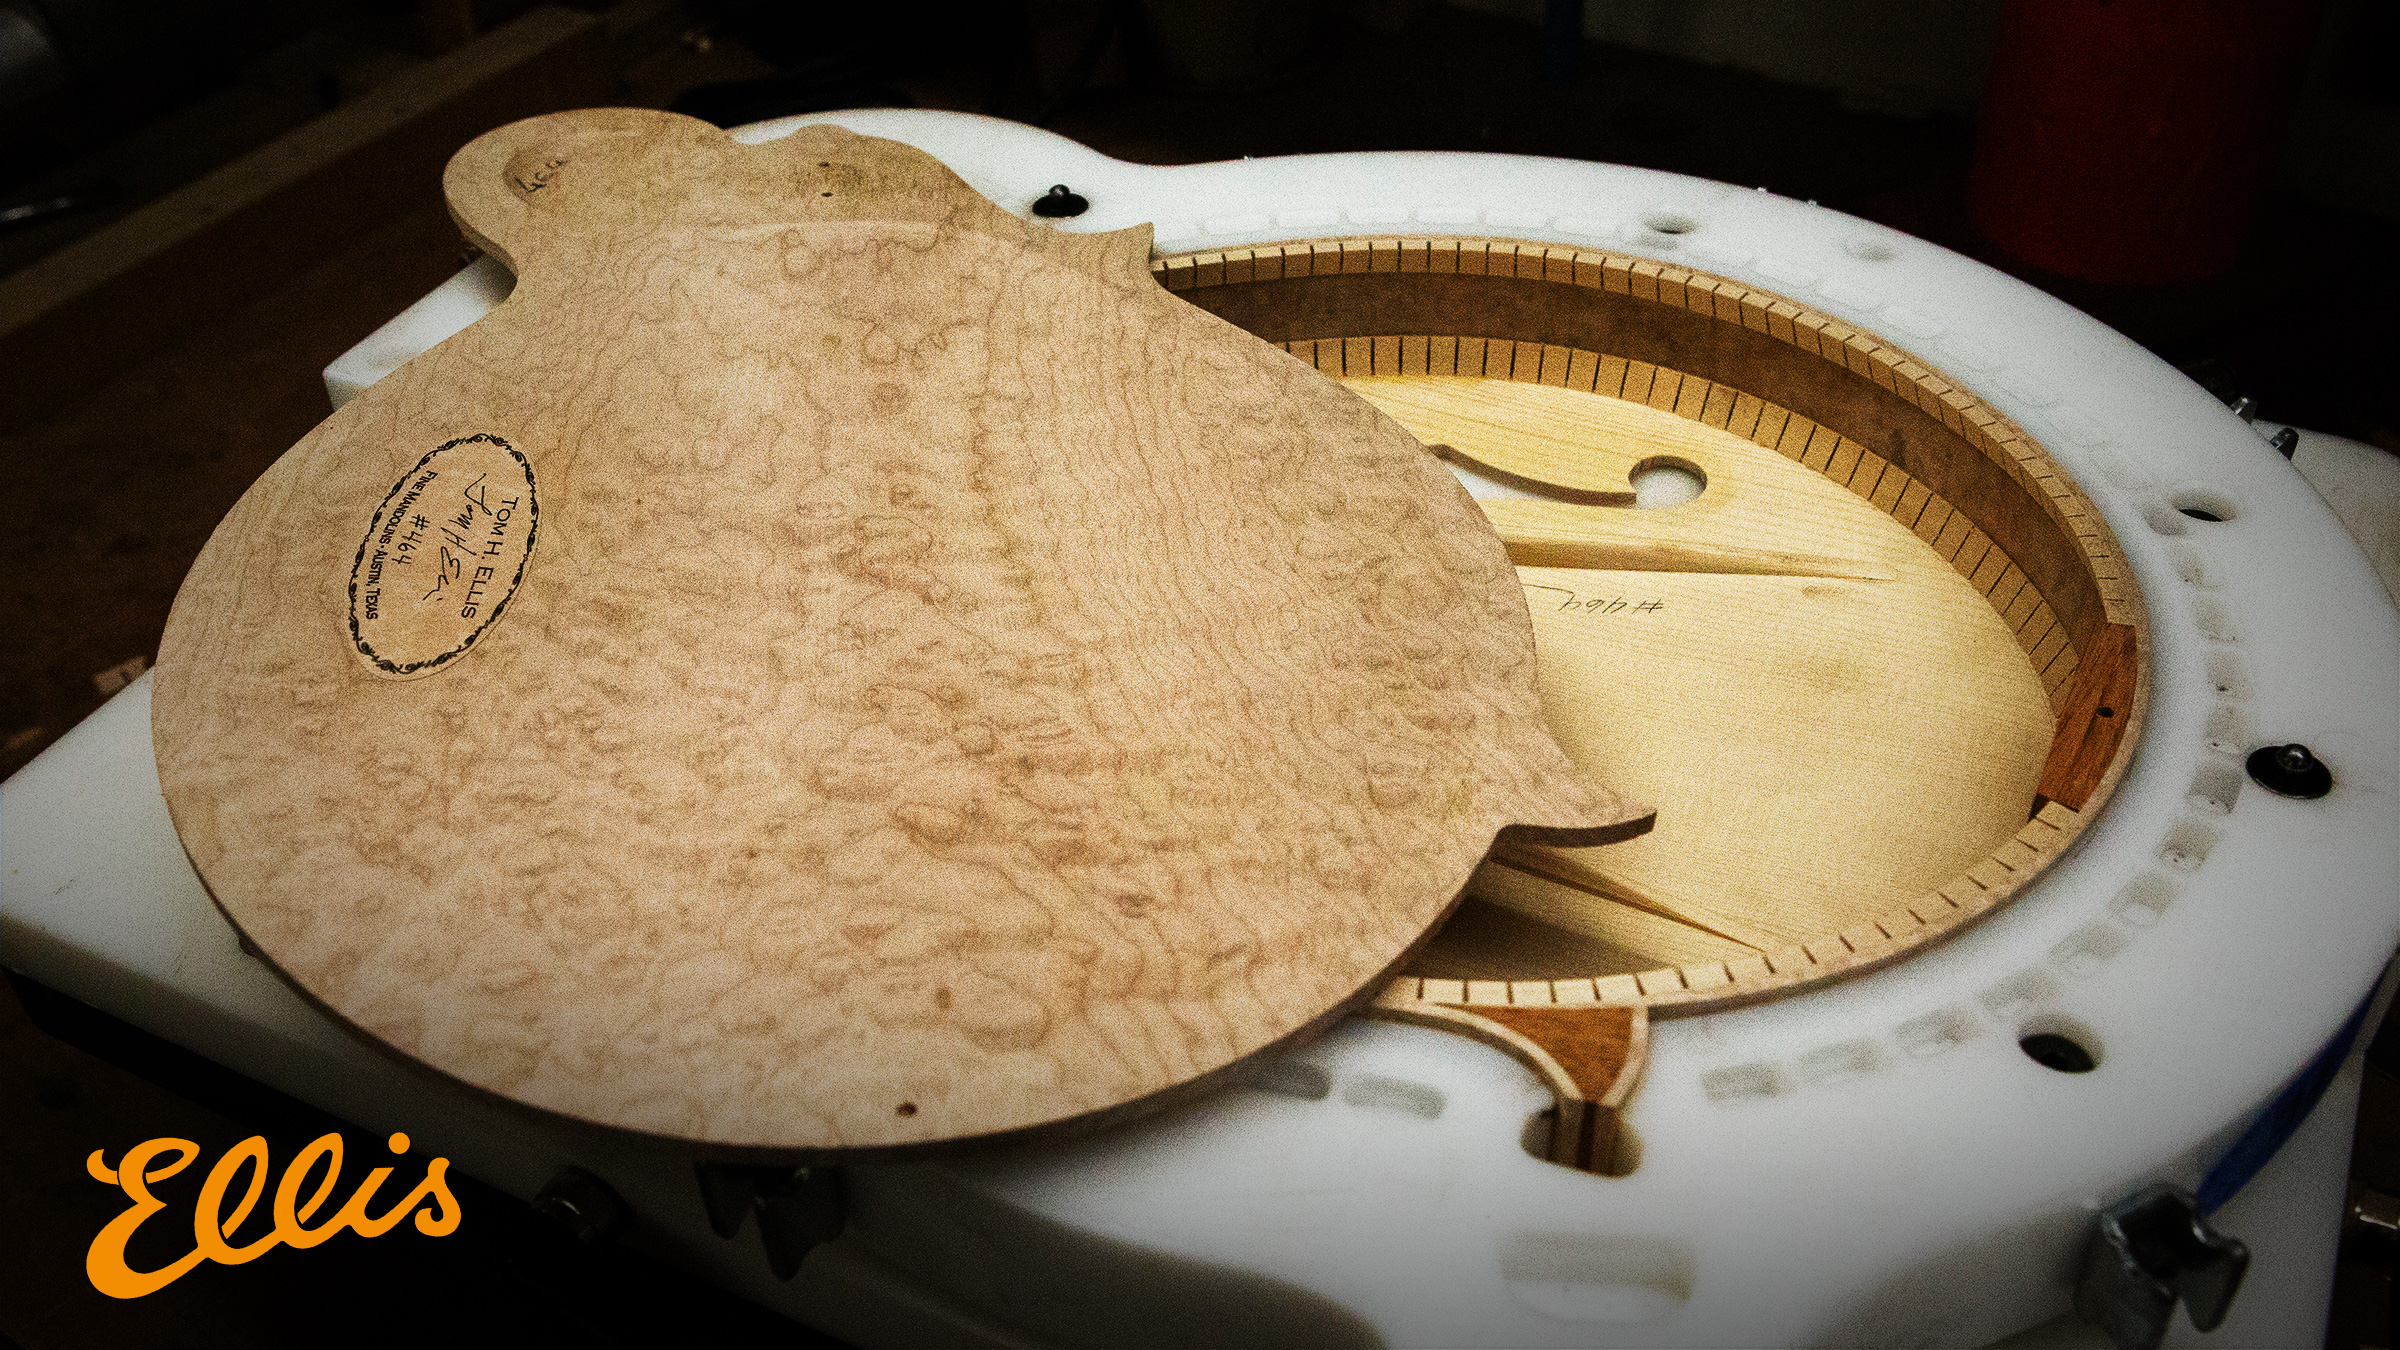
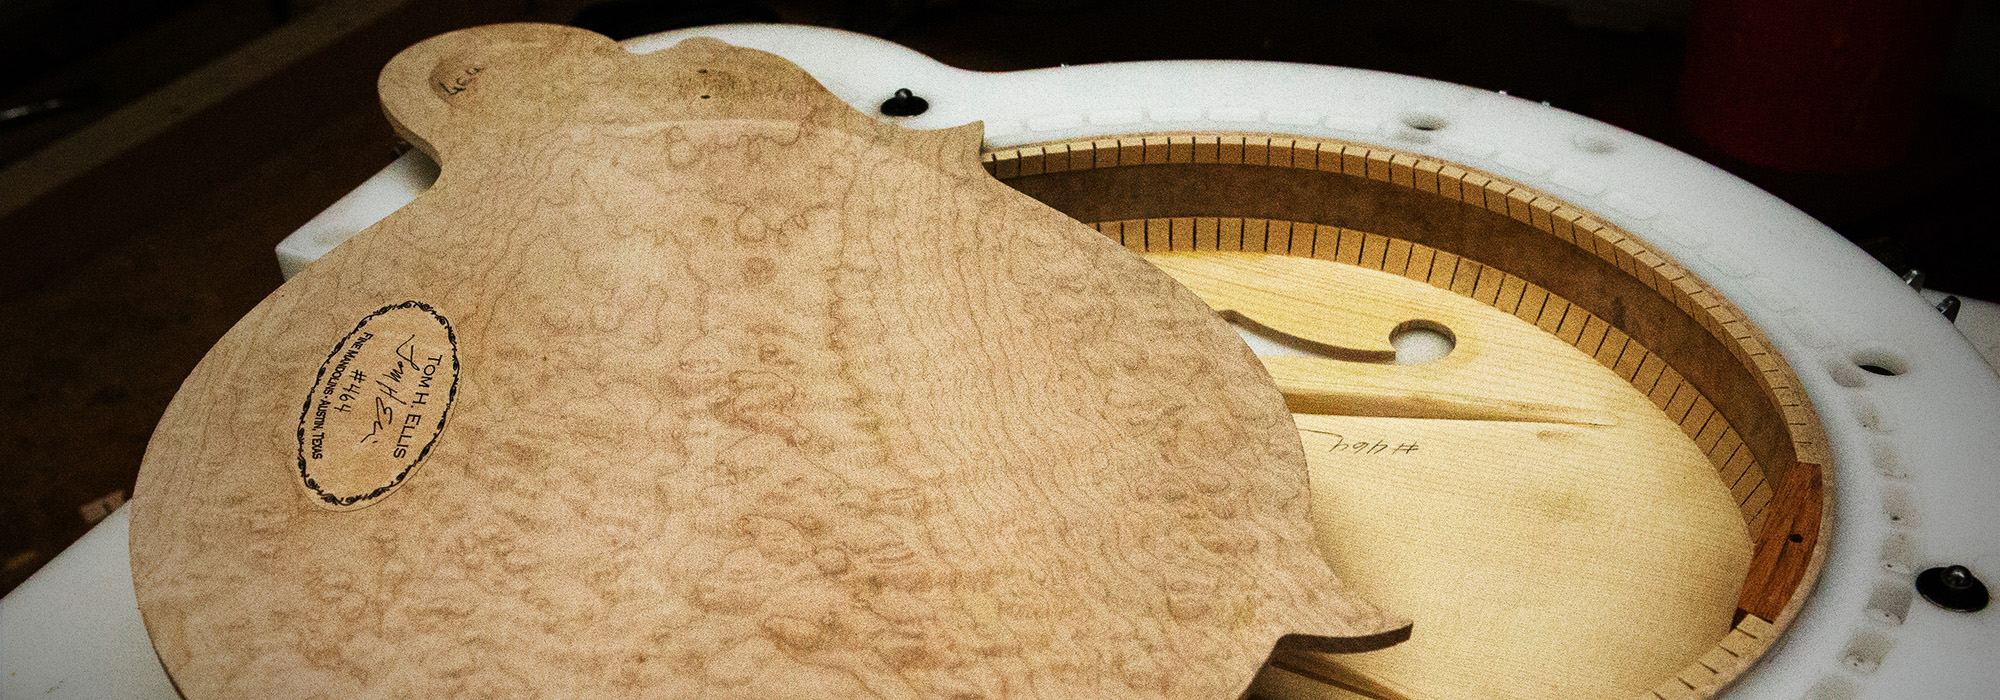
Here is a last look at the inside of #464 before the back is attached to the rest of the body. Here you can see the label that will eventually be viewed through the bass side F-Hole.
Here is a look at the back clamping jig as Pava begins to apply glue for final assembly.
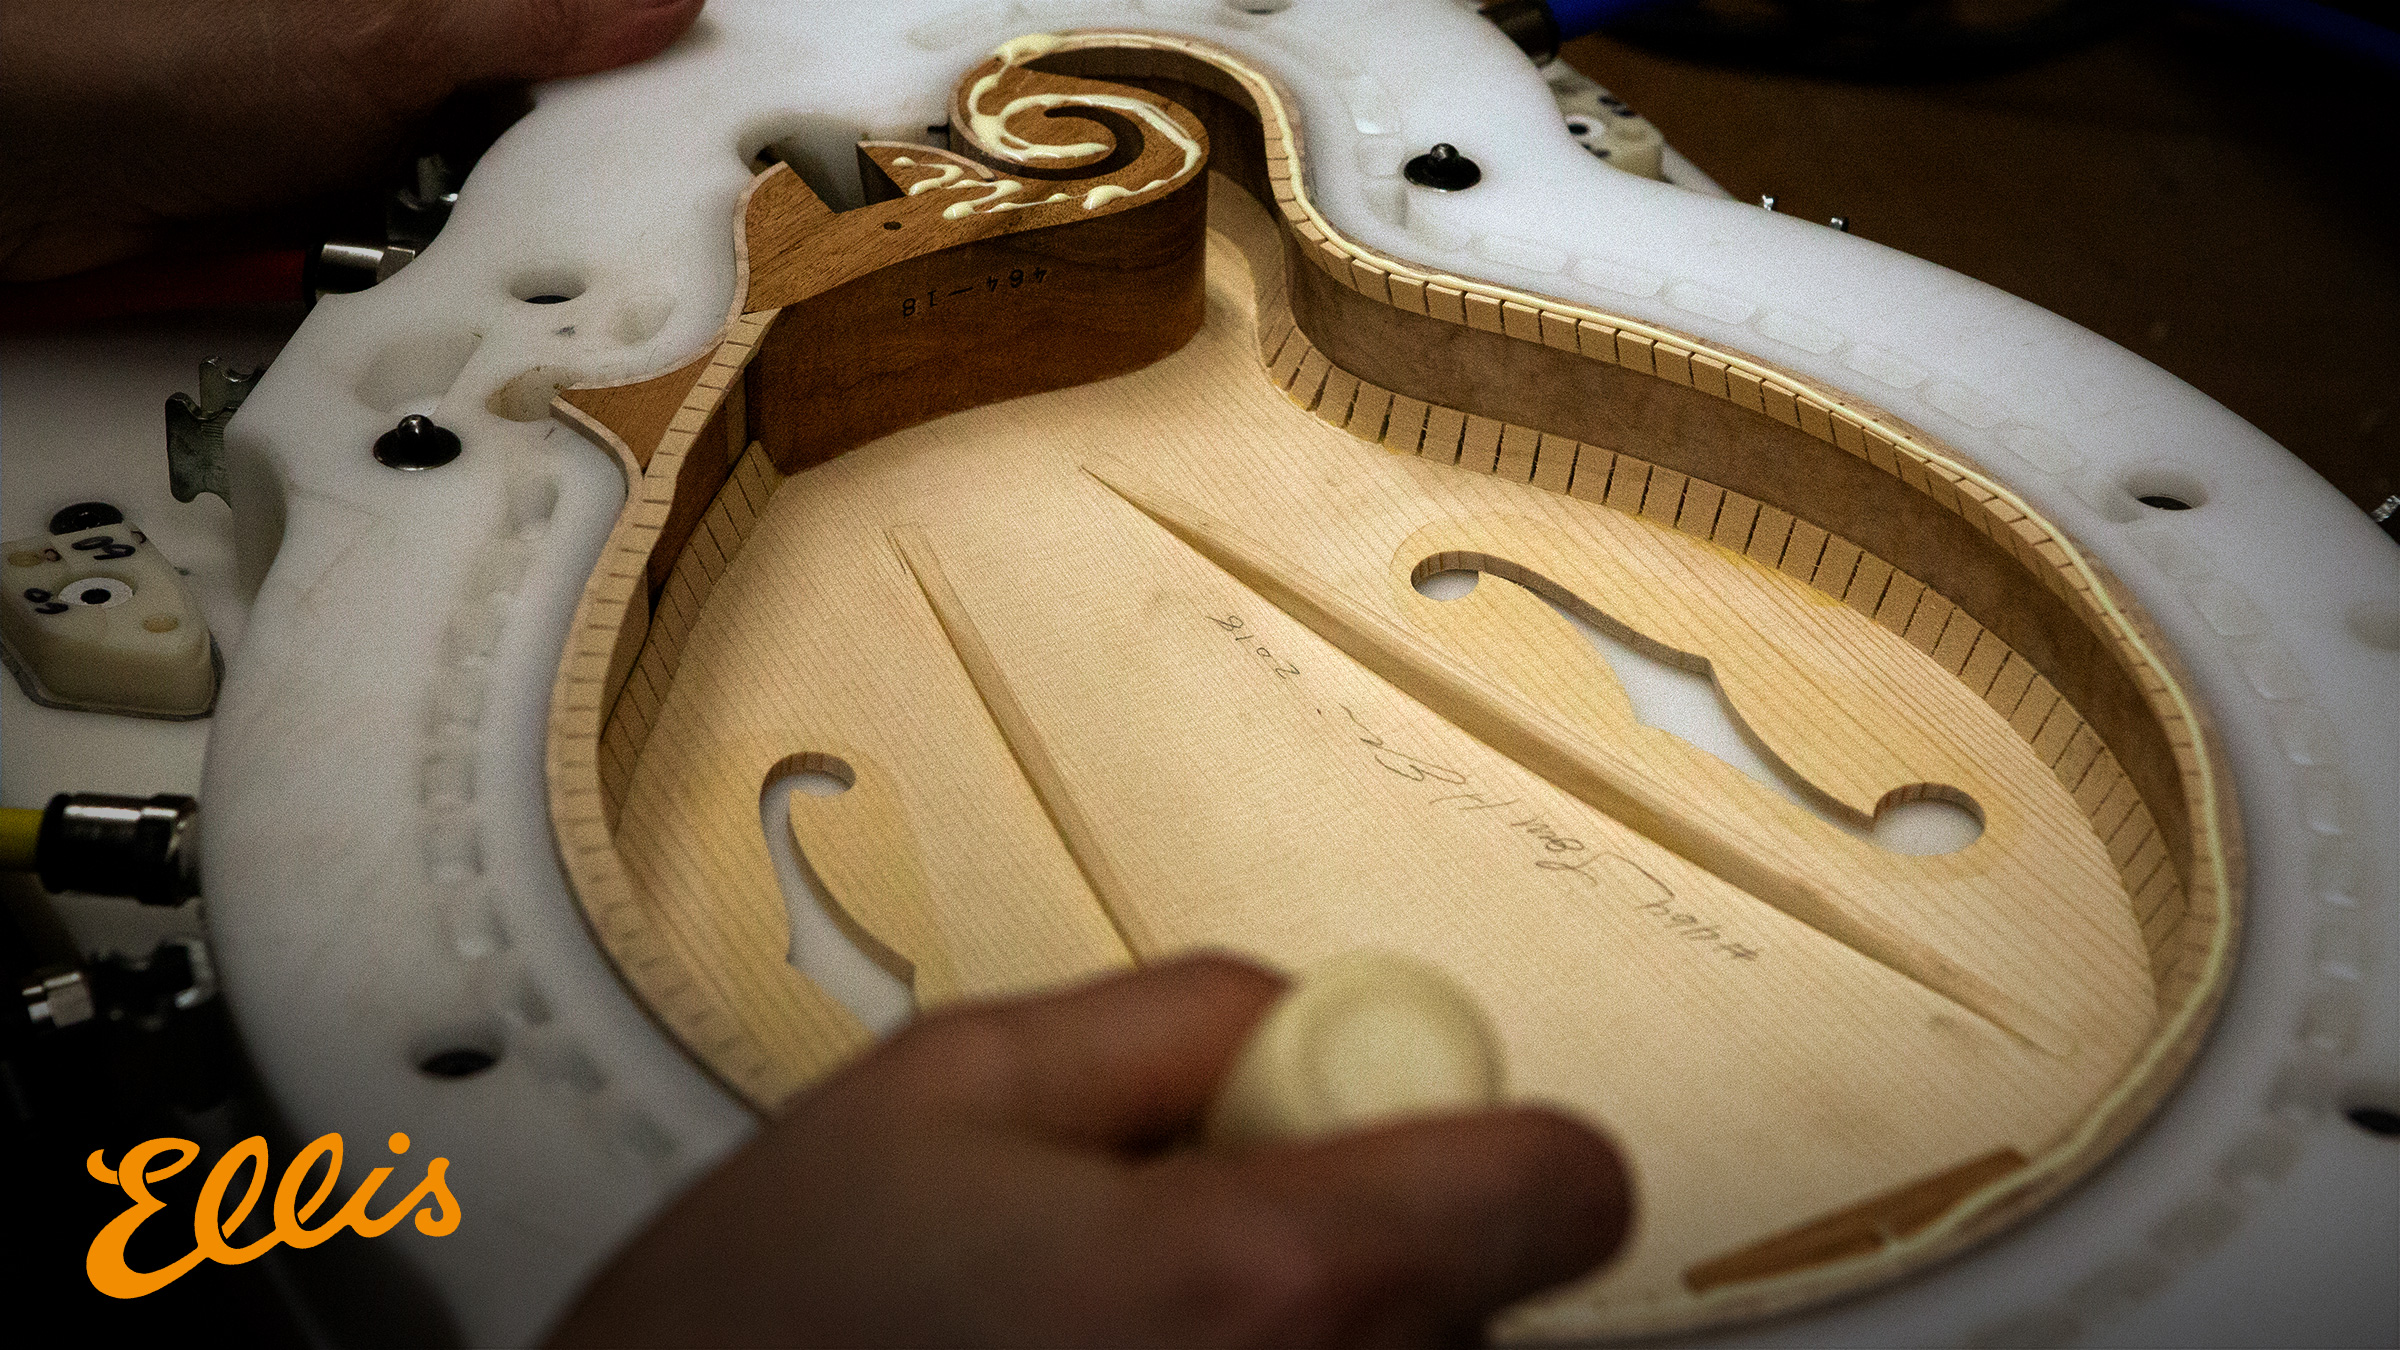
Here is a detailed view of the inside of #464, showing off all of the detailed kerfing work and build components.
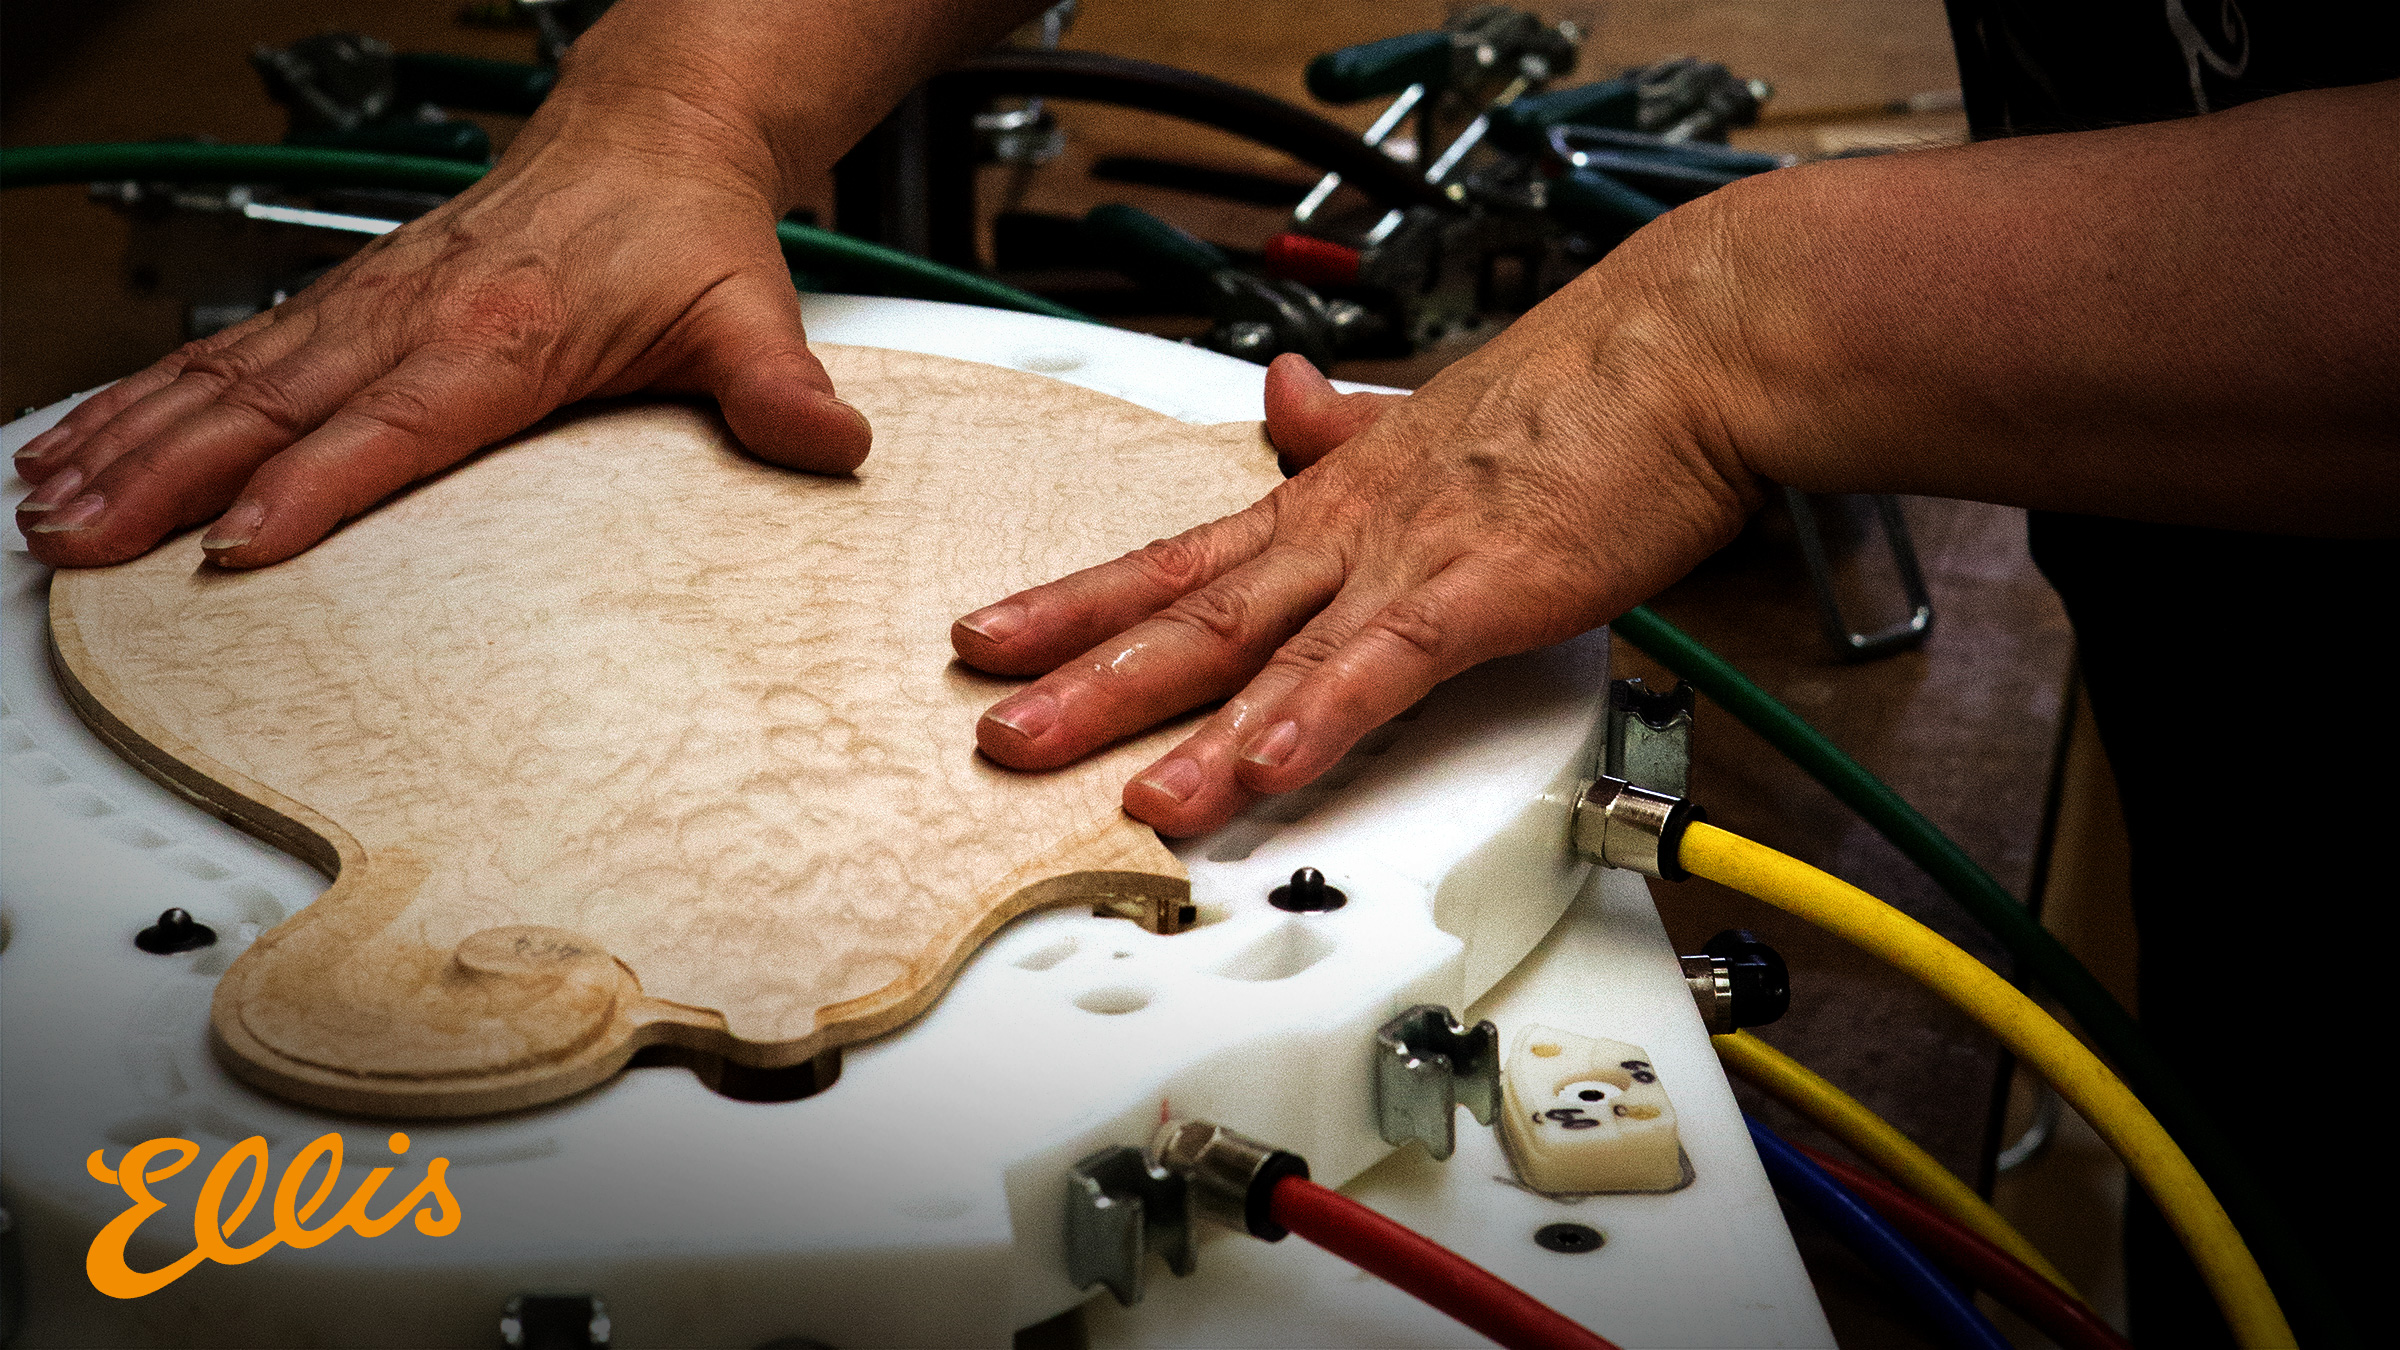
With glue in place, Pava carefully aligns the back plate and fits it to the body.
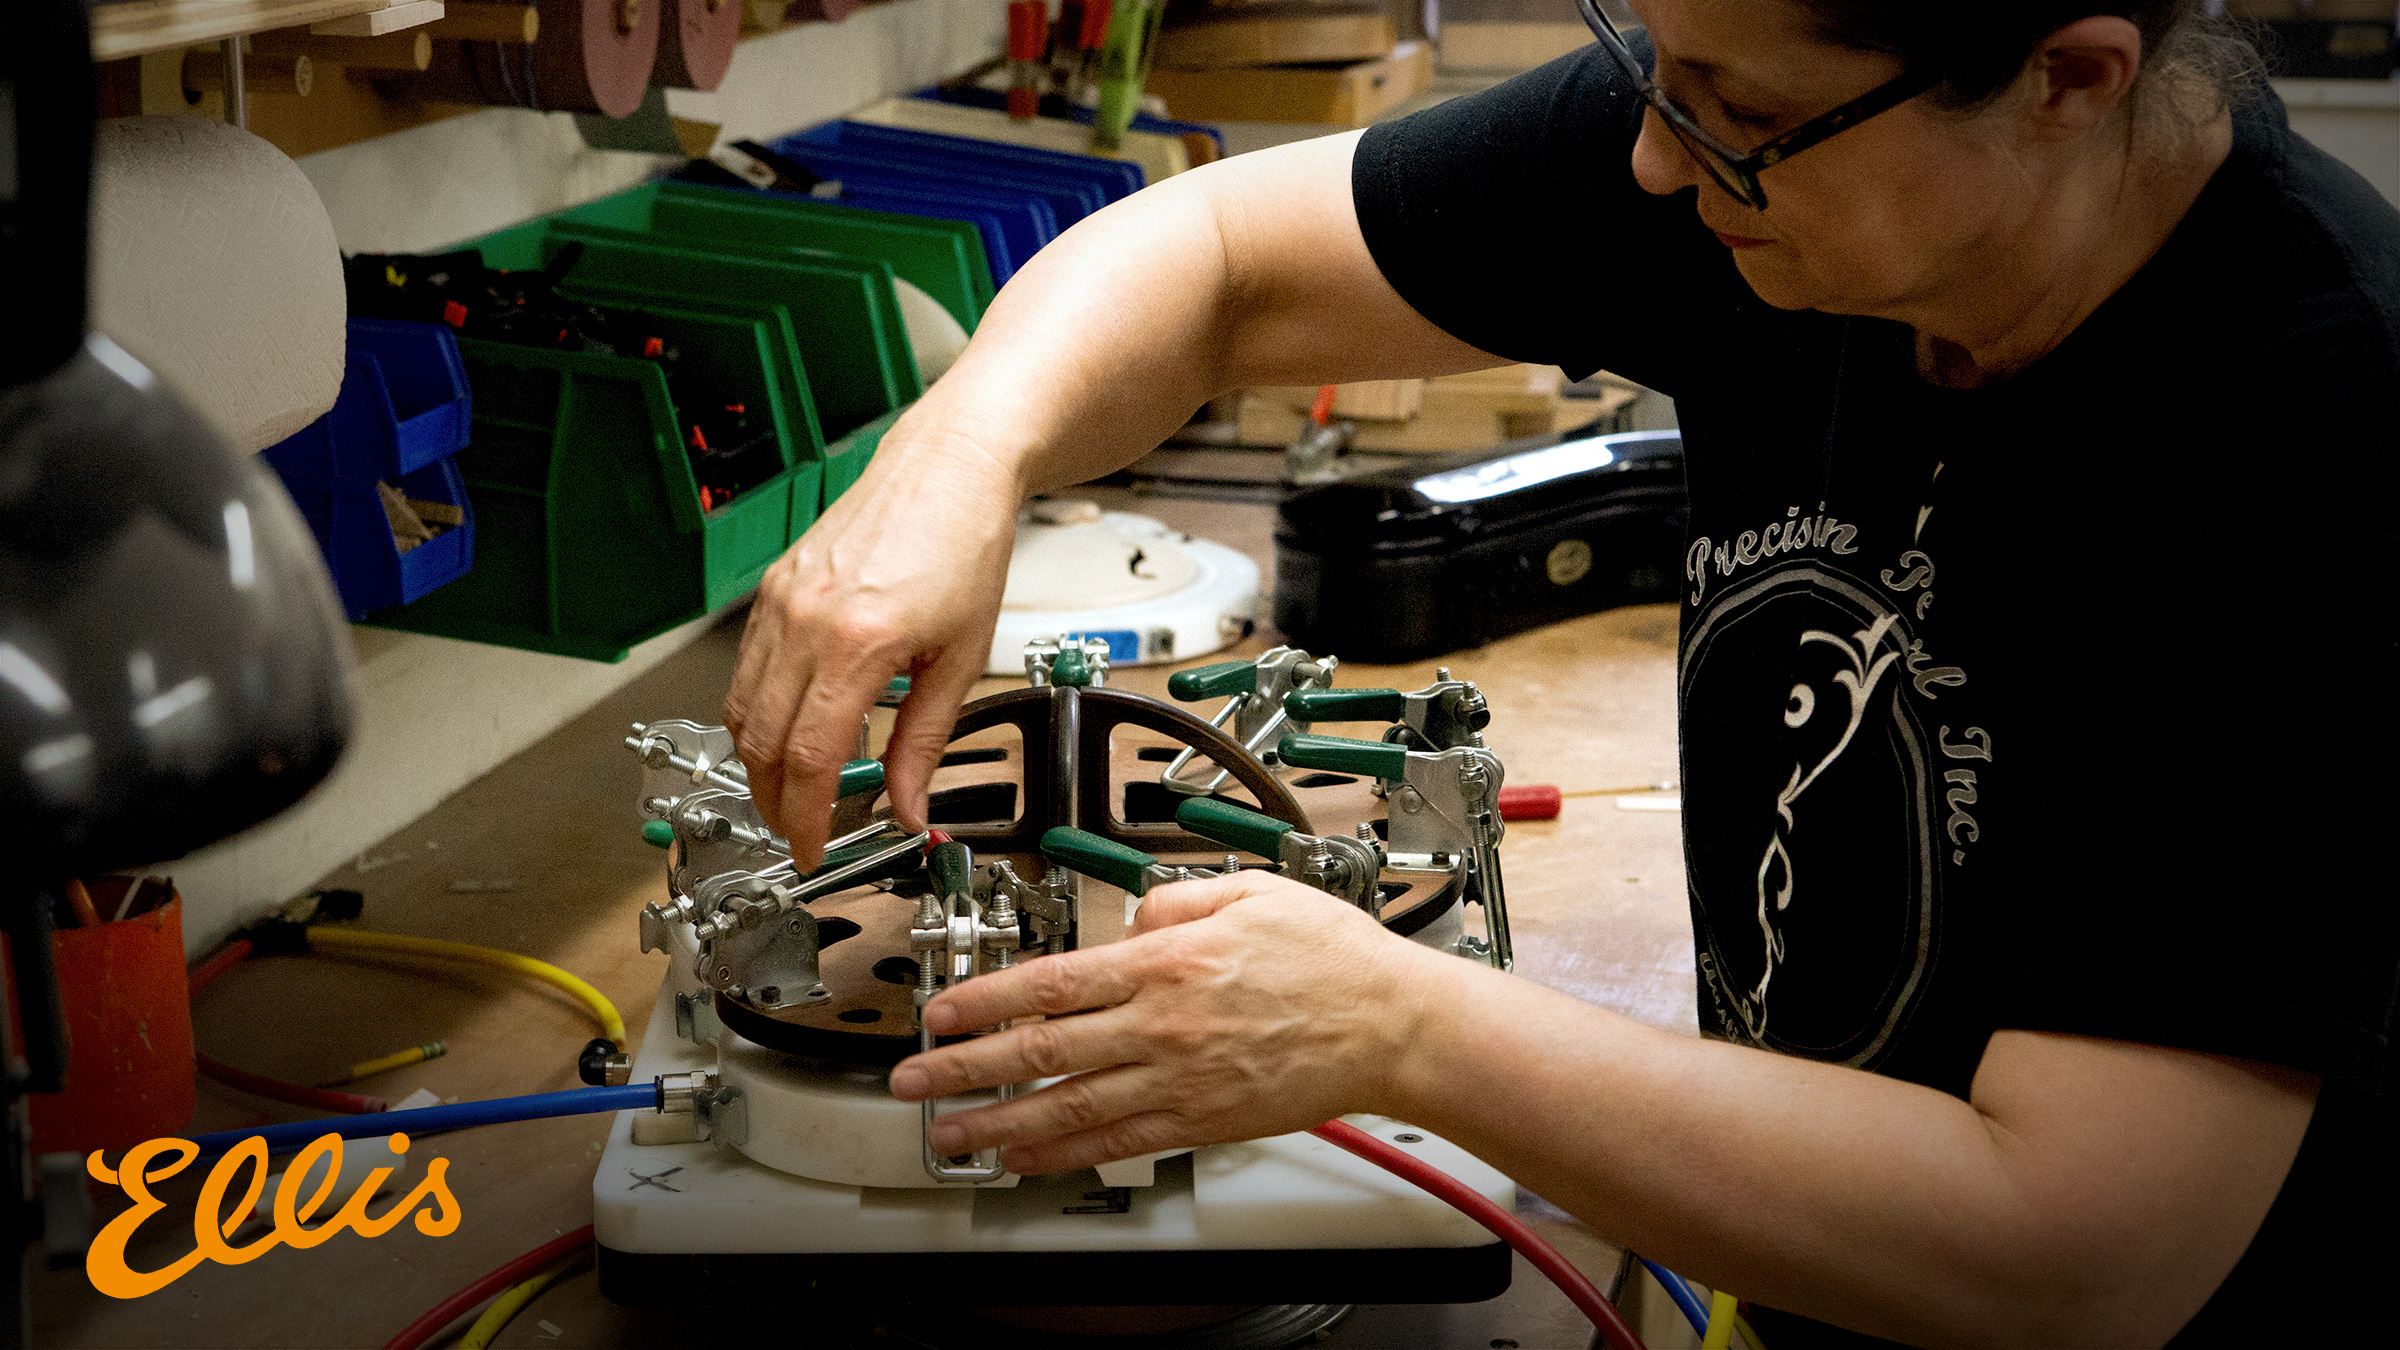
The back clamping jig is then installed to apply even pressoure all around the rim of the back plate.
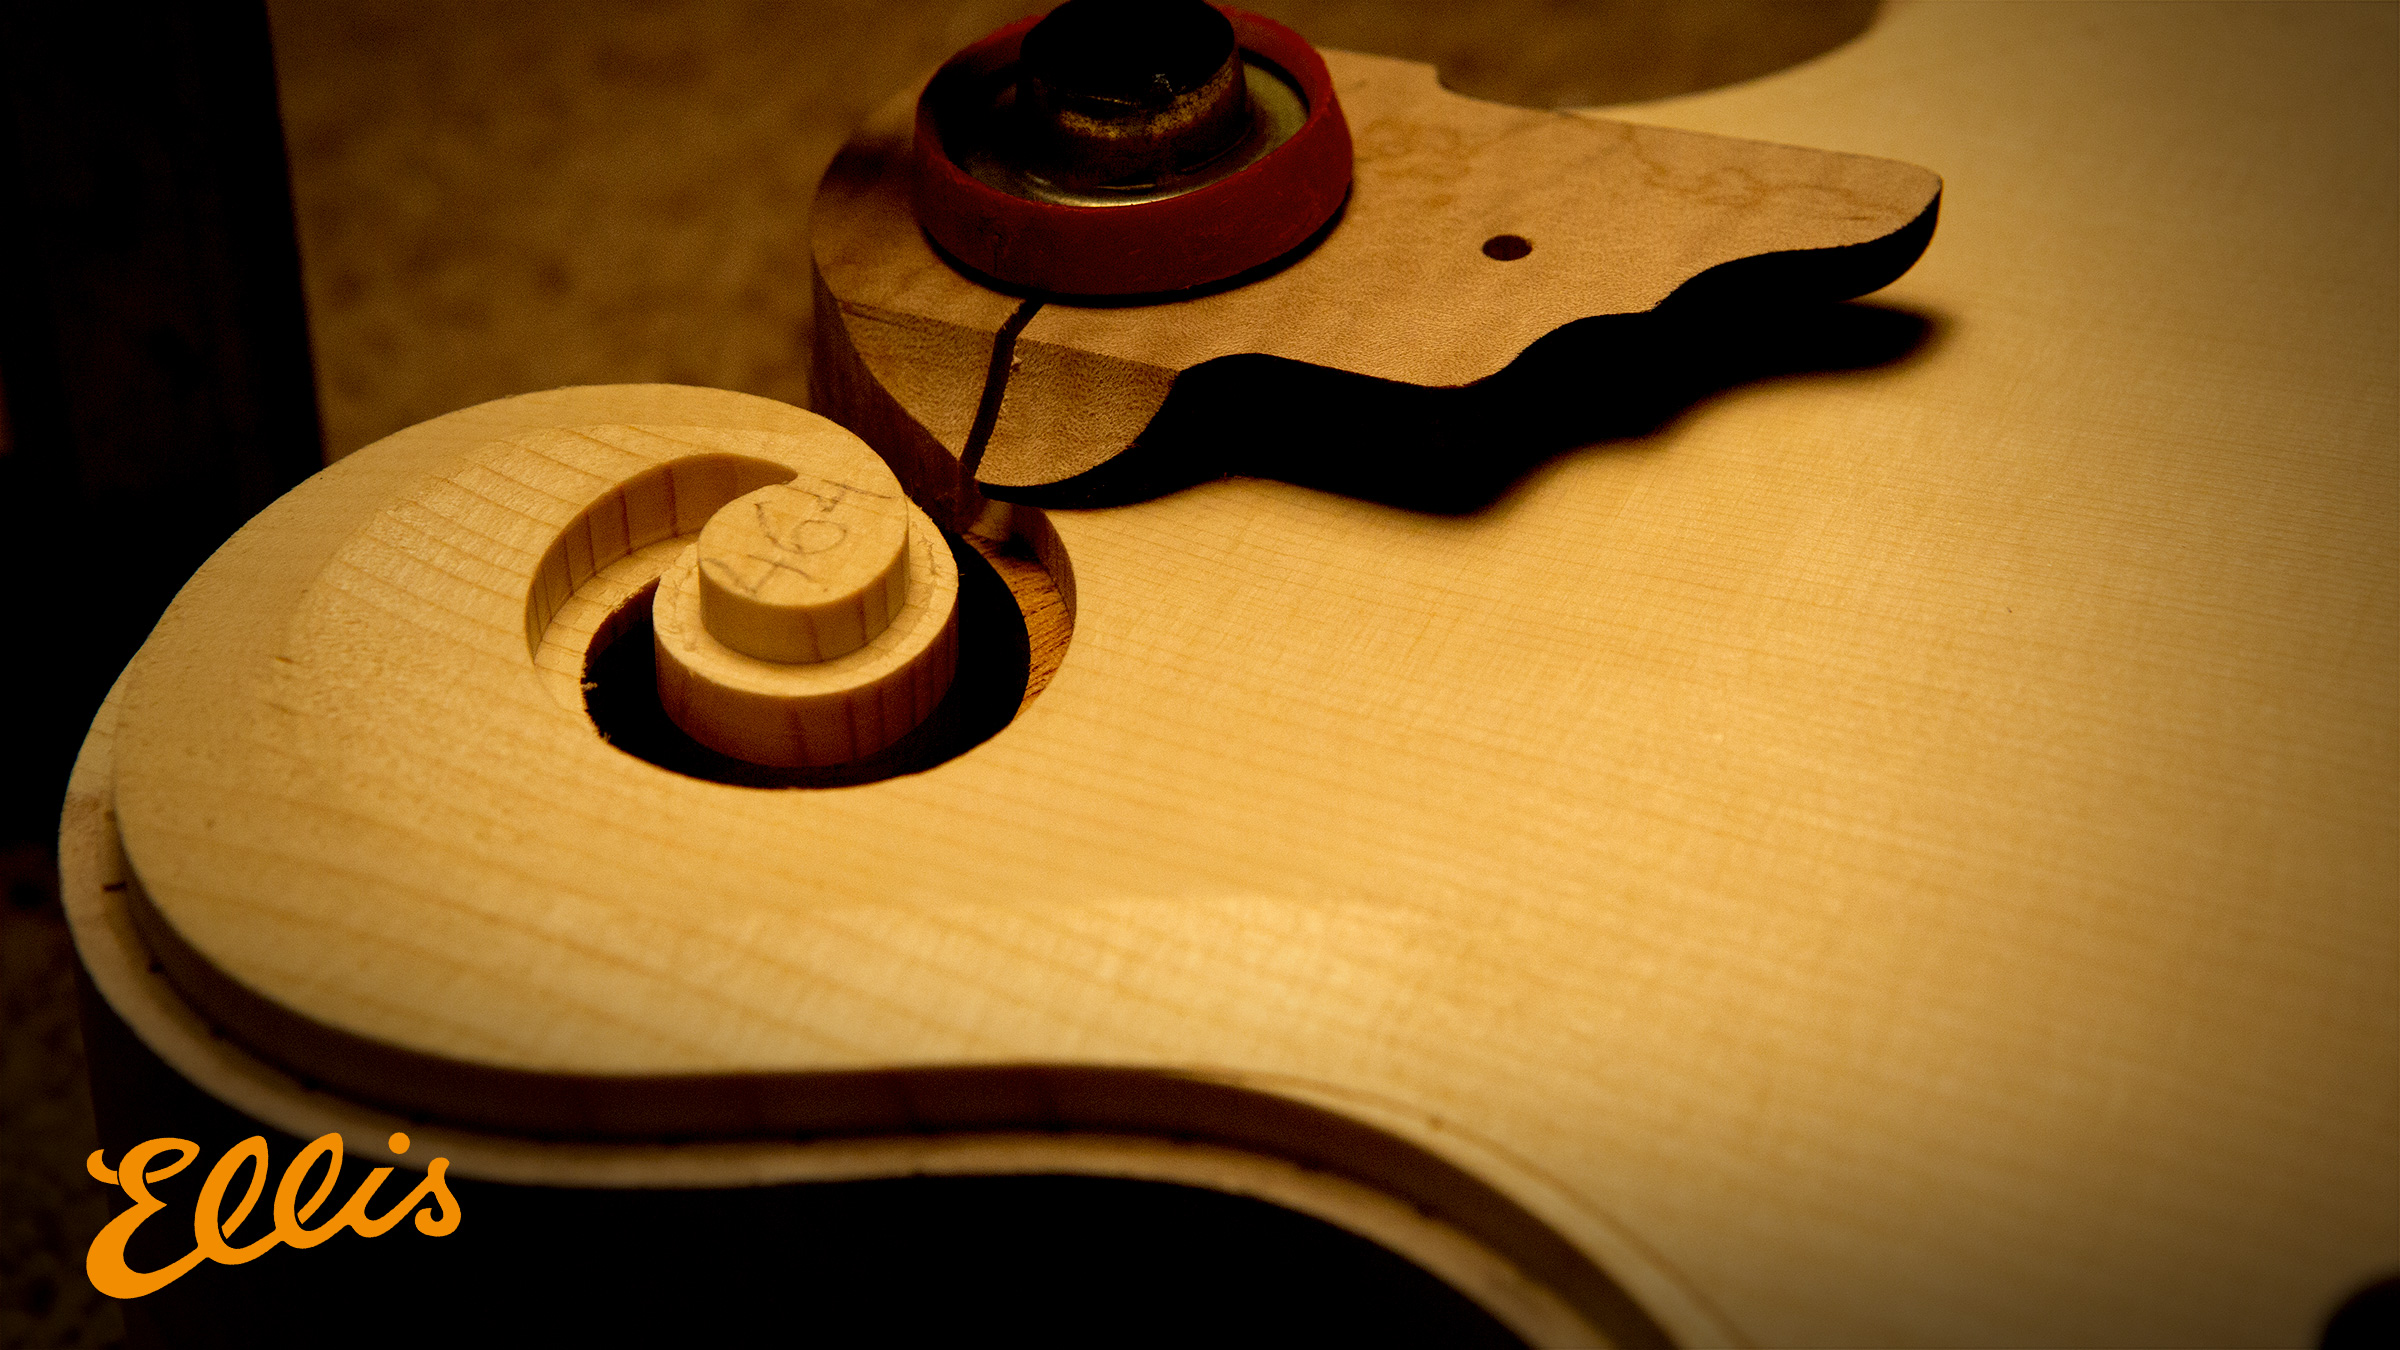
When the body comes out of glueup--the first thing Pava does is install the fingerboard extension.
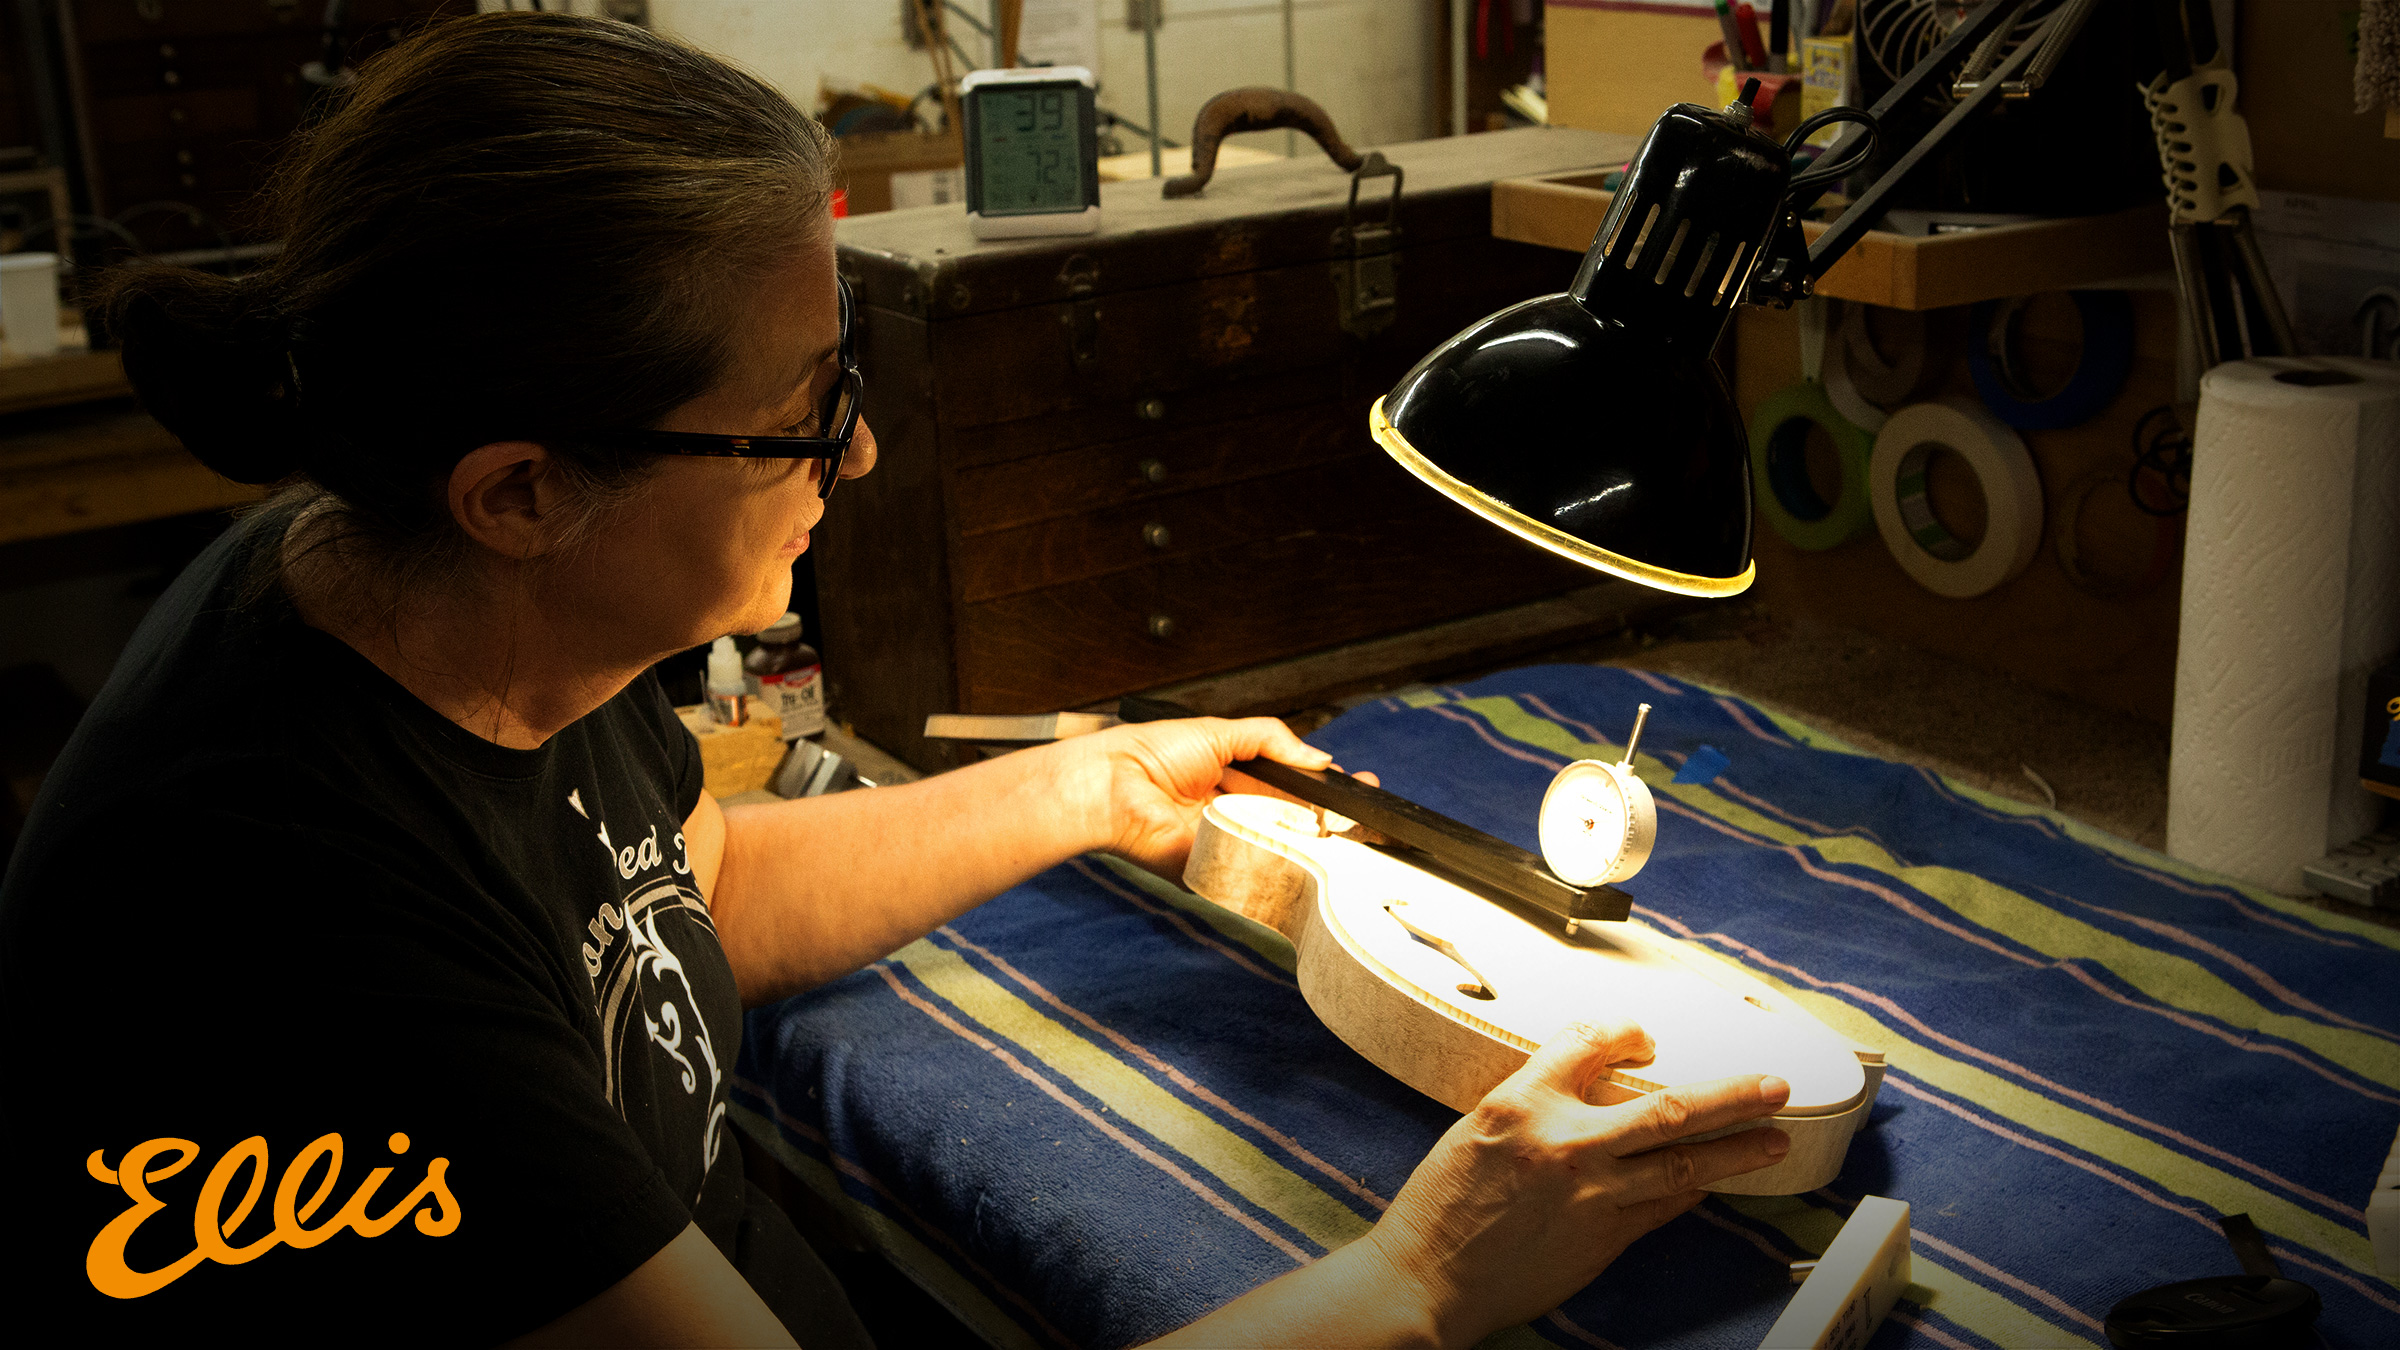
One last check to make sure everything is looking good. Pava confirms the neck fit and we get to see the first time that all of the key components of #464 come together for the first time.
RuttList is visitor supported, when you buy through links on our site we may earn an Amazon affiliate commission.